I tend to do some kind of love theme for February’s theme and this year is no exception. I already knew I wanted to use my watercolours for my cover page, but I also decided to opt for stickers to decorate the rest of the spreads to make it quicker to set up. I’m really pleased with how my pages turned out and I hope you like them too. The photos aren’t wonderful as it was another dreary day here in Sunderland, so I apologise for that but I hope they inspire you anyway.
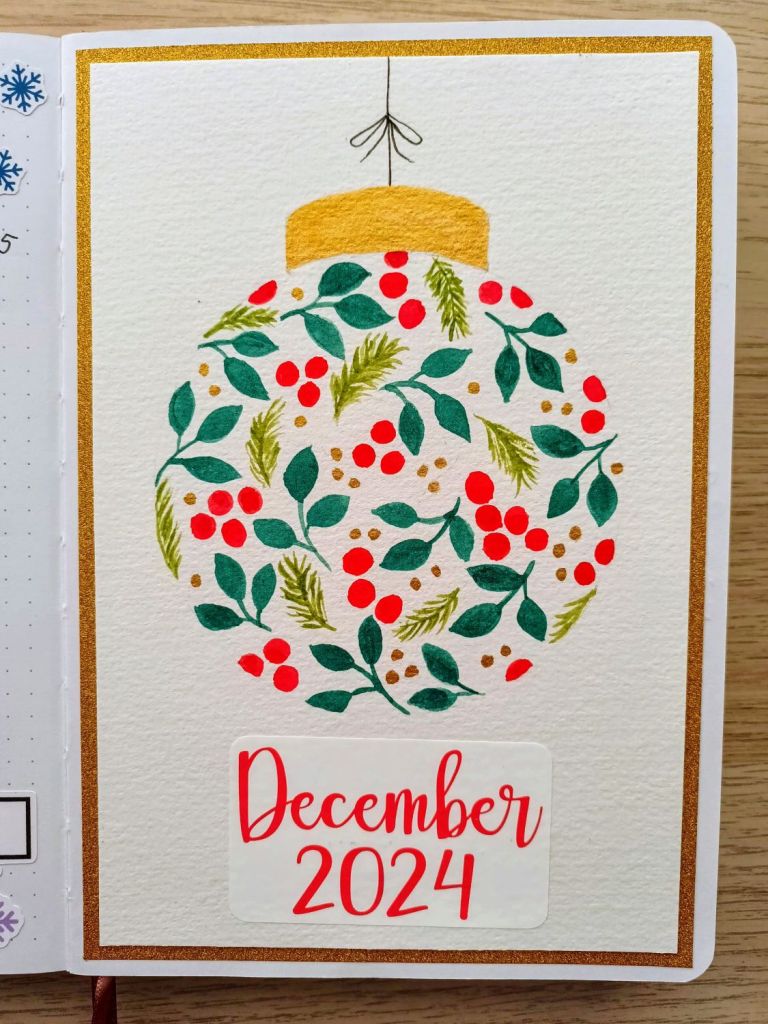
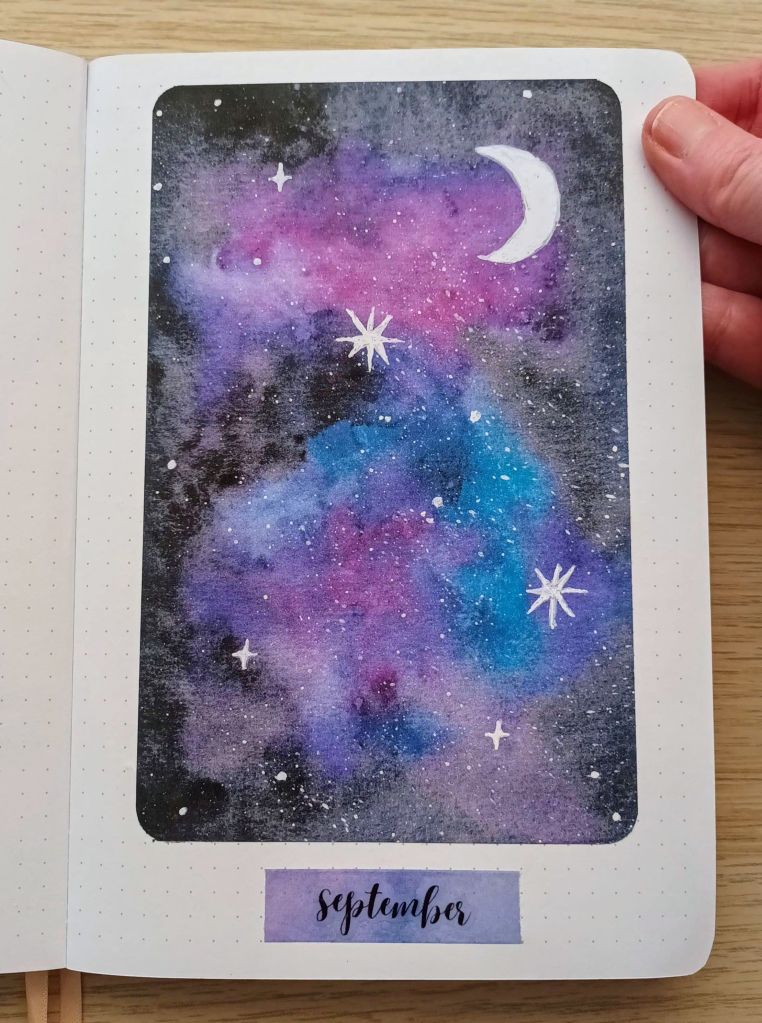
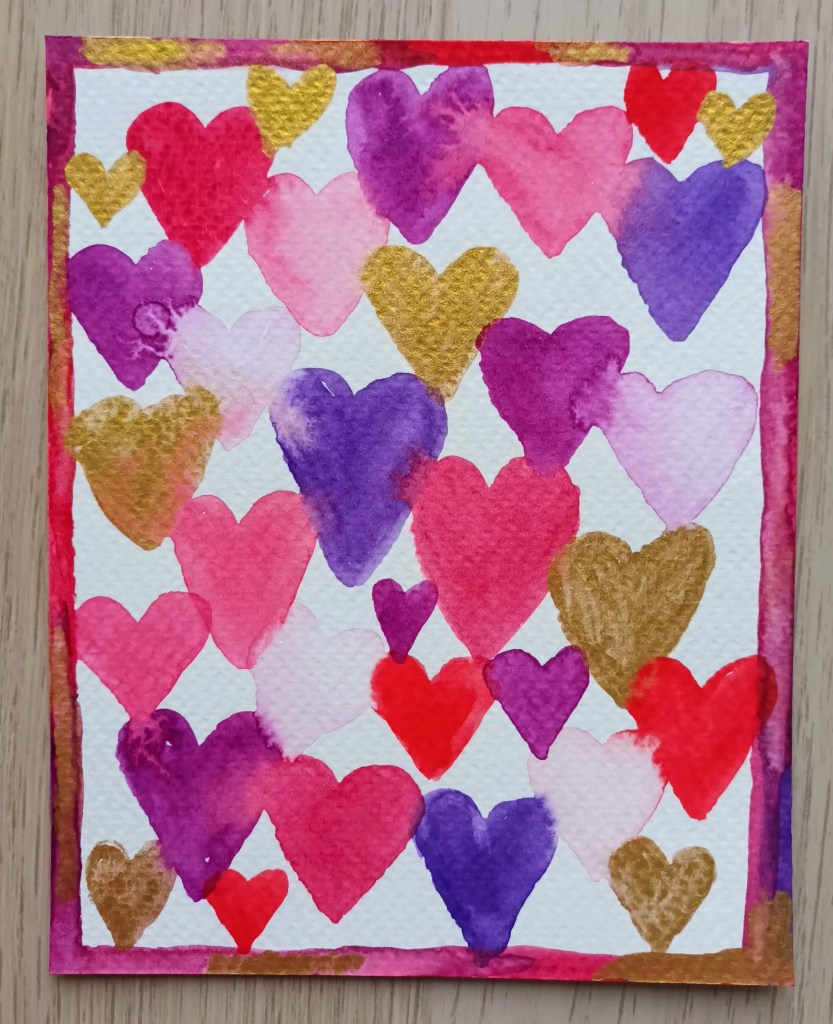
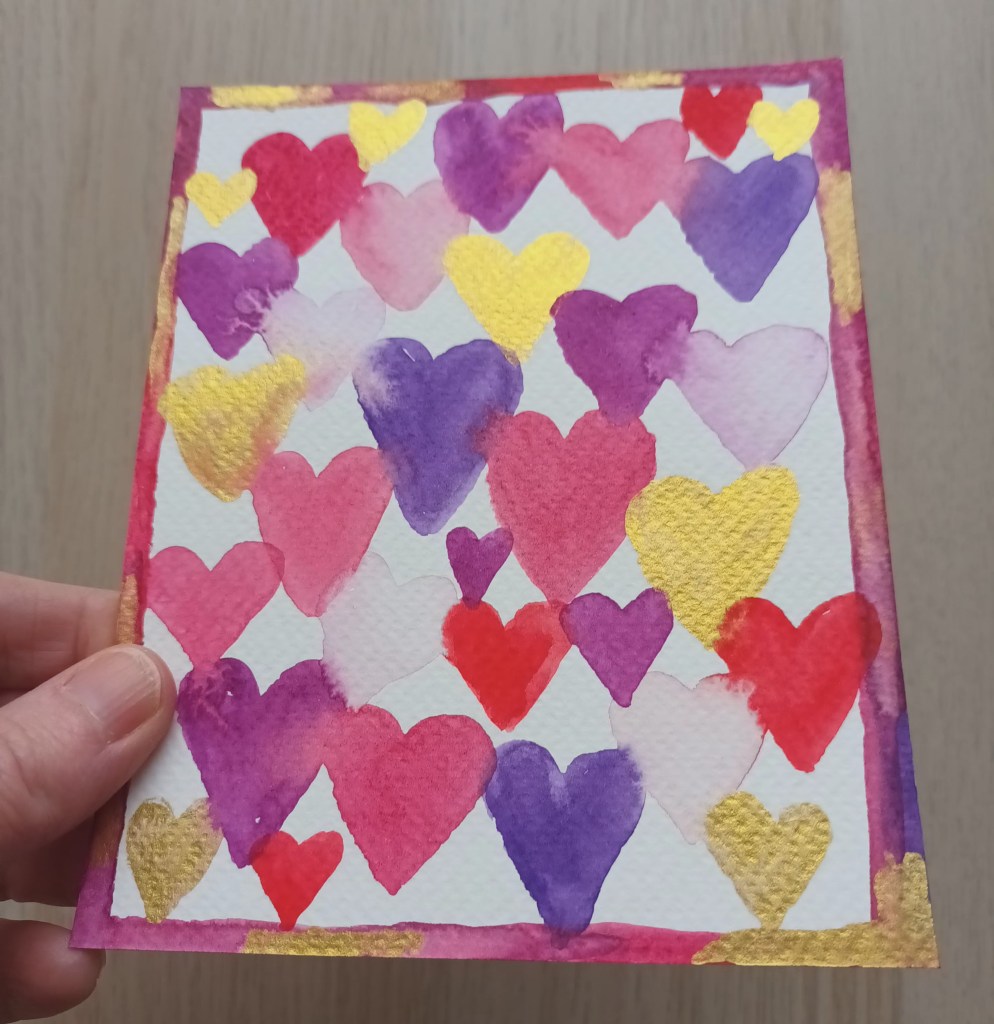
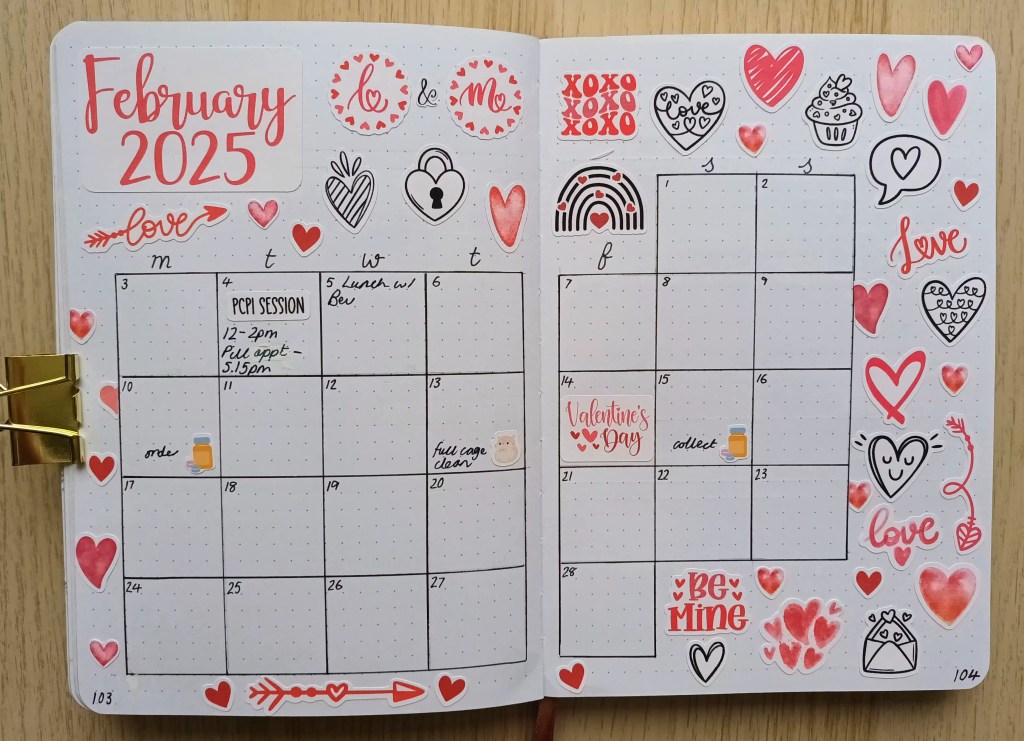
For this month’s front cover, I opted to use the watercolour bleeds technique with a range of red, pink and purple hearts. I watched some tutorials on YouTube to remind myself of the basic techniques and discovered that one of my favourite watercolour artists, Emma Lefebvre had just shared a video called ‘easy Valentine’s ANYONE can paint’. And she was right, her techniques were all super simple and totally do-able. Also, one of the techniques was watercolour heart bleeds – such a good find! I’d already filled my palette with reds, pinks and purples, but in her tutorial, Emma used gold paint as well. I didn’t really need an excuse to get out my metallic paints, although I knew they wouldn’t show up properly on the scanned version that I could stick in my BuJo. Anyway, it turned out okay but I couldn’t fully saturate the colours as it ended up printing with a strange blue background tone which looked just awful! I wish someone would invent a watercolour paper which is super thin but works just as well as the high GSM ones that are available now.
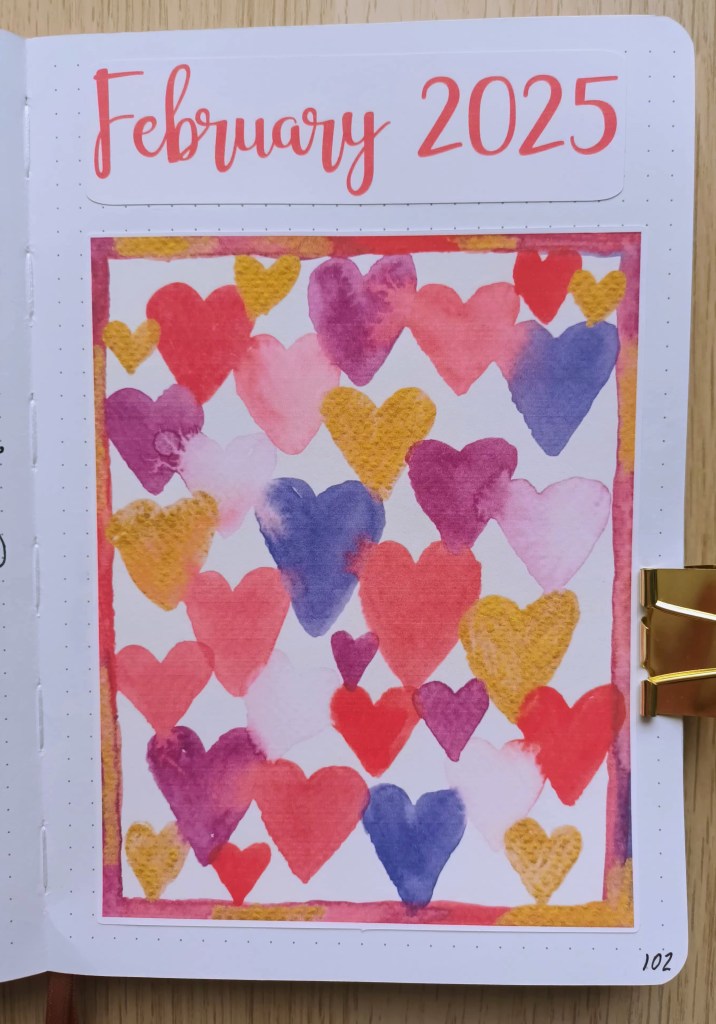
February front cover
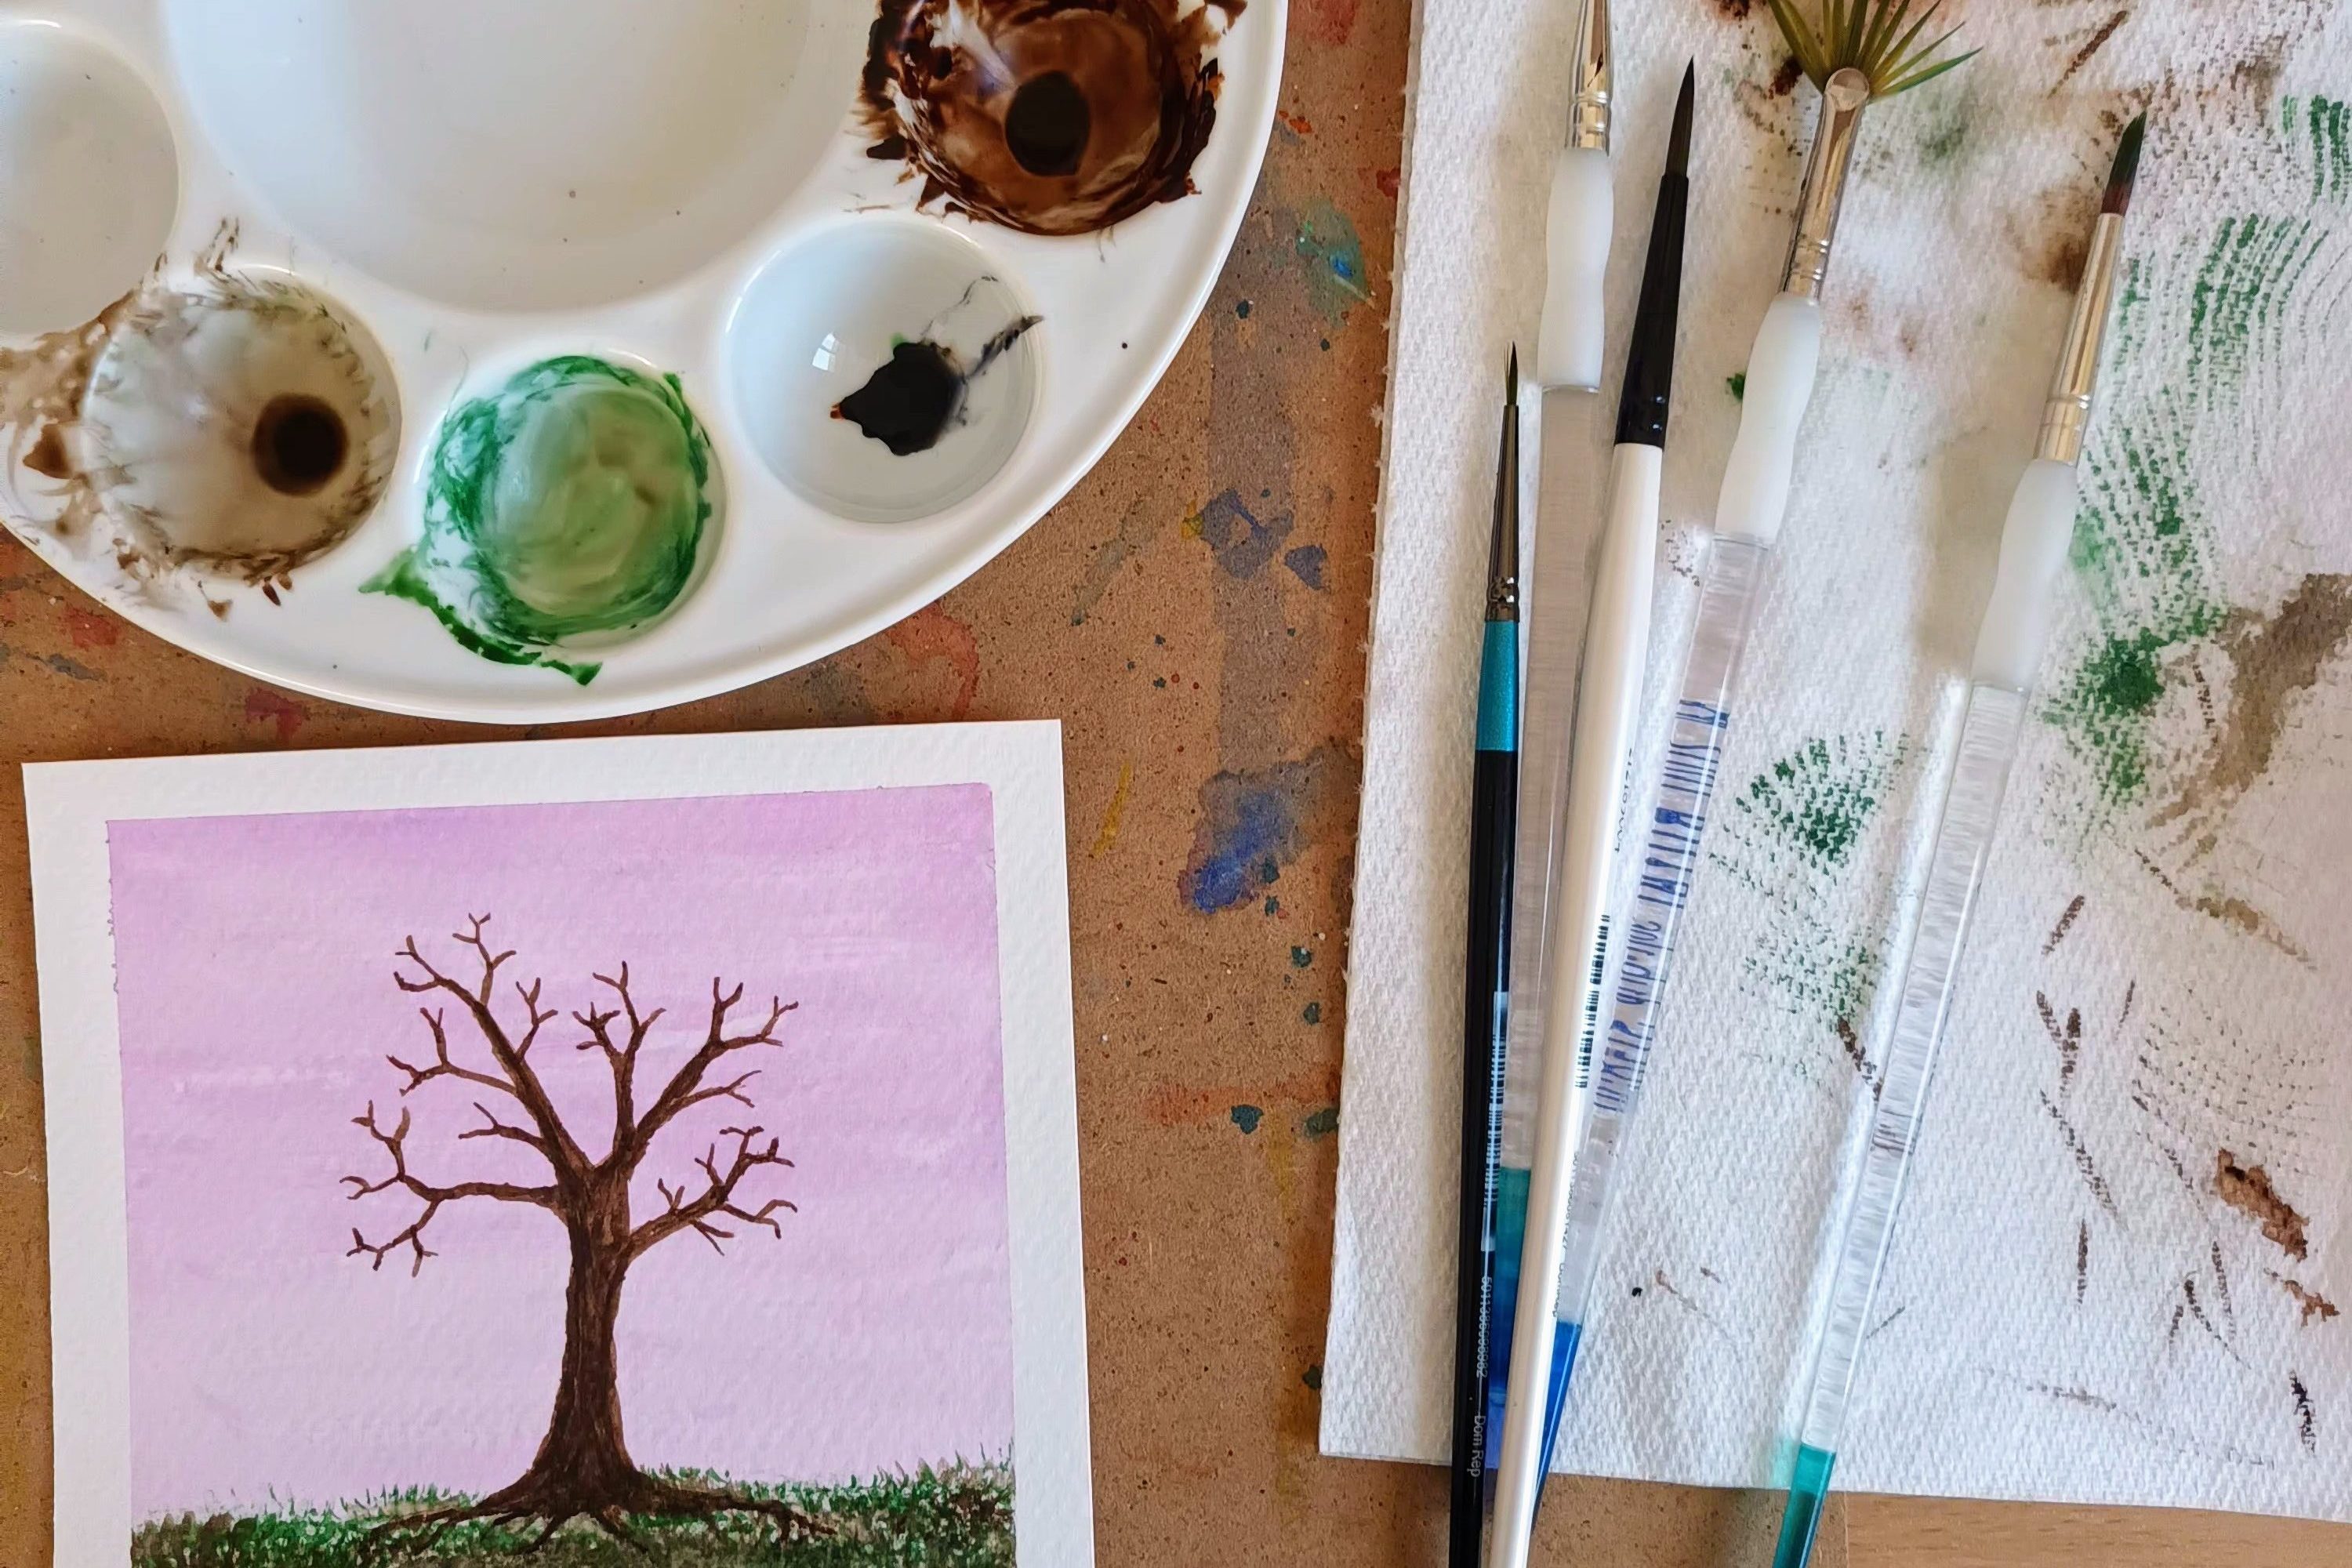
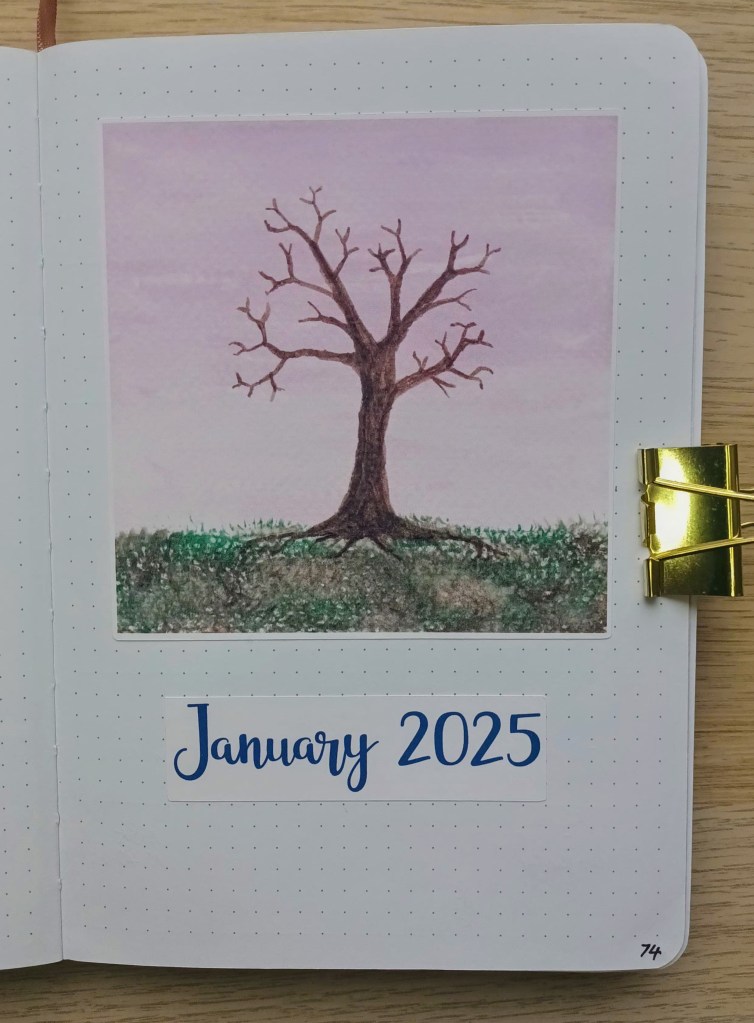
Here’s my original watercolour piece as a flat lay and raised to, hopefully, show the metallic gold, followed by my front cover. I again turned the digitized watercolour image into a sticker with an offset. This was easy to do in Cricut Design Space and means that the image looks nicer than it does on standard printer paper.
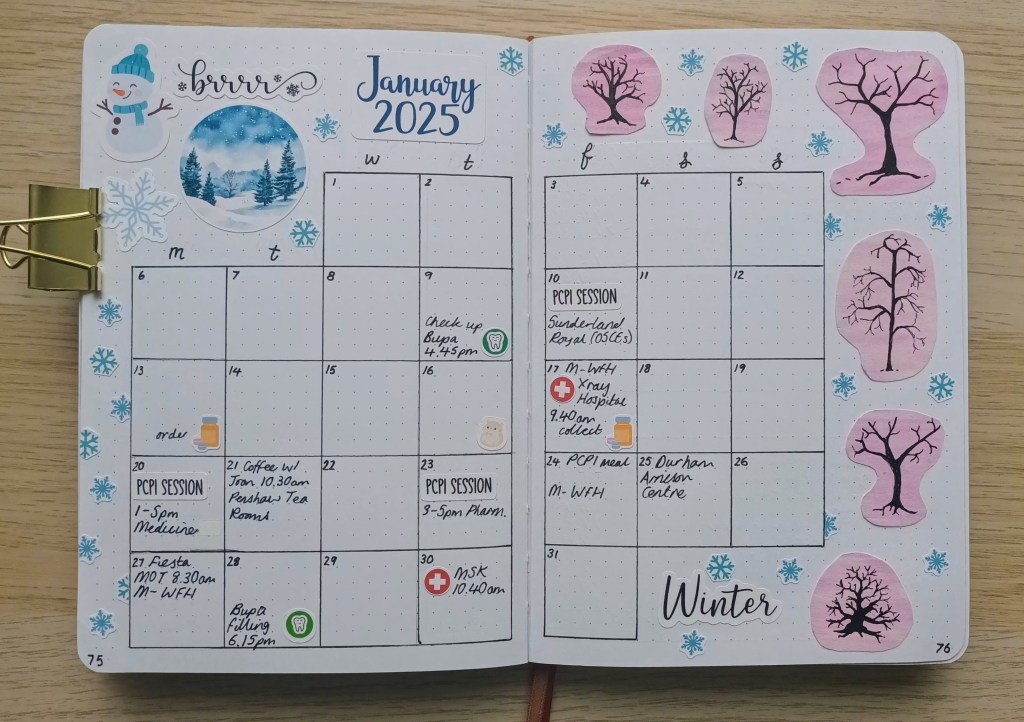
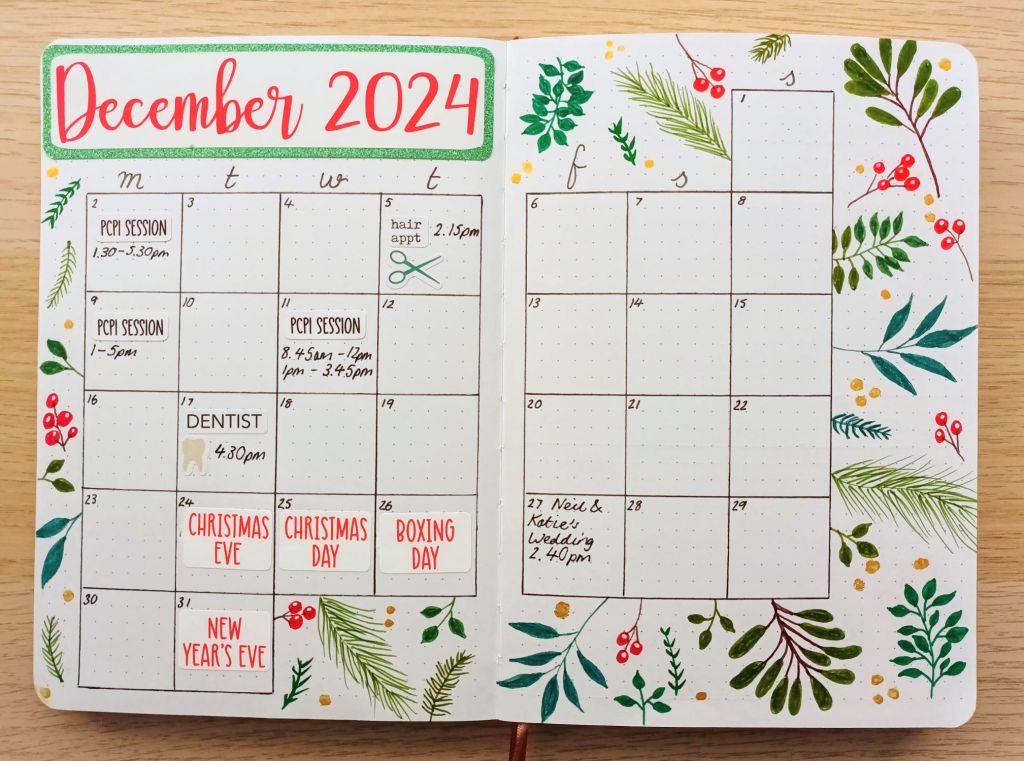
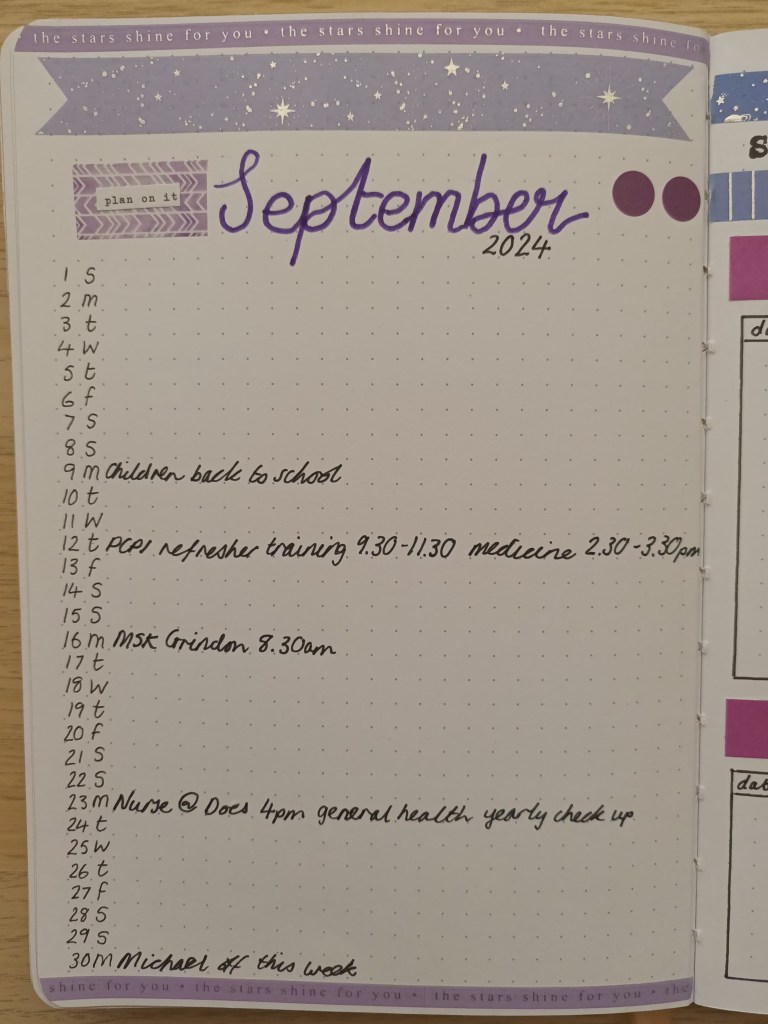
Monthly calendar
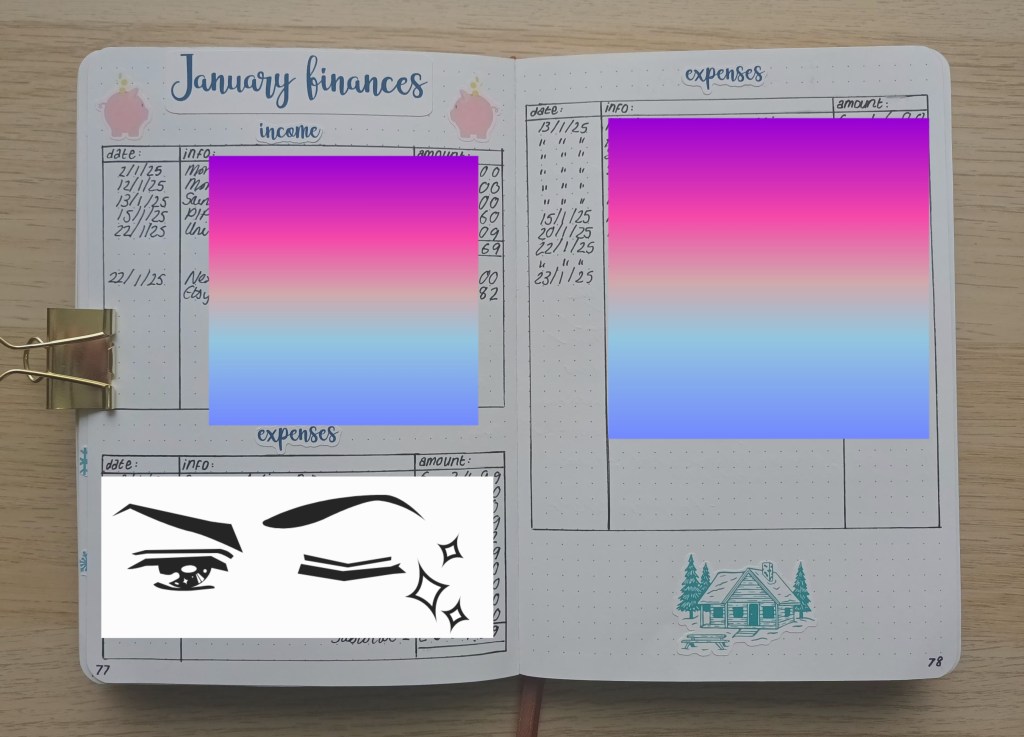
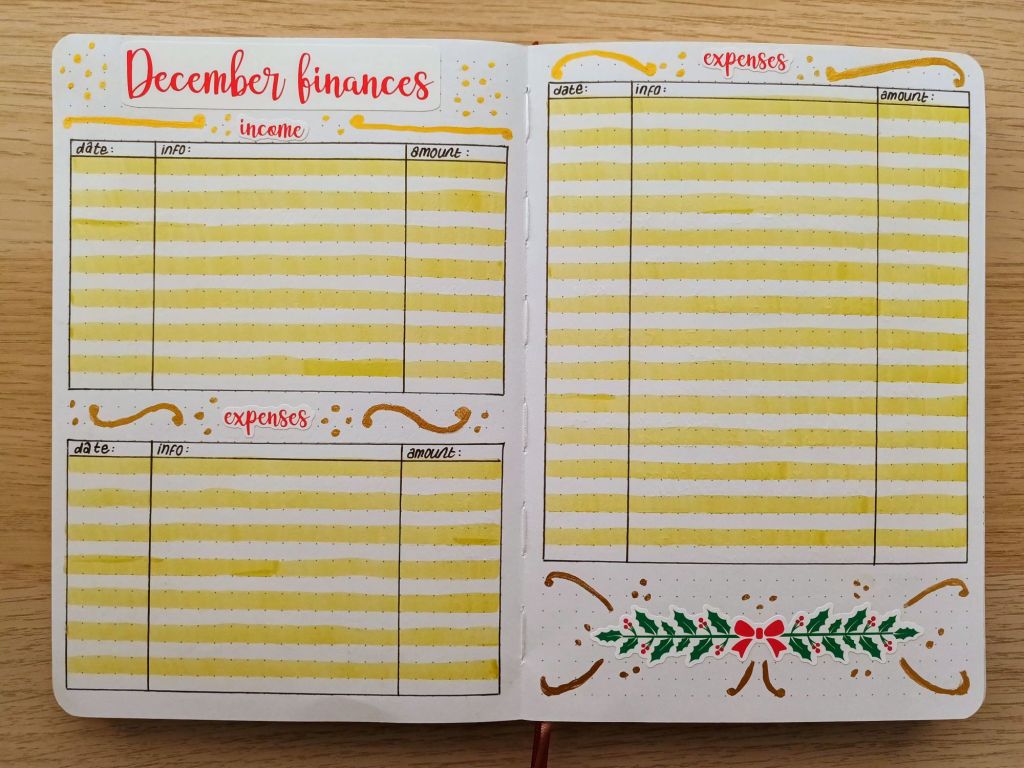
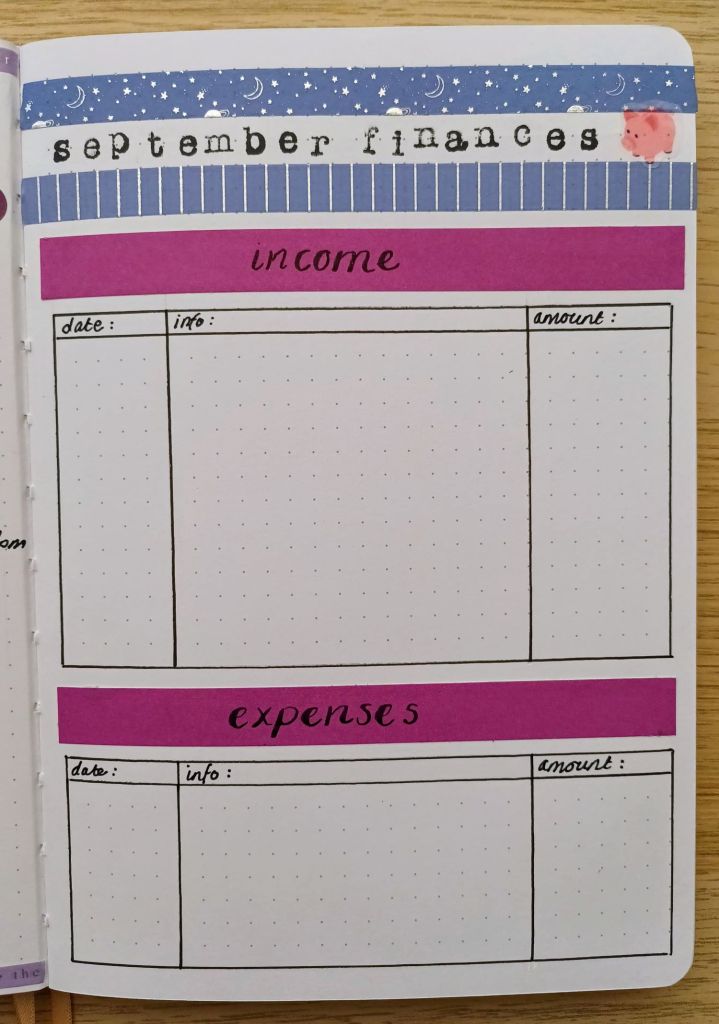
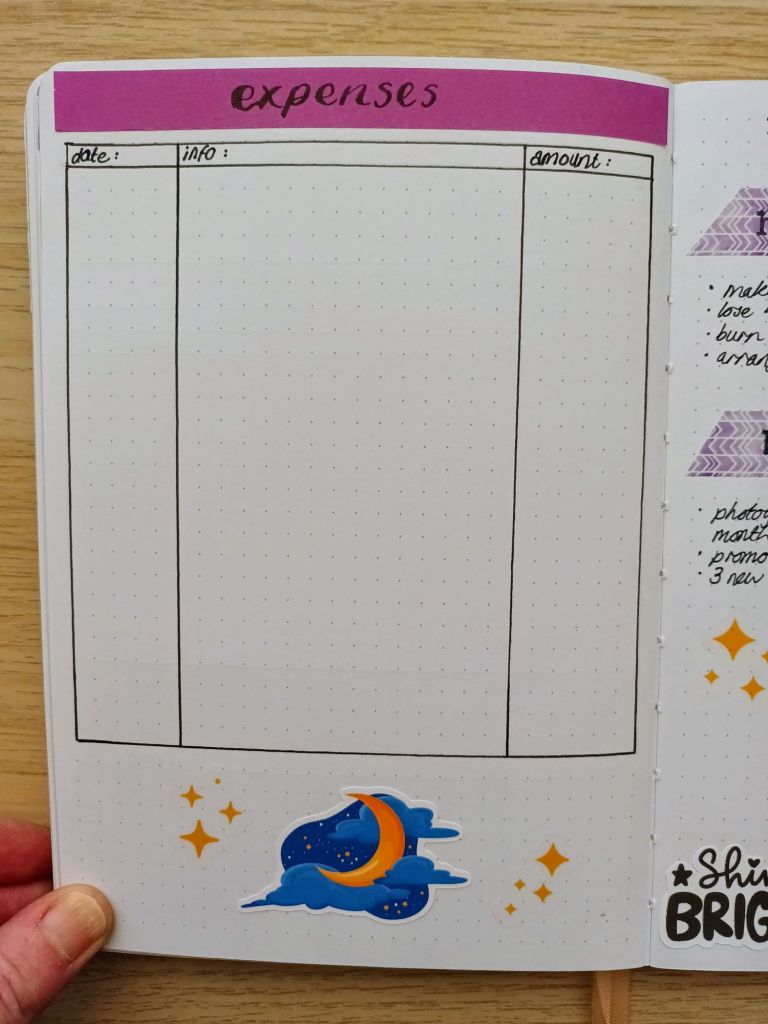
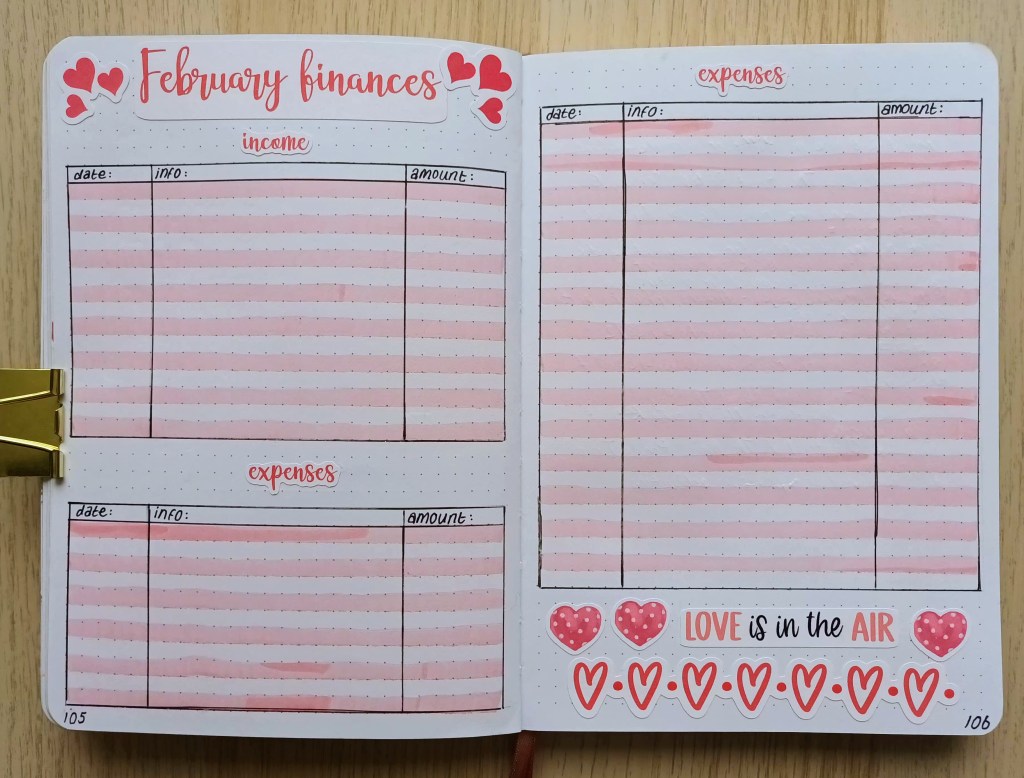
February finances
My usual set up, this time with some pink Tombow to add another colour element. I made the Love is in the air sticker design myself using fonts found in Cricut Design Space. I really like how it turned out!
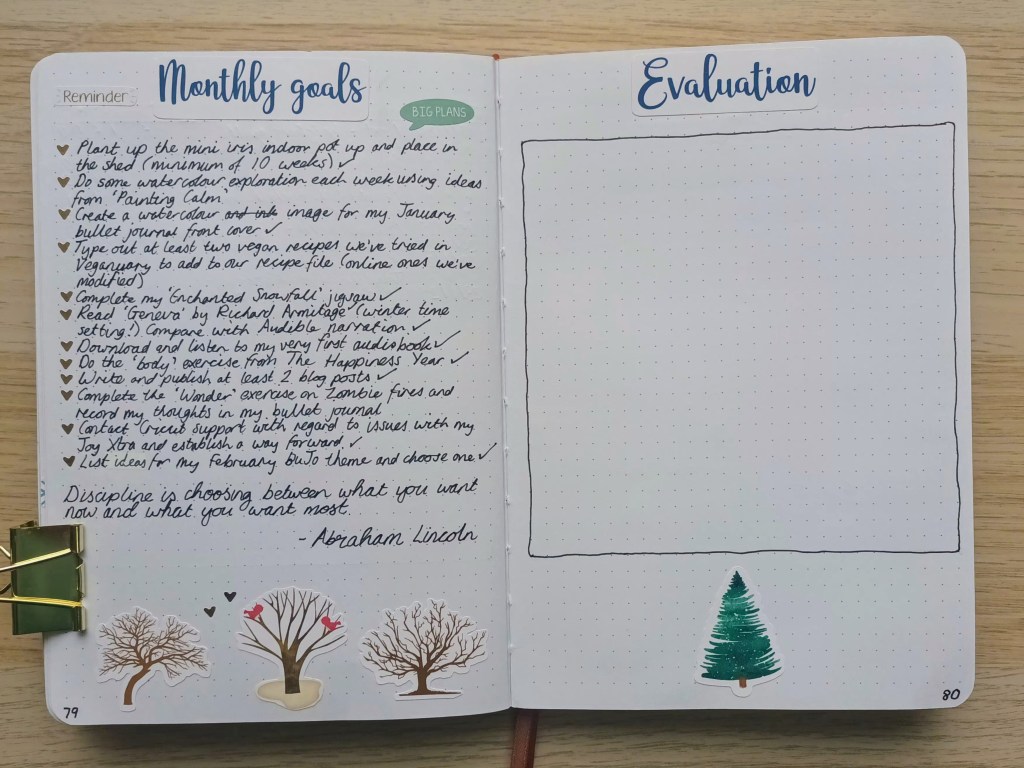
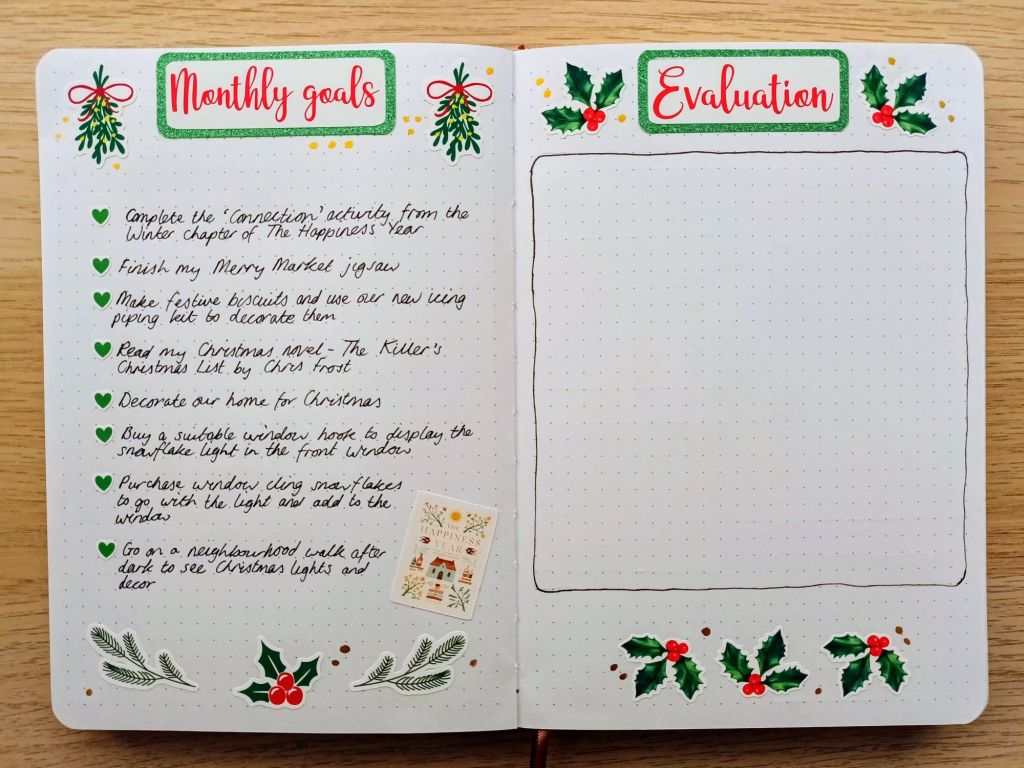
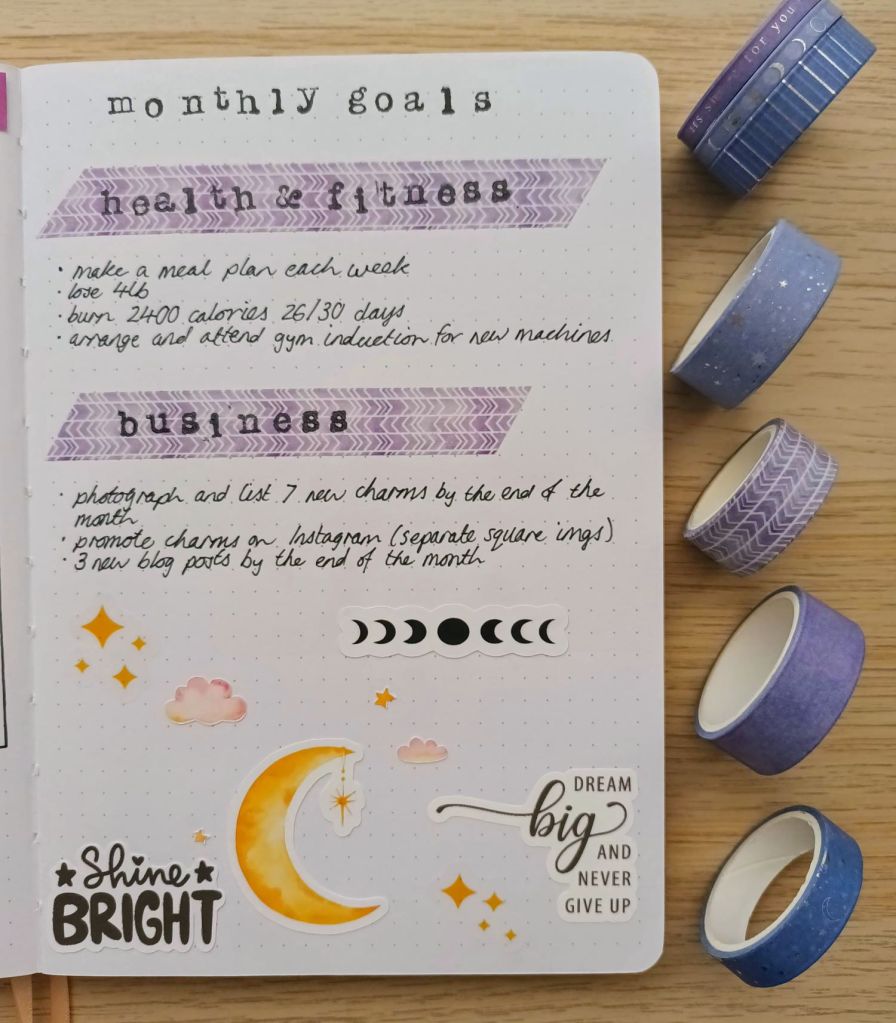
February goals page
I intend to create a blog post for next week on how I go about choosing goals and how I make them ‘SMART’, so to actually read those, you’ll have to visit by site again! I’ll attach the link here when it’s written so it’s easy to navigate to.
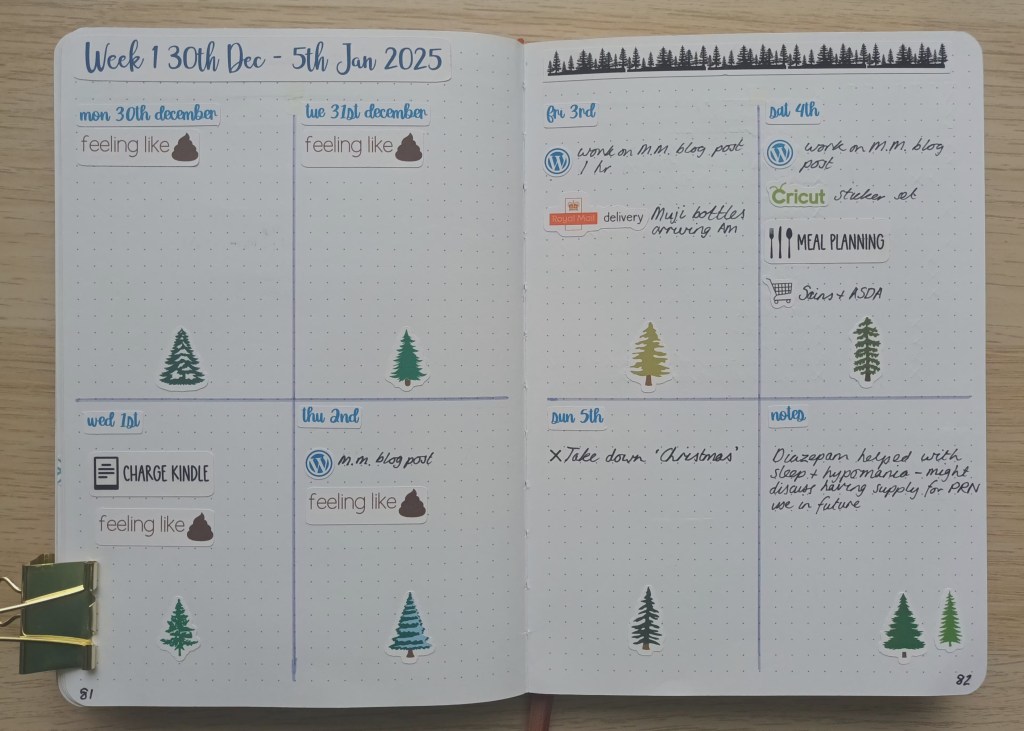
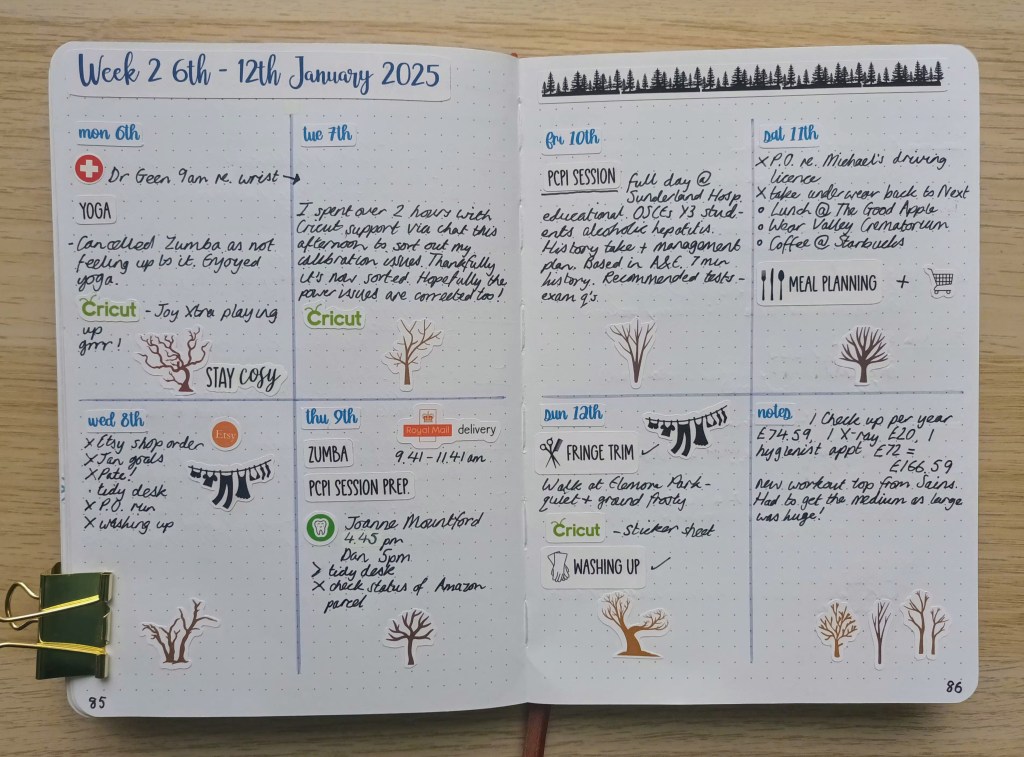
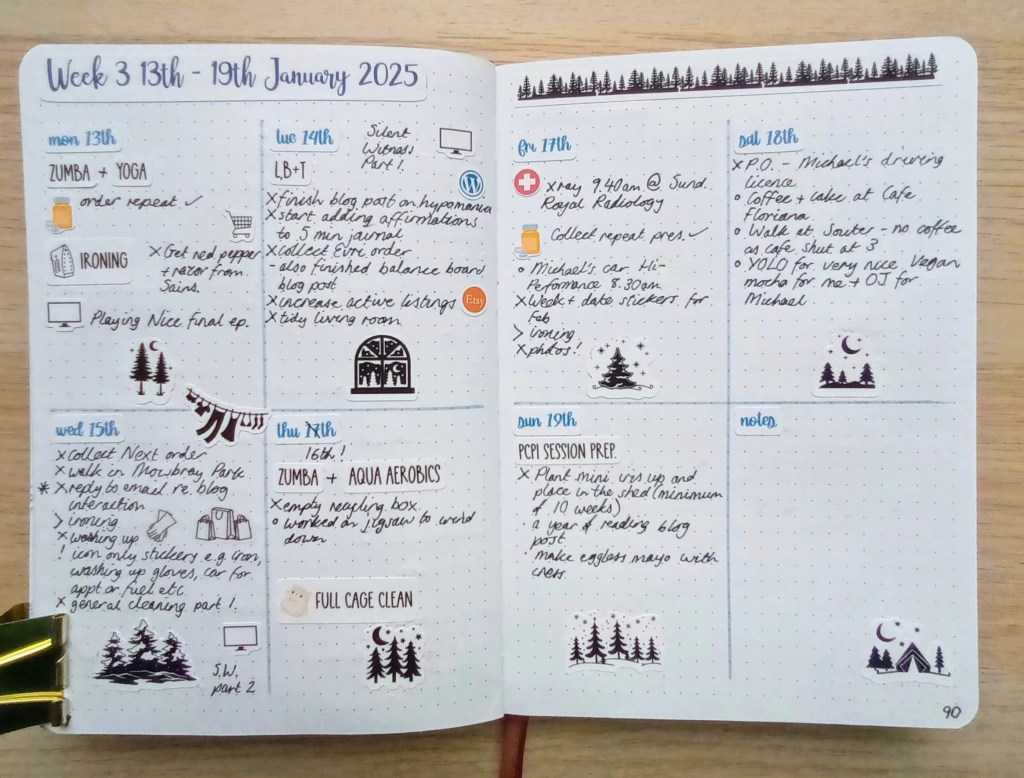
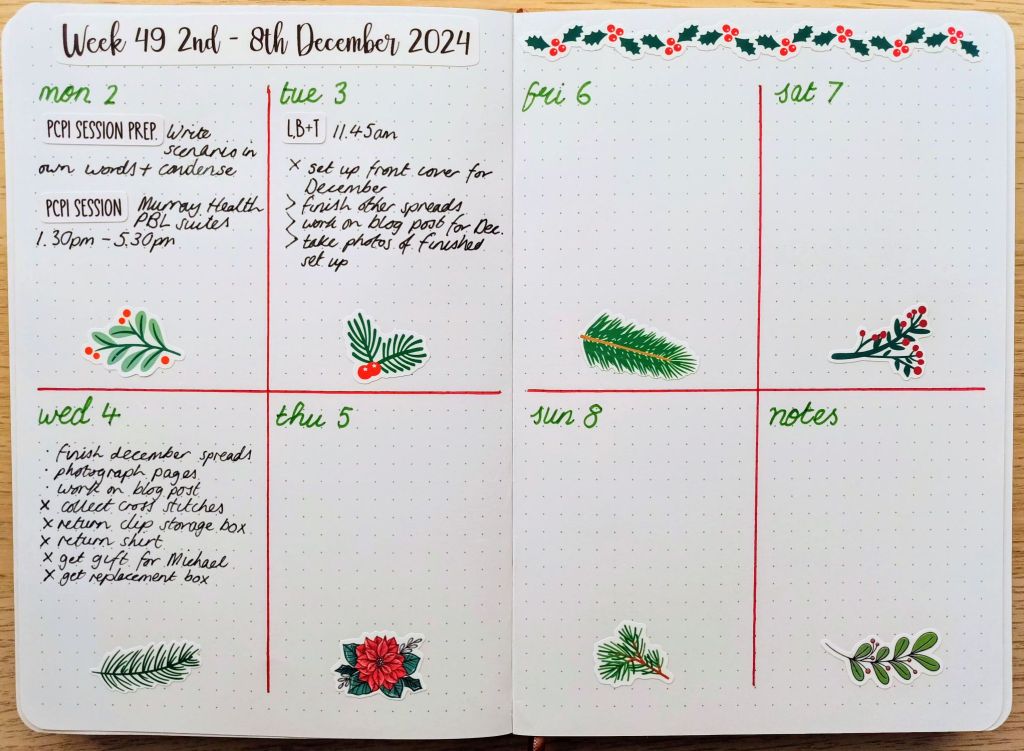
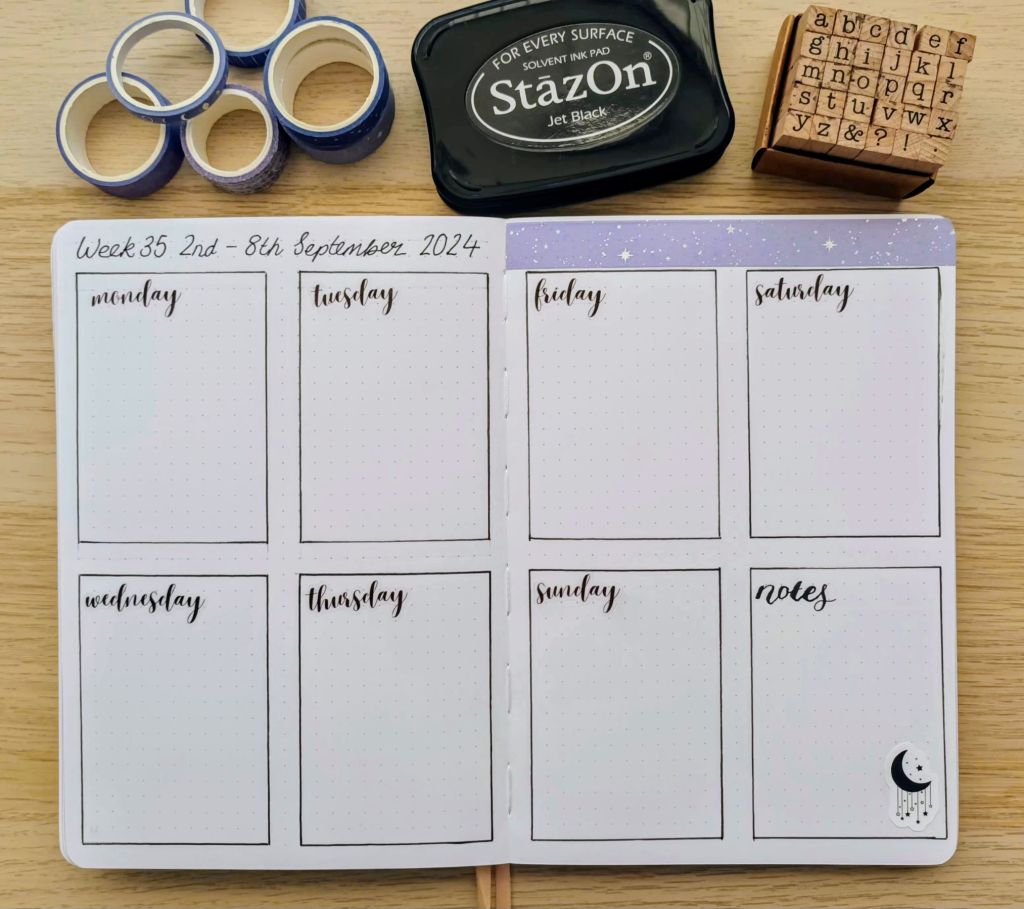
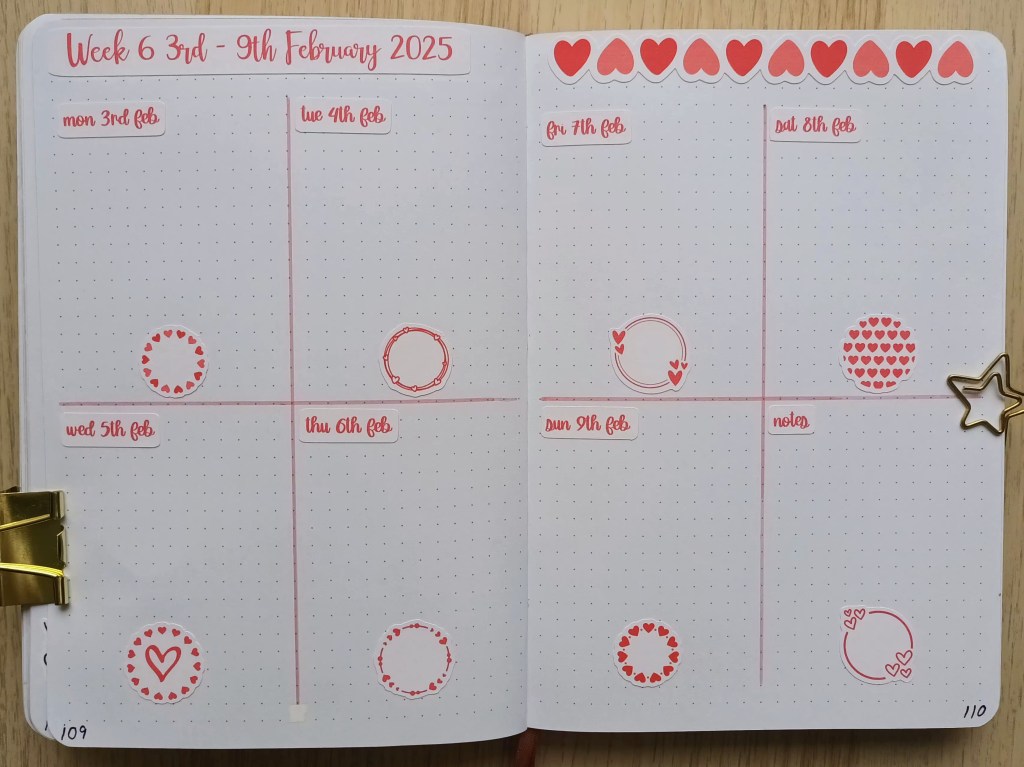
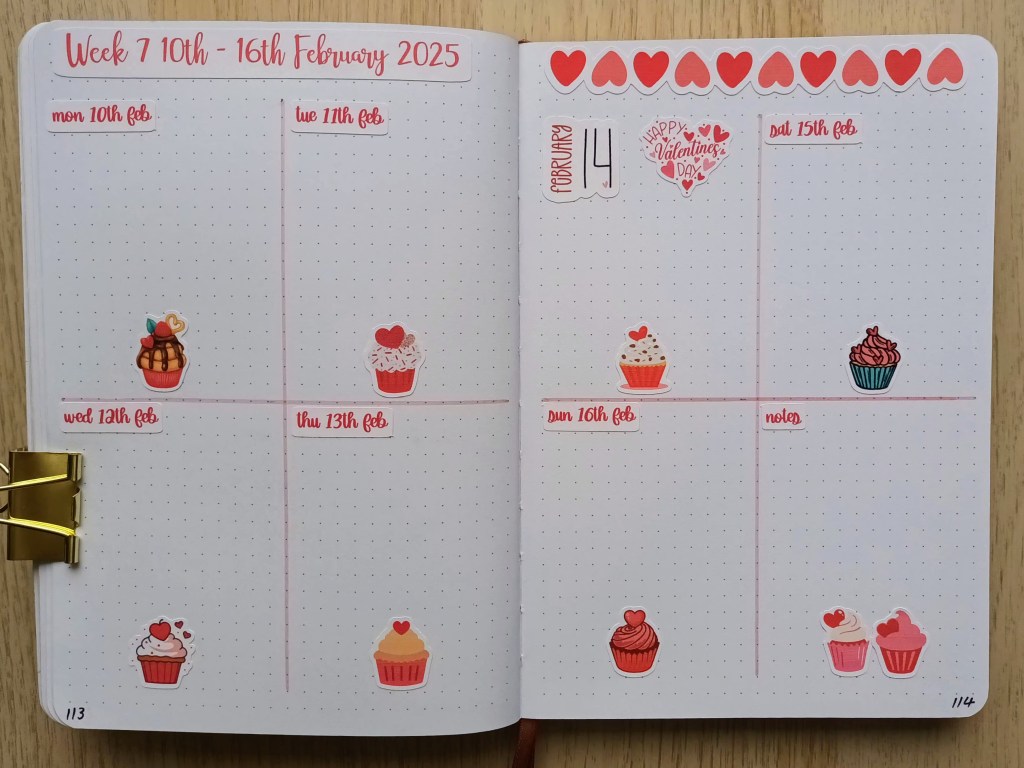
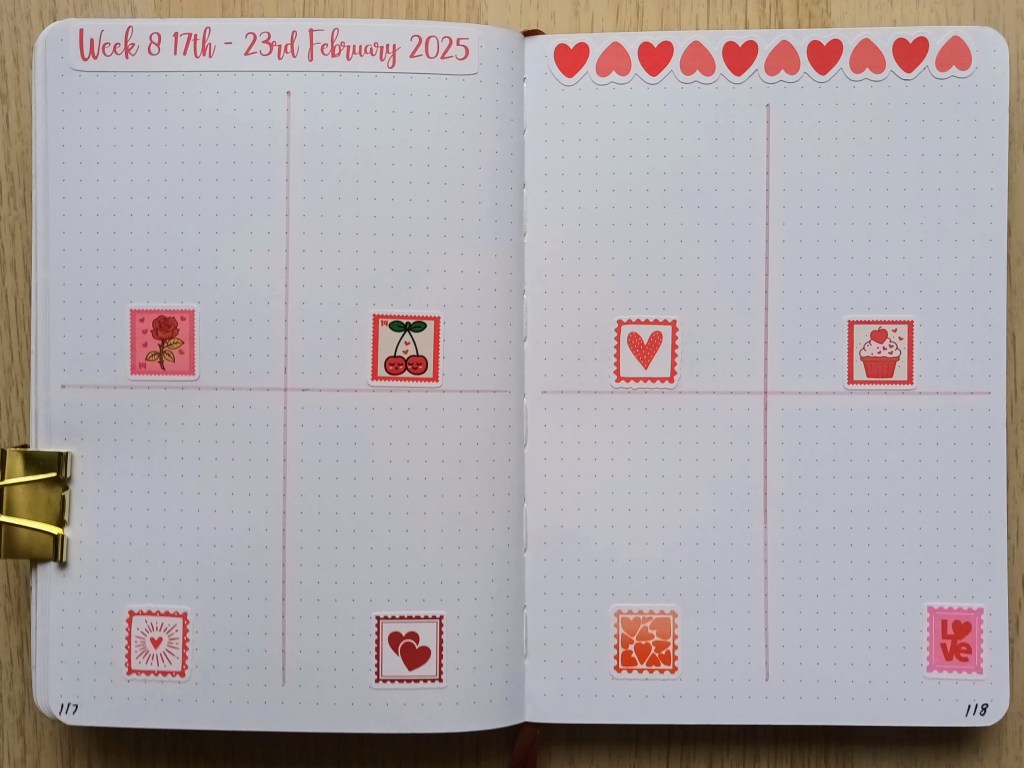
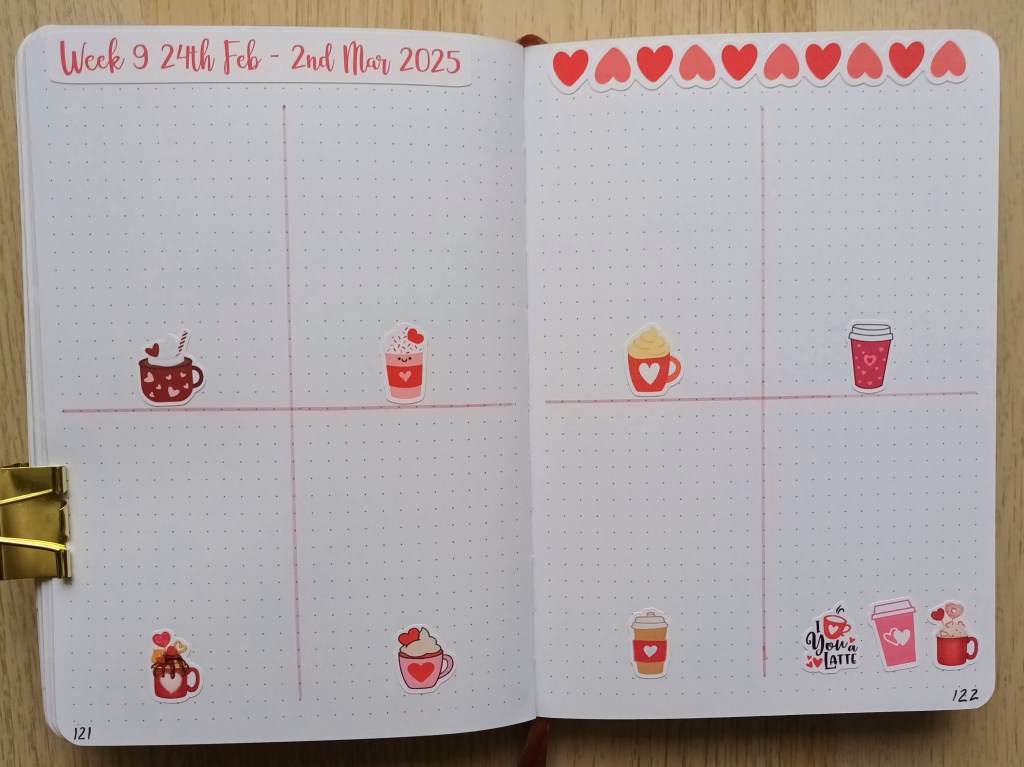
Weekly plans
I spent a long while perusing images on Cricut Design Space and came up with 4 different subtopics for the 4 weeks – mini wreaths, cupcakes, postage stamps and Valentine’s drinks. And look at all the hearty content I found!
Final words…
Thank you for visiting my blog to look at my February Bullet Journal set up for 2025. I hope you enjoyed seeing my pages. Many of the sticker images could easily to drawn directly onto the page using black waterproof fineliners and coloured markers. I know some people choose to create watercolour images straight into their bullet journal pages but I find that the paper in Notebook Therapy journals does not take this medium well. The paper is plenty thick enough to hold watercolour with minimum buckling but the paint just doesn’t behave in the same way as it does on proper cold pressed paper designed specifically with that in mind. Perhaps with a better scanner and printer, you can get a printout which looks the same as the original, but I can’t afford to buy a more expensive one and the true cost really comes from the very pricy cartridges. Despite this, I will continue to explore the medium of watercolour as much as I can in the future, but I might not use my art to decorate the pages of my bullet journal as regularly.
Have a wonderful February and I’ll see you back here with more BuJo content next month (which, at the time of writing, starts tomorrow!).