Last year, for some unknown reason, I think I must have decided against making a 2024 vision board. I’m not sure why, but maybe I didn’t feel up to it or perhaps I had a variety of commitments at the beginning of January and decided it was too late in the month to work on one.
For 2025, I decided that, for me personally, it’s not really important to have the board finished in super quick time and it doesn’t matter if I’m still working on it towards the end of January. I wanted to have a slow start to the first month, really pondering over what I would like the year to look like. I found it helpful to revisit a couple of old blog posts of mine in which I’d talked about key questions you could ask yourself to prepare your mind and what to actually do to improve your chances of manifesting everything you’ve visualised for the year.
I decided to create a larger display, rather than using two pages in my bullet journal as then I can have it on my craft room / office wall to look at all year round. I also chose to combine images, motivational sayings, affirmations and a few cute decorative elements to make it visually appealing. I’ve spend days thinking about what I truly want this year, flicking through a huge stash of Psychologies magazines, answering deep questions from my previous vision board posts, journalling my thoughts and closing my eyes to visualise things. I’m so glad I put lots into the preparation as my 2025 vision board is now complete and turned out exactly how I wanted it. I can’t wait to share a photograph of the finished product!
And here it is…
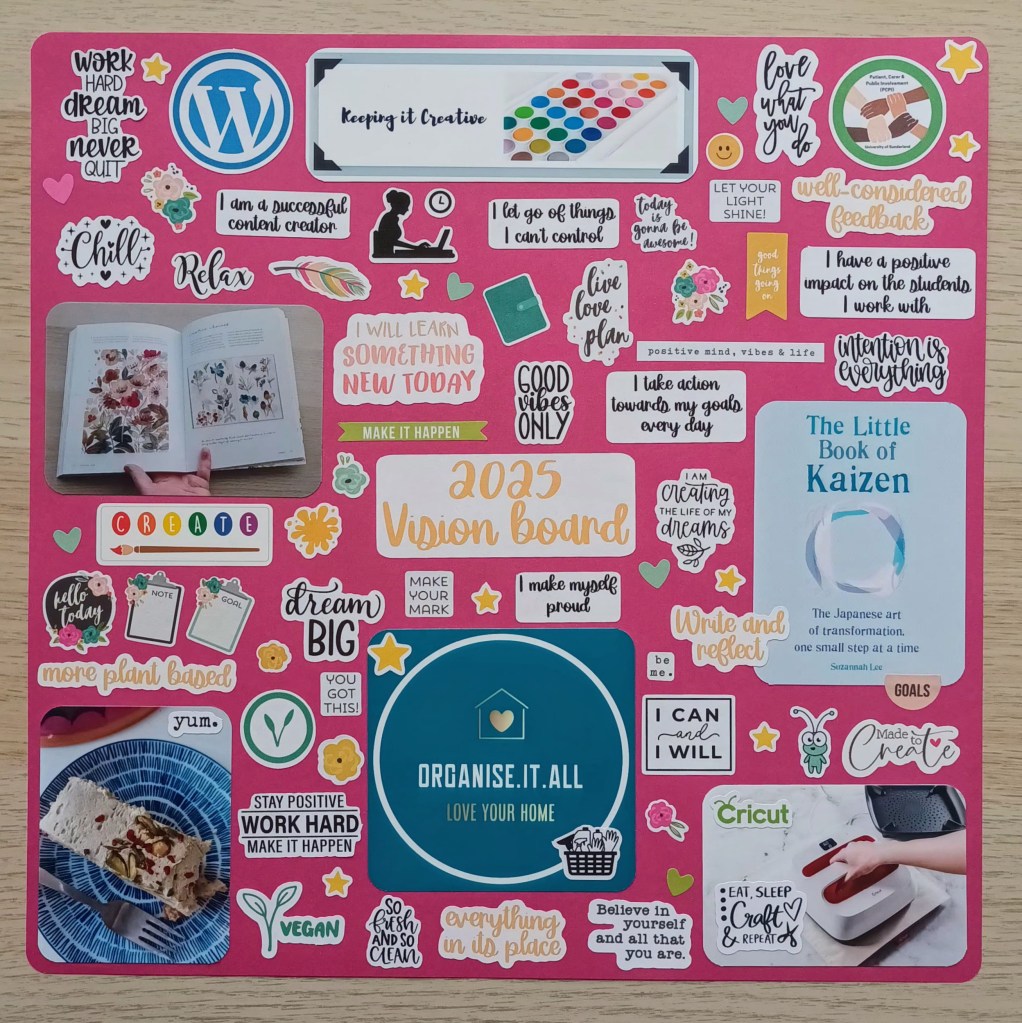
My main categories
Diet – The plan this year is to eat more plant-based goodies than ever before. We’ve made so many healthy and delicious vegan dishes this Veganuary and we’ve also found a cafe that has a range of vegan friendly cake options. It’s getting easier and easier to eat a plant based diet and my husband and I have already made a number of changes over the years such as soya milk on our cereal and oat milk in our hot drinks, vegan spread on our bread, lots of plant based alternatives to meat such as soya mince, veggie sausages, VLTs etc.
Creativity – I want to develop my watercolour skills even further this year, whilst also engaging in mindful and calming activity after busy days. I got a gorgeous book for Christmas which provides exploratory activities and projects with a nature theme. I want to incorporate a weekly slot of time to experiment and develop a range of techniques.
Blogging – I want to spend more time promoting my blog posts so that I develop a wider readership. I used to consistently post pins on Pinterest but I’ve let this slide over the last few years. I get plenty of readers but I want to reach individuals who do not have their own blog as well as those who are keen bloggers.
PCPI work – I thoroughly enjoy my work at the university but it’s really important to me that I’m making as much of a difference as I can to the students. I particularly want to develop my feedback skills for medicine sessions, particularly with young adults who are in the initial stages of their uni course.
Kaizen – I recently started a short book called The Little Book of Kaizen – The Japanese art of transformation, one small step at a time. I’m enjoying reading it and doing the exercises at the beginning. The idea really appeals to me, so, to make sure it’s a focus for me this year, I’ve added a photograph of the mini book on my vision board with a view to working through all of the chapters. I’ve even pick out a cute notebook to use to jot things down and I’m using my fountain pen to write beautifully inside.
Cricut – As you probably already know, I’m obsessed with making stickers and cutting them using my Joy Xtra. However, I also have the smaller Joy machine and also invested in the EasyPress 2 when it was on offer at a discount. I have lots of vinyl and HTV as well as some iron on papers so I want to spend time this year getting creative and using them all up. I have so many ideas but I now need to schedule time to actually get making things. I added a Cricut bug sticker to watch over me and remind me to have more fun playing with my machines.
Getting organised – We have a lot of stuff in our house and some of it needs purging. As well as trying to use up craft materials before buying any more, I also want to re-organise our home so it’s easy to clean and keep tidy.
Final words…
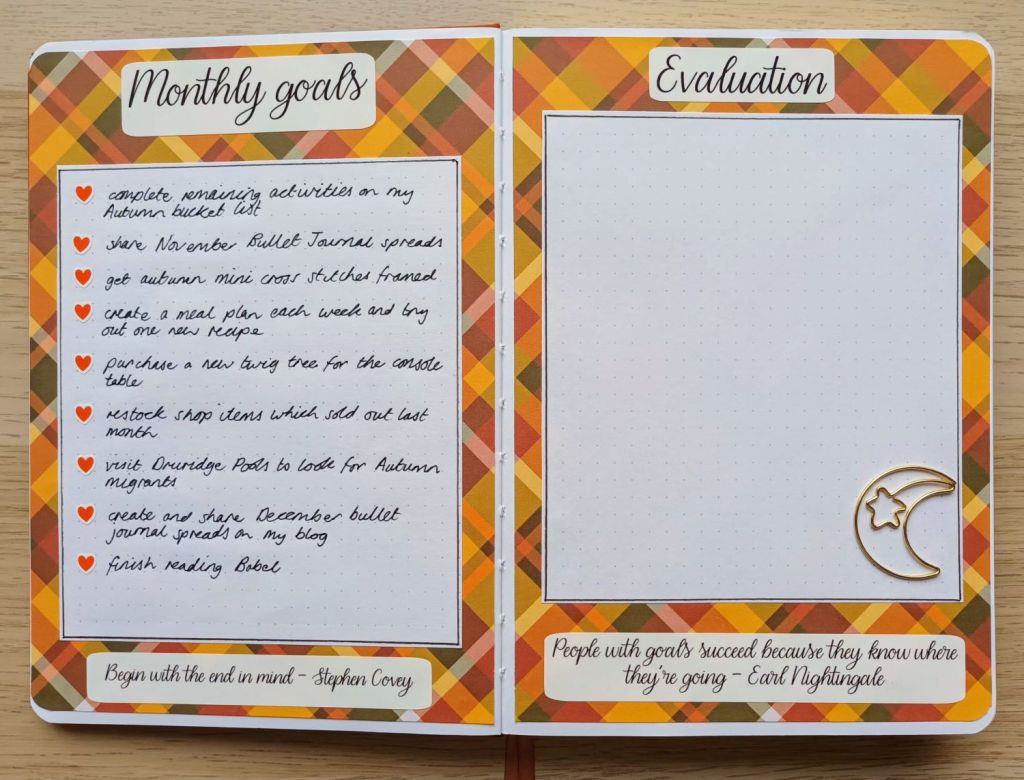
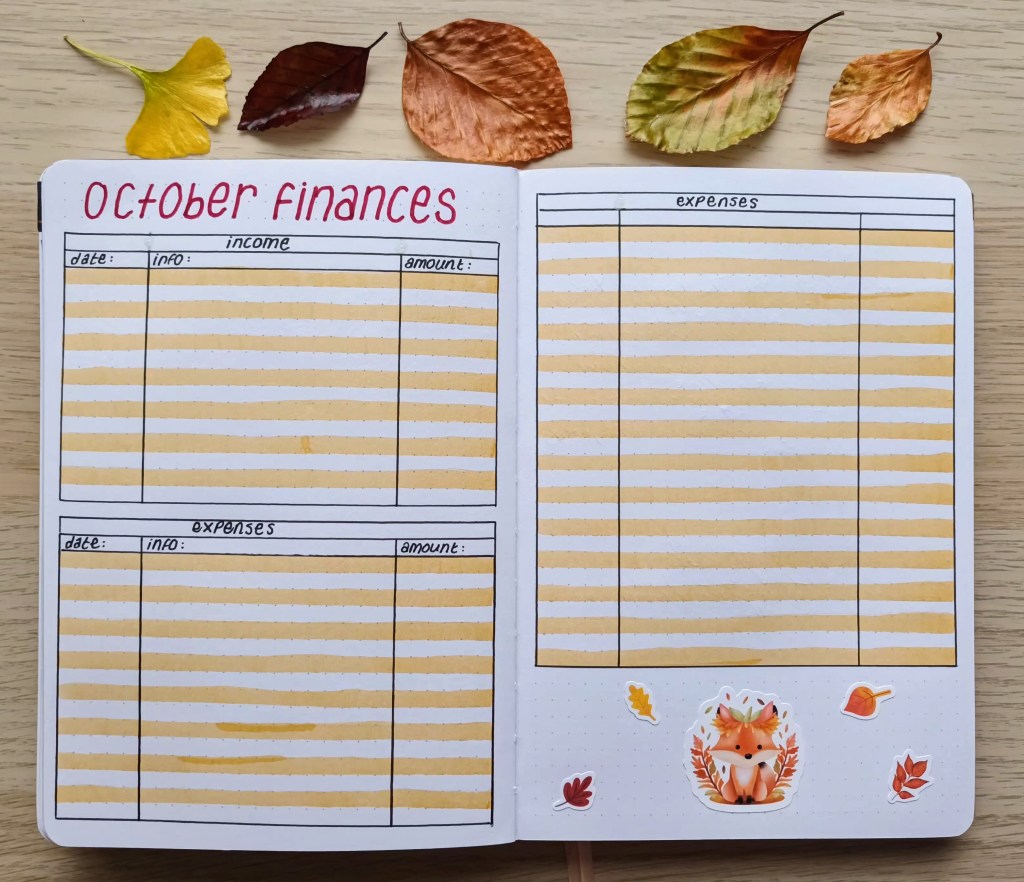
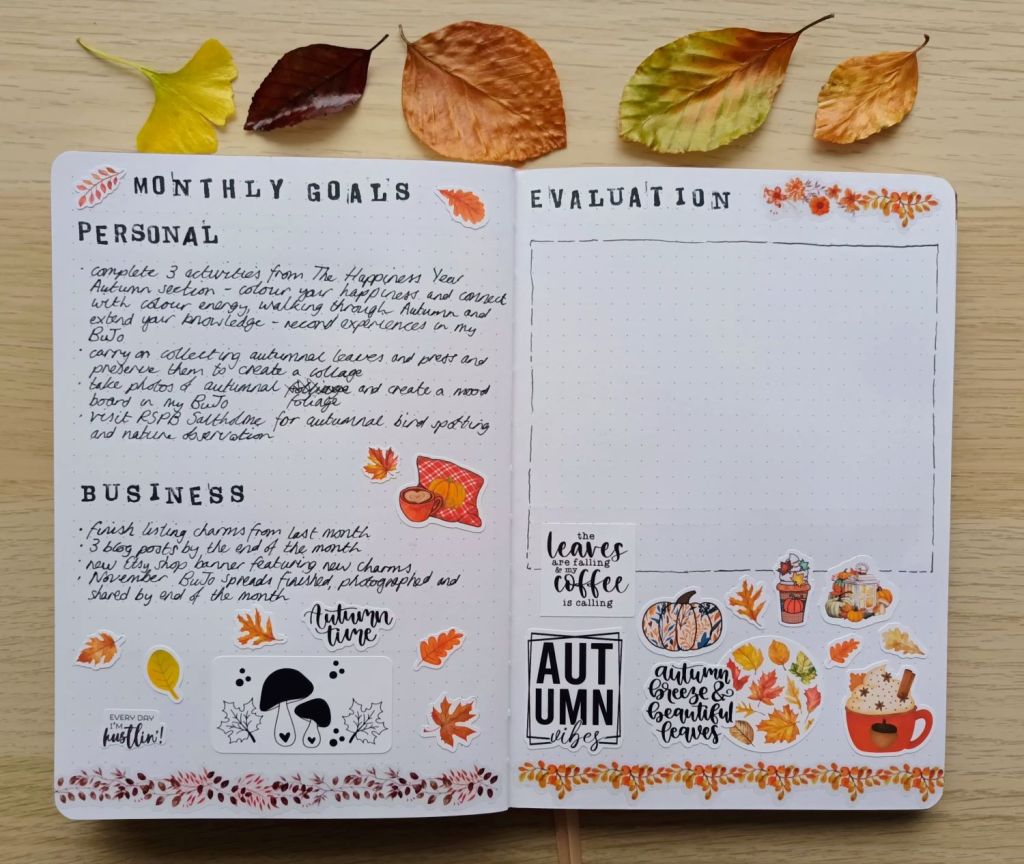
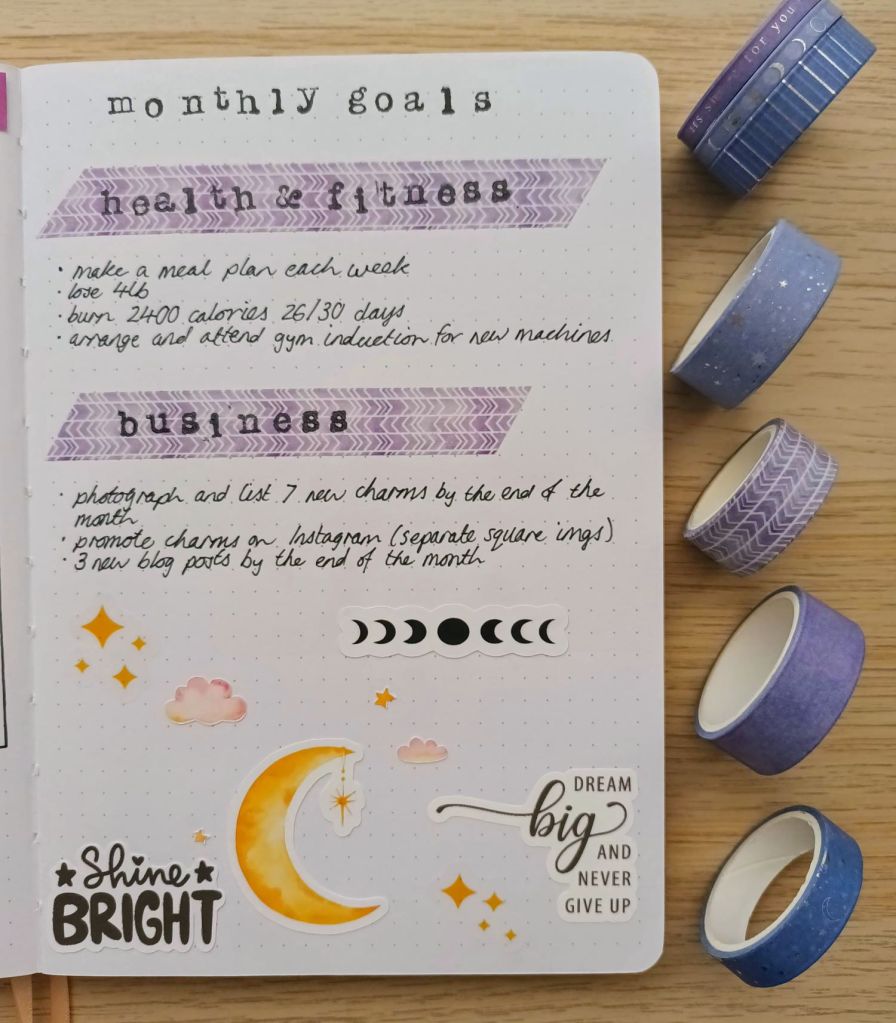
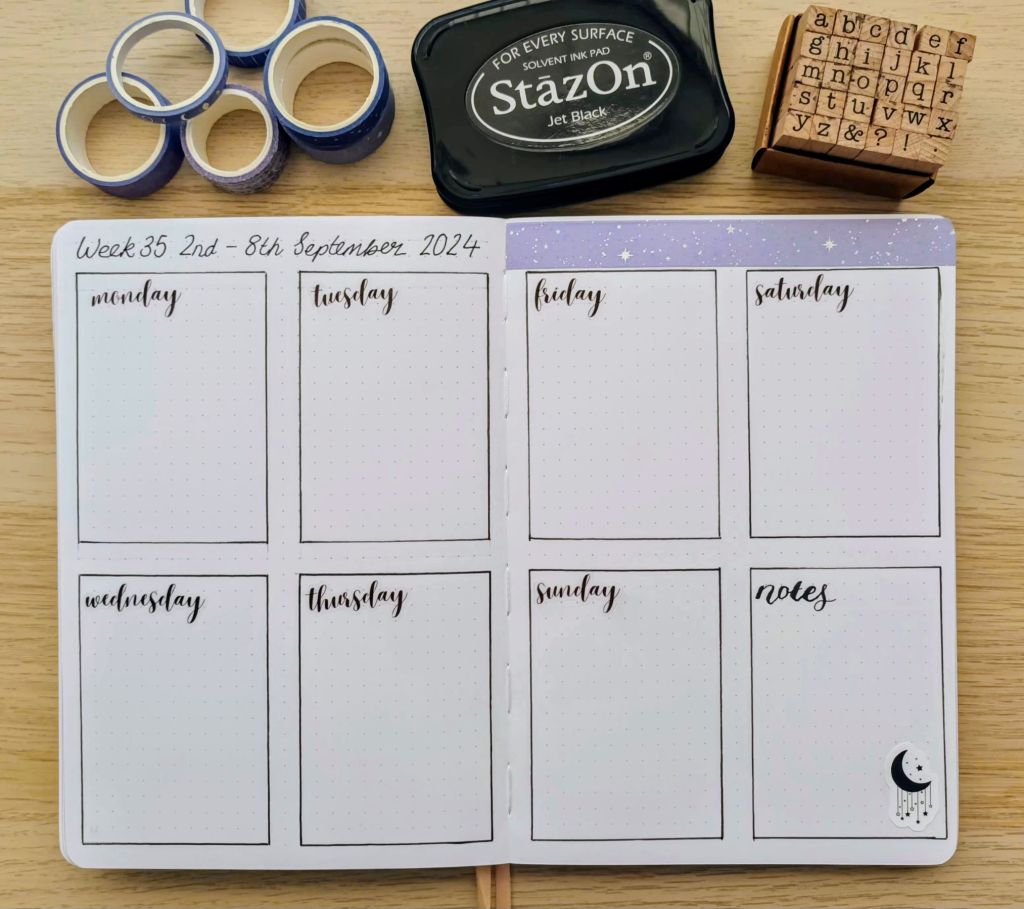
That’s everything on my vision board for this year and to ensure that everything on the display comes into fruition, I will be checking in with it at the beginning of each month and using the different aspects to set mini monthly goals. I’ve developed pages in my bullet journal to list my goals and I’ll make sure at least some of them relate to things I want to manifest throughout the year.
I hope you enjoyed seeing my board and that it’s inspired you to have a go at creating your own. It doesn’t matter if you don’t get around to it for a few weeks – there’s still plenty of days left in the year to take action.
Good luck!