Posted in Business branding, creativity, Planning and journaling, Selling on Etsy

I made a vision board for my Etsy shop: my brand and its core values in photographs

I don’t know about you, but I love looking at inspirational images and spend many hours each week perusing Pinterest, Google Images and pretty pictures in magazines. I also love using glossy photographs to create my vision board for the year. You can see my board for 2019 which I shared in a previous post here.

A while ago, I spent several days considering brand identity and core values for my Etsy business. My shop has been open for over two and a half years now but I wanted to make sure that my products reflected what my brand was all about. I worked on developing a list of adjectives which describe what I want to be at the core of my business. Then, alongside this, I chose a range of images which reflected my beliefs about what LJ Designs NE is all about. Below is a list of what I came up with (in no particular order of importance!) and a photo story of how I went about making my vision board some weeks later.

  • nature inspired
  • fun
  • fresh
  • creative
  • reflective
  • organised
  • delightful
  • peaceful
  • colourful
  • productive
  • playful
  • simple
  • compassionate
  • efficient
  • friendly
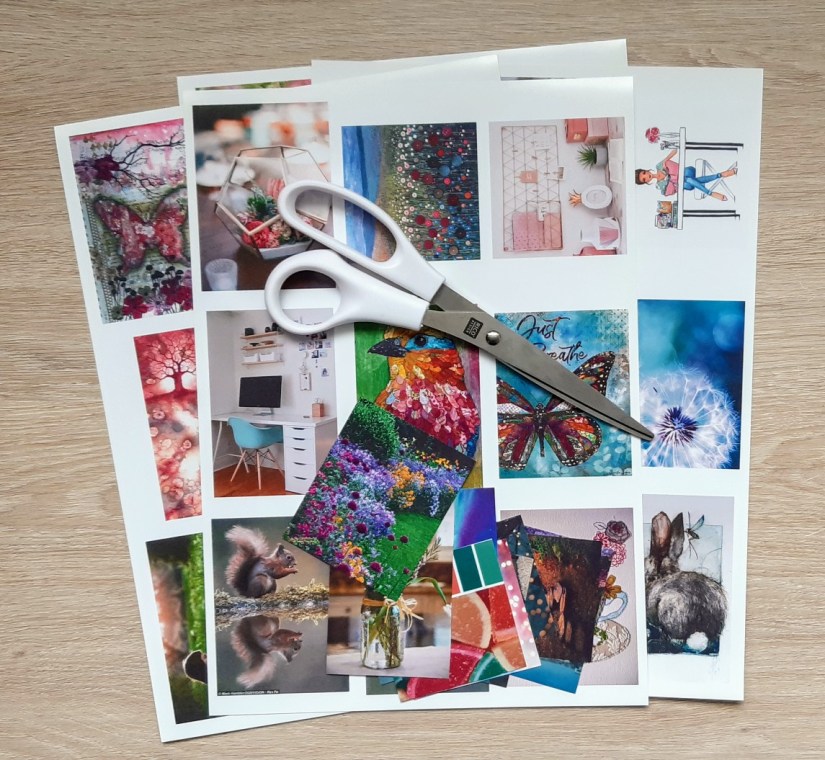
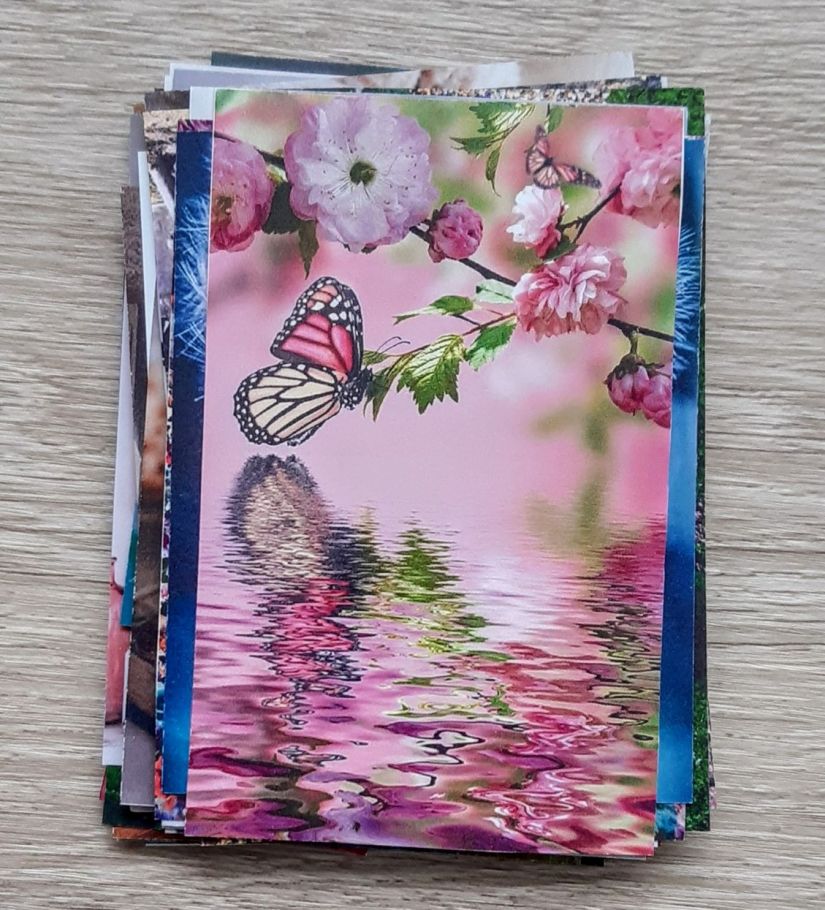
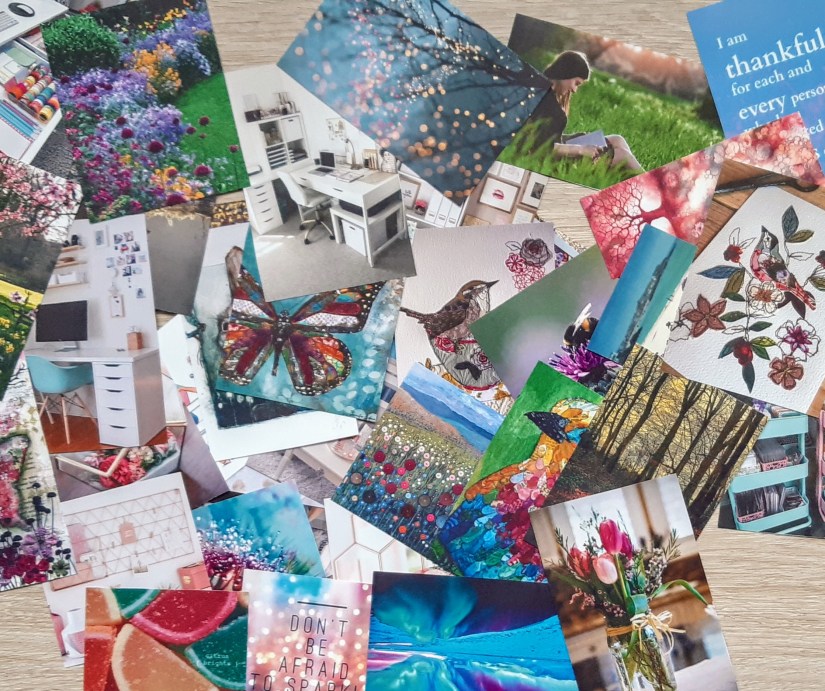
Over 40 images printed on photograph paper. Colour themes, ideas and inspirational messages included.

After spending a good while cutting the above out I had a very sore wrist and a big pile of gorgeous images.
When I’d finished cutting out all of my images, I laid them all out on the floor to see how much room they would need to be displayed. I then popped to The Range and bought an A1 piece of mounting board in a lovely charcoal grey colour and a large Perspex clip frame. I chose a Perspex frame as I’ve had issues with clip frames getting broken in the past and didn’t want a recurrence of this.

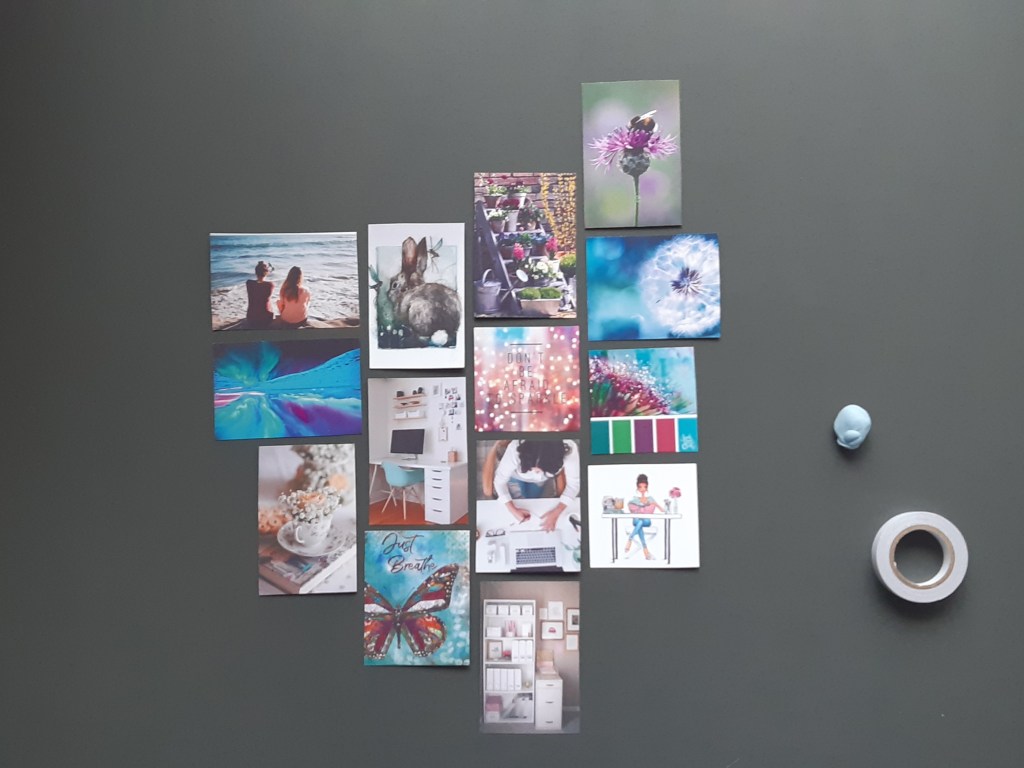
To ensure I was happy with the placement of the pics, I started by placing them onto the board with small pieces of Blu-Tak so I could play with the arrangement a little.
I did have the intention of using double sided tape to adhere the images permanently but in the end, I glued them on with Pritt Stick so that if I put them on a little wonky I could sort them out!
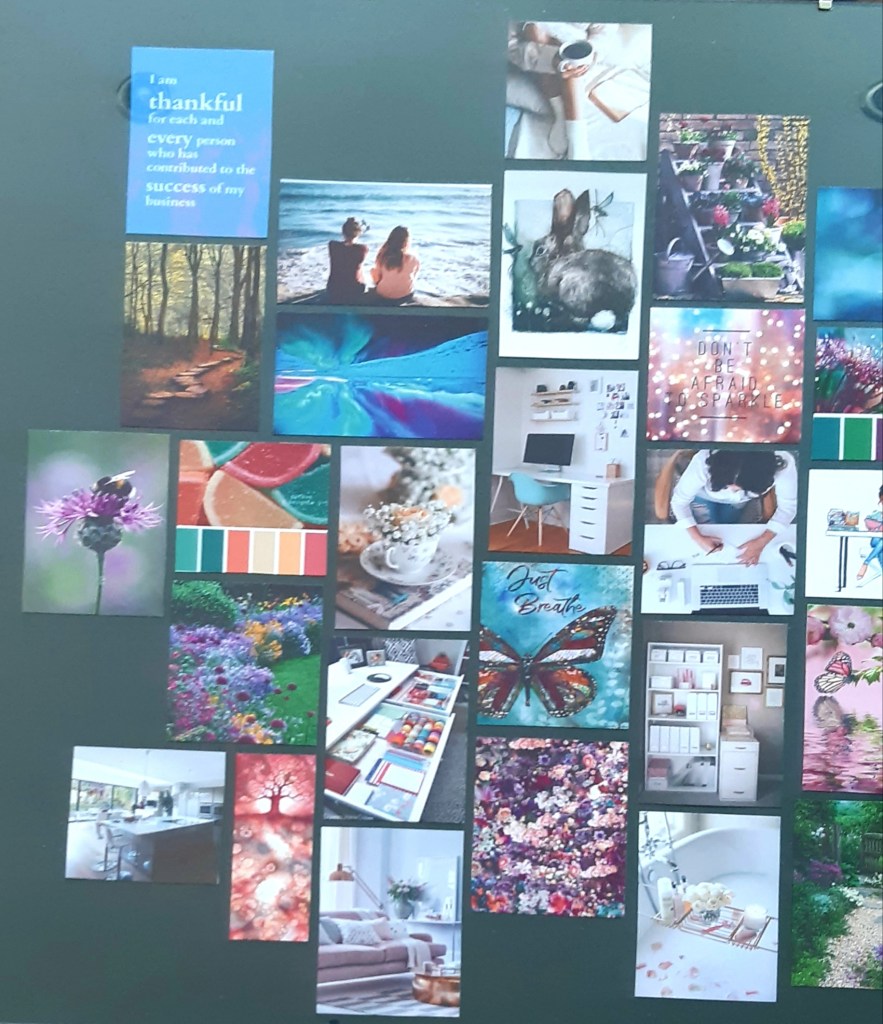
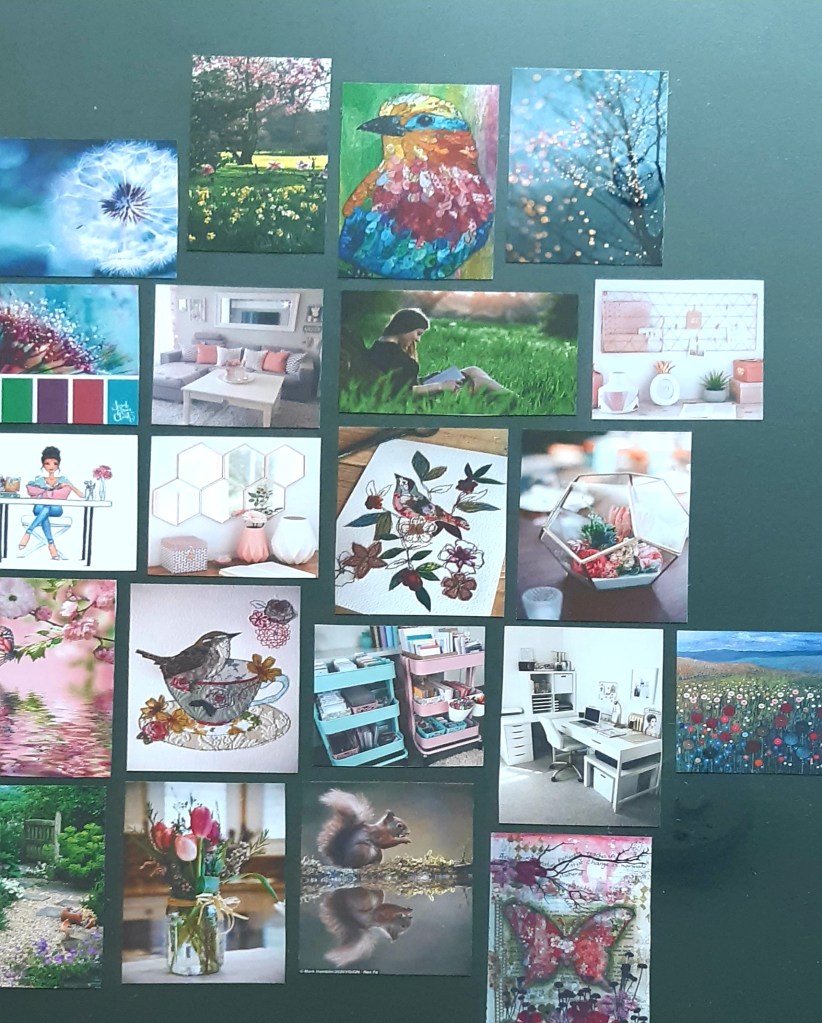
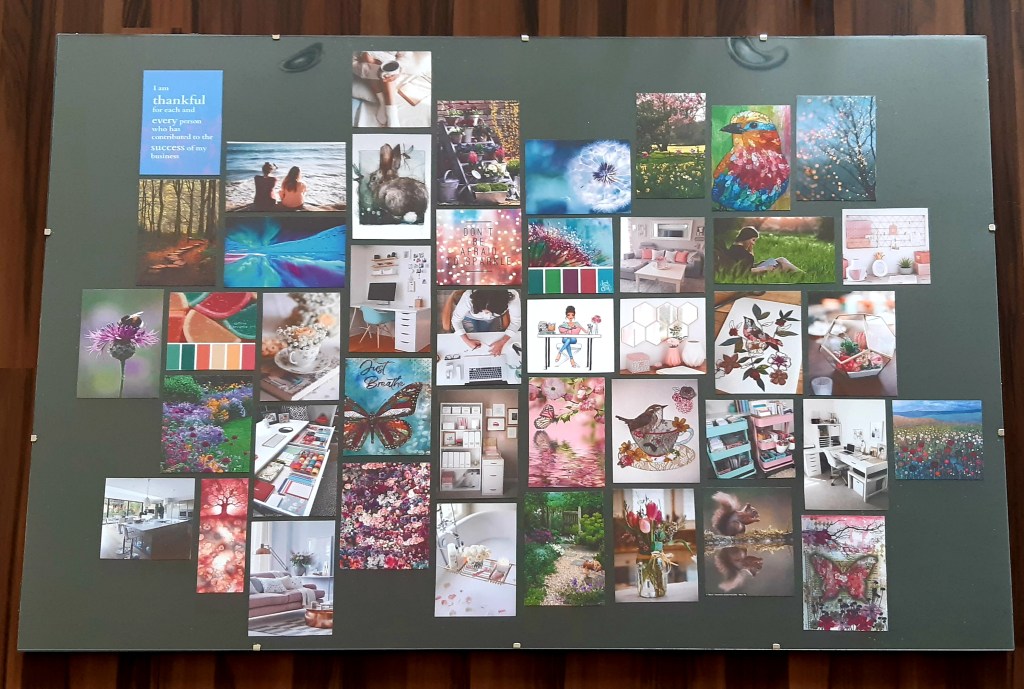
The finished board with all of the images glued on and the Perspex frame clipped in place.

I’m so pleased with how my brand vision board turned out and can’t wait to put it on display in my craft room / office. I hope you find it visually appealing too and agree that it reflects my key ideas about my little Etsy shop.

Have you ever tried a similar process for your handmade business? If not, I thoroughly recommend it. I had great fun and I now have a board full of beautiful pictures to remind me of what’s at the heart of my brand and to inspire me when I’m working in my craft room each day.

Posted in art, creativity, watercolour painting, wellbeing, wellness

Creative time – using my new watercolours!

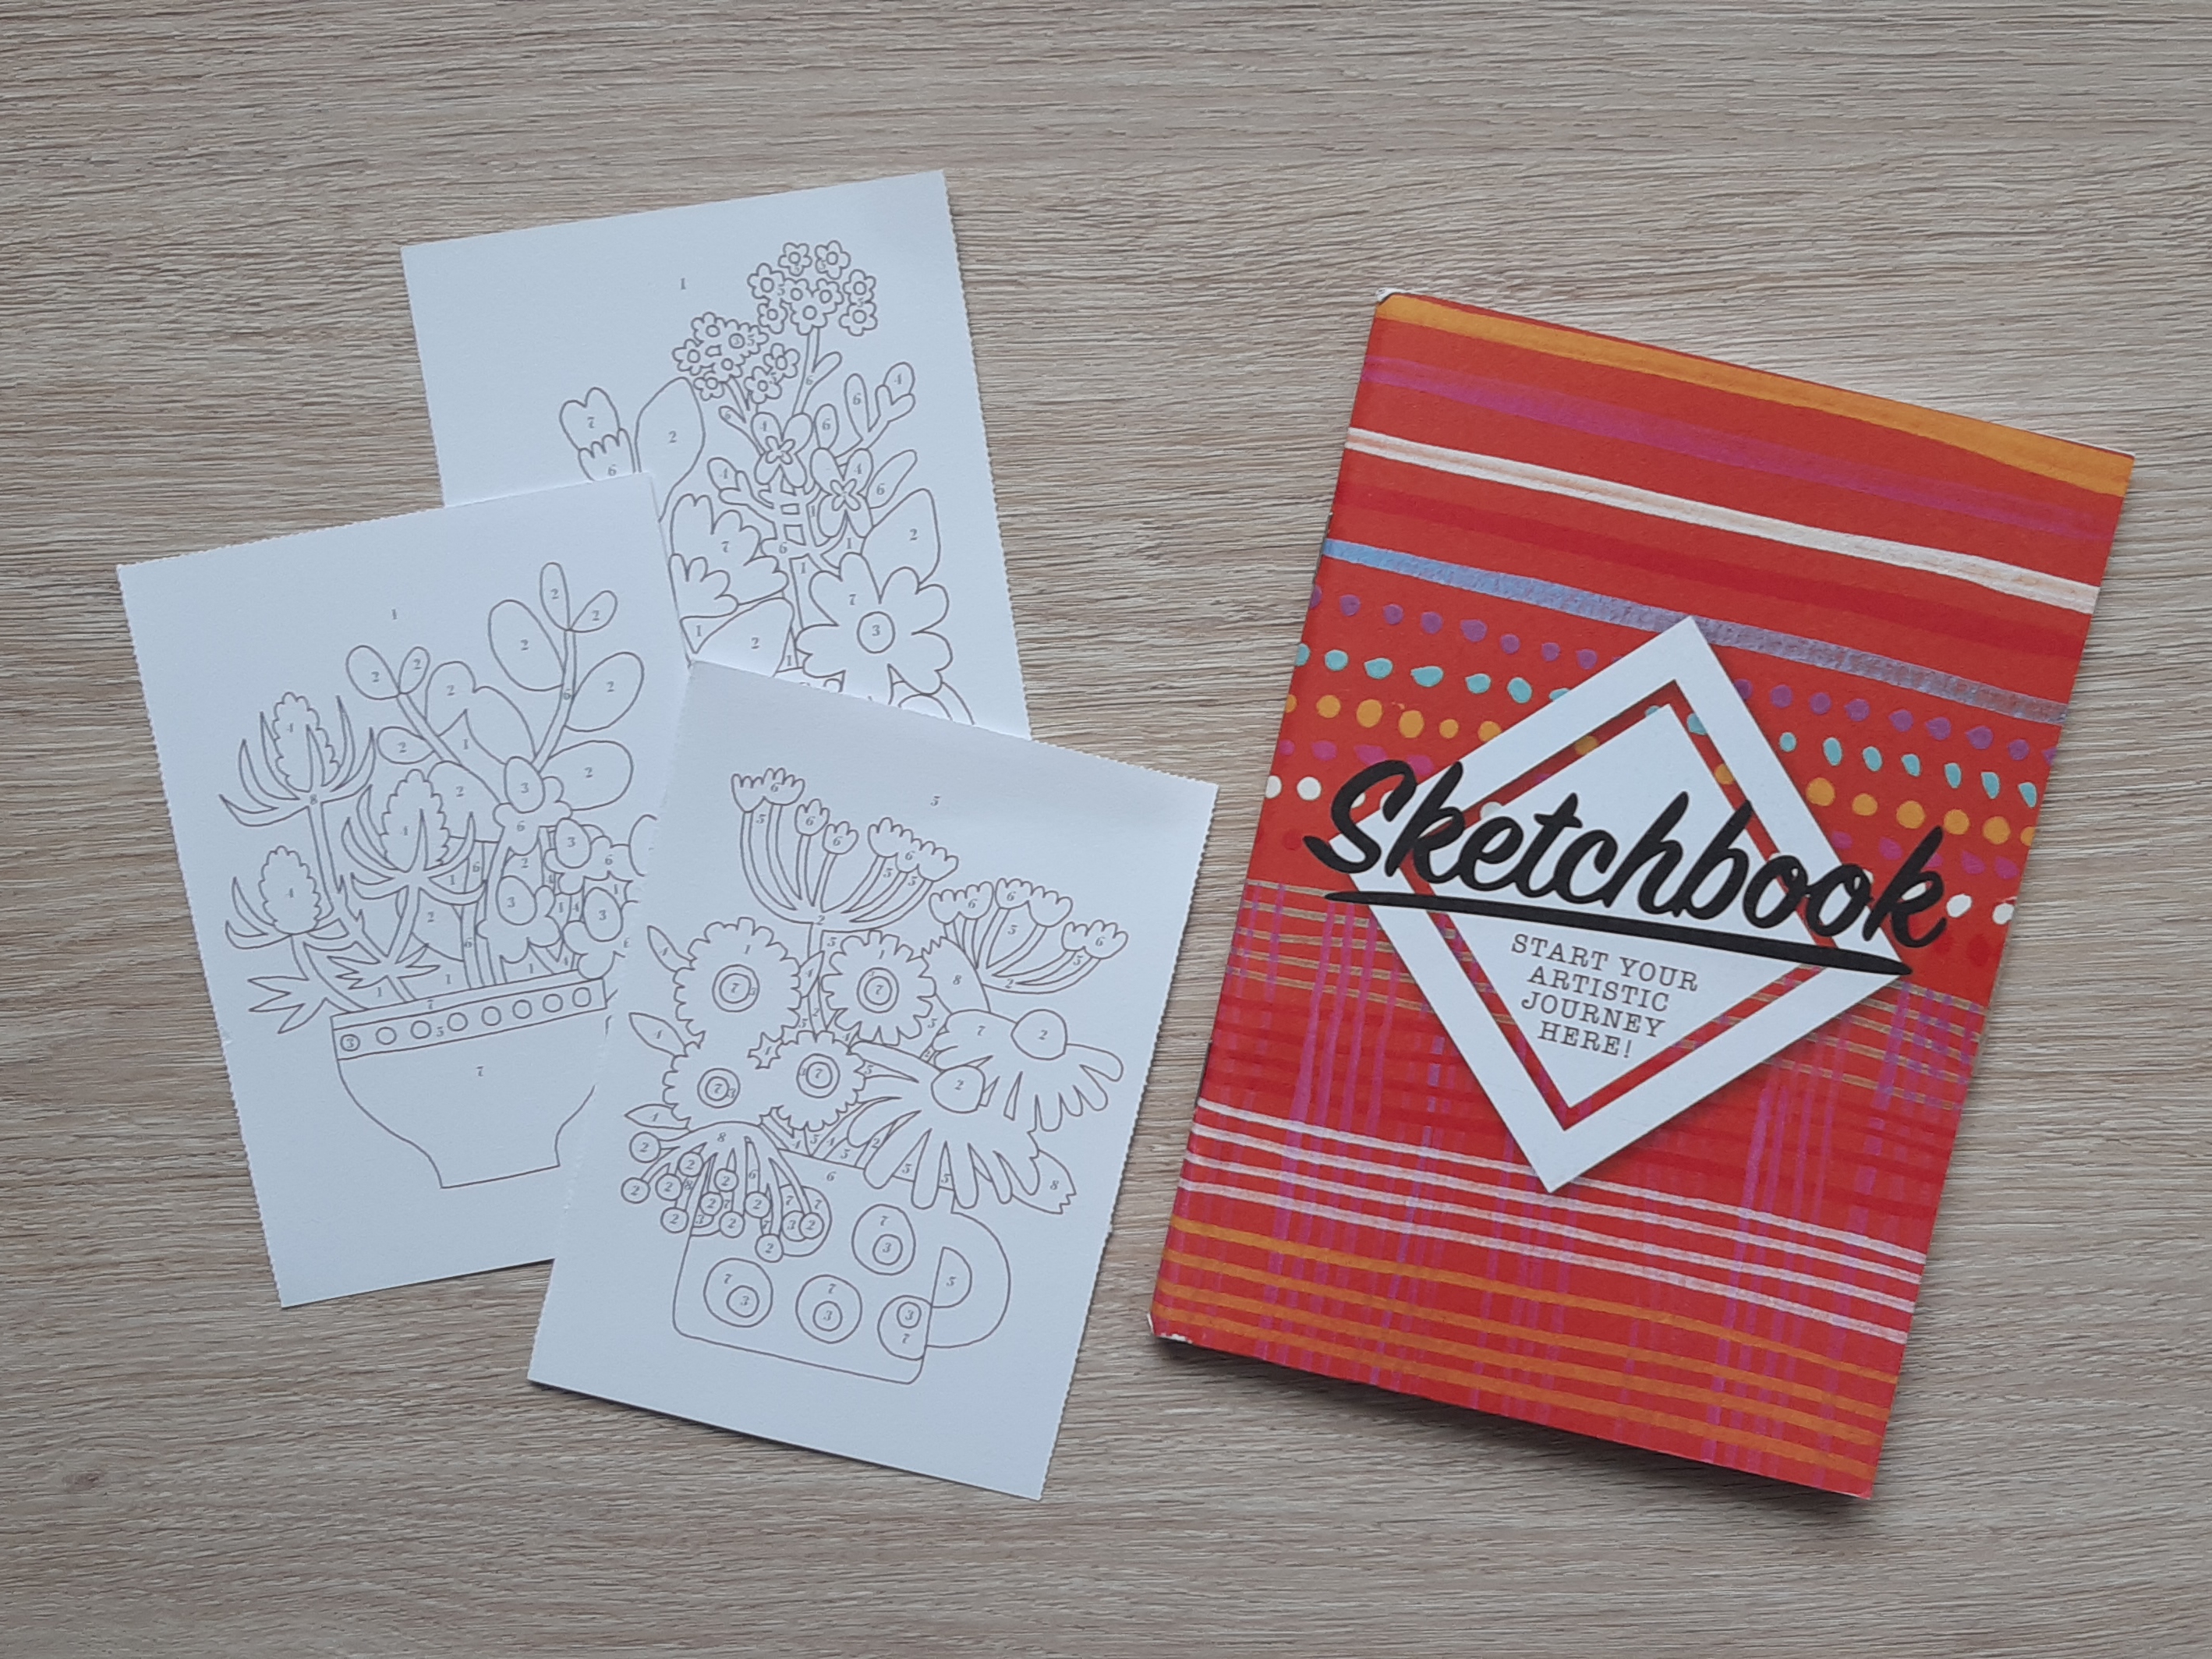
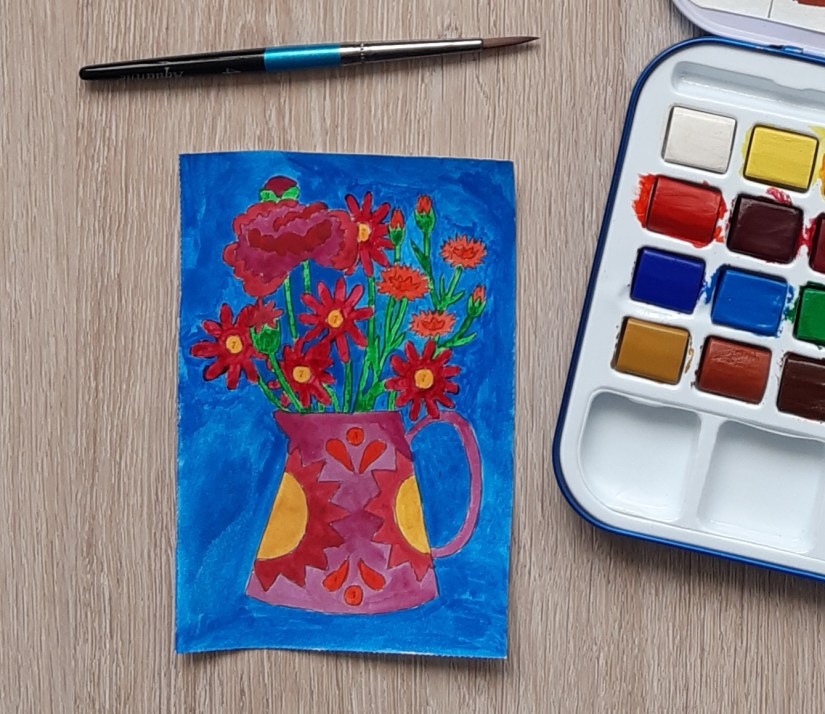
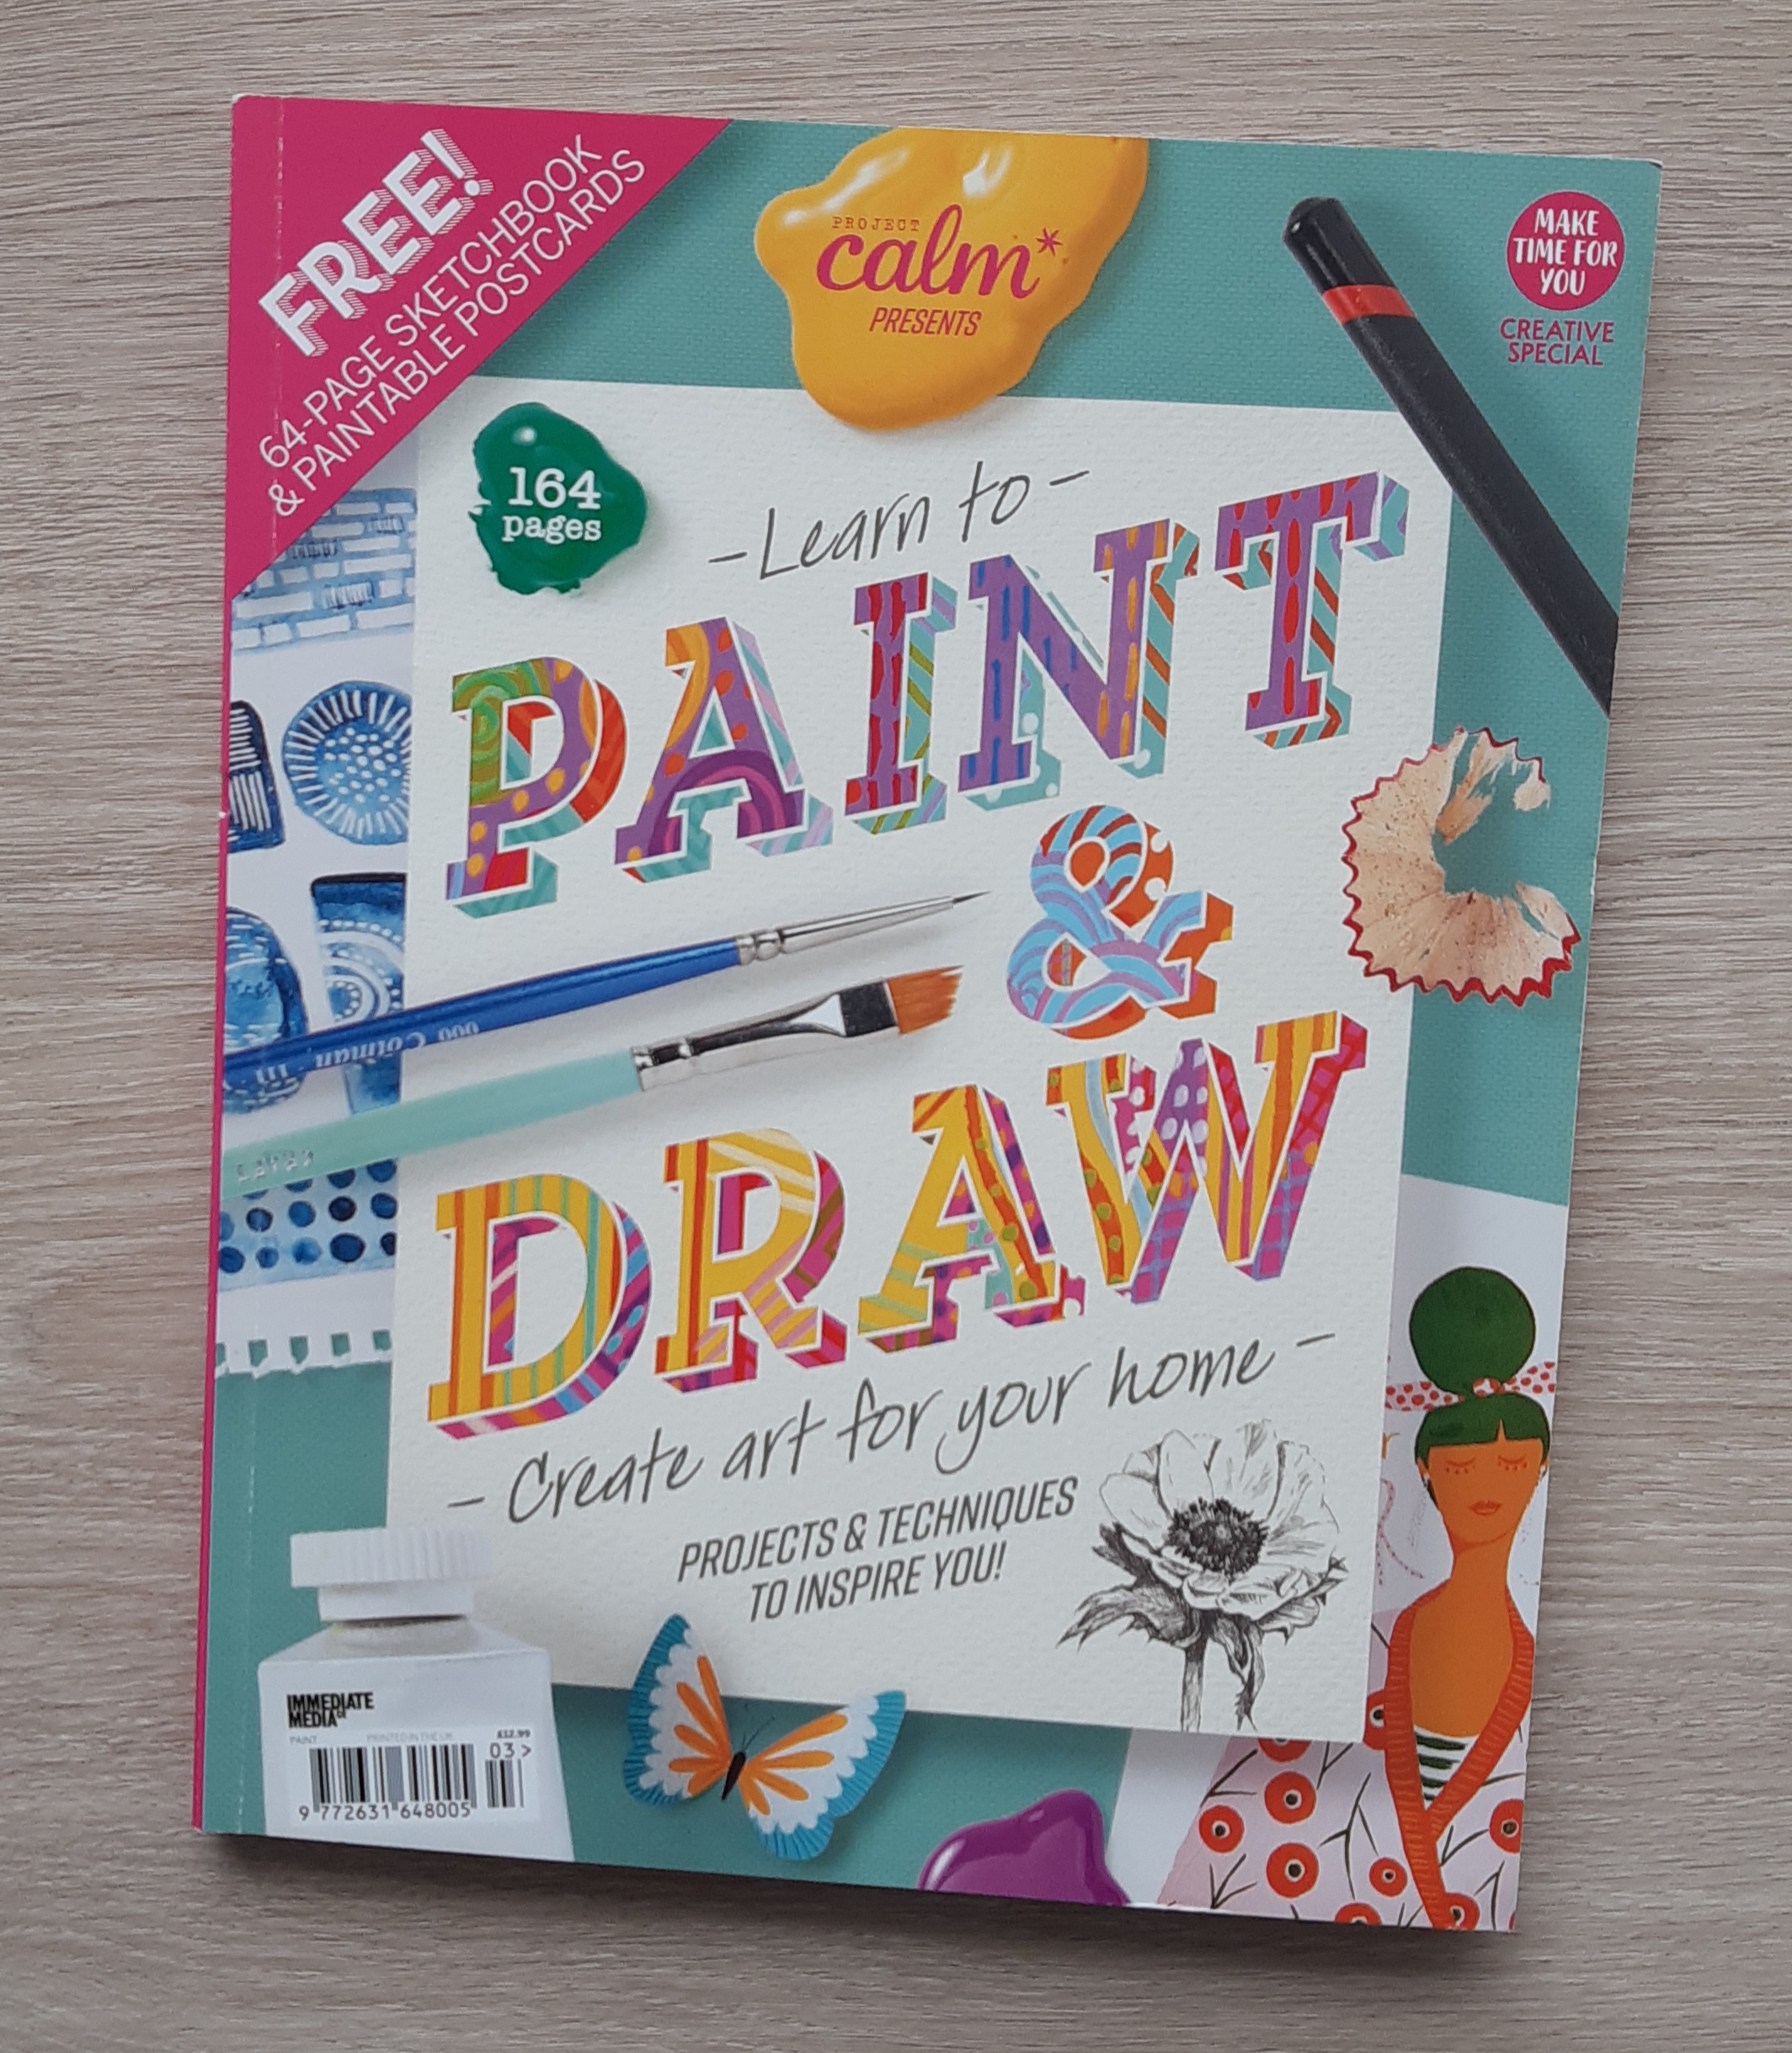
In my last blog post, I talked about my new Daler Rowley watercolours. Yesterday, I put them to good use on a simple painting project which I found in a magazine. The magazine, pictured below, is a creative special from the makers of Project Calm which includes ‘a carefully curated collection of wonderful creative projects for you to try at home using easy to find art supplies. Following a quick flick through the pages, I decided it looked like the perfect mag to provide inspiration and some easy projects to get me started with my watercolours and also some cheap Gouache paints that I picked up in TKMaxx a few weeks ago.

The magazine, which retails at £12.99 and can be purchased from Sainsburys and probably a host of other retailers, includes artists stories, information about useful art tools and supplies, a range of projects, plus a 64 page sketchbook and paintable postcards.

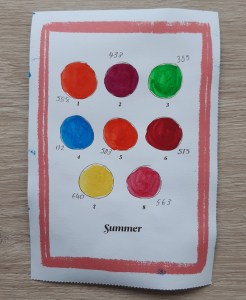
I decided to start with one of the postcards. The idea is you choose seasonal paint colours to fill a floral, paint by numbers, image. I decided to choose the summer one and therefore selected bright and intense colours for my design. On the reverse of the postcard, you add samples of your chosen colours and this becomes your palette.

My chosen colour palette

To be honest, this seemed like a good idea in theory, but in reality, you were unable to see the samples whilst painting on the front and you needed to carefully select the colours you chose for the paint by numbers system if you wanted a good looking image where the stems of the flowers were a green colour! I remedied the samples situation by taking a quick shot on my phone to refer to as I painted.

Although the results aren’t perfect, mainly because I could have done with a much tinier brush to keep within the lines, I did enjoy the process and found it very therapeutic. We all need some ‘me time’ and for me personally, nothing beats a little relaxing creative project.

I hope you enjoyed this quick post and it has inspired you to indulge in some creative me time or spend a few minutes doing something you find relaxing. On that note, I would love to hear about your favourite way to spend your ‘me time’ and why? Let me know in the comments.

Until next time…

Much love, Laura xx

Posted in art, creativity, watercolour painting

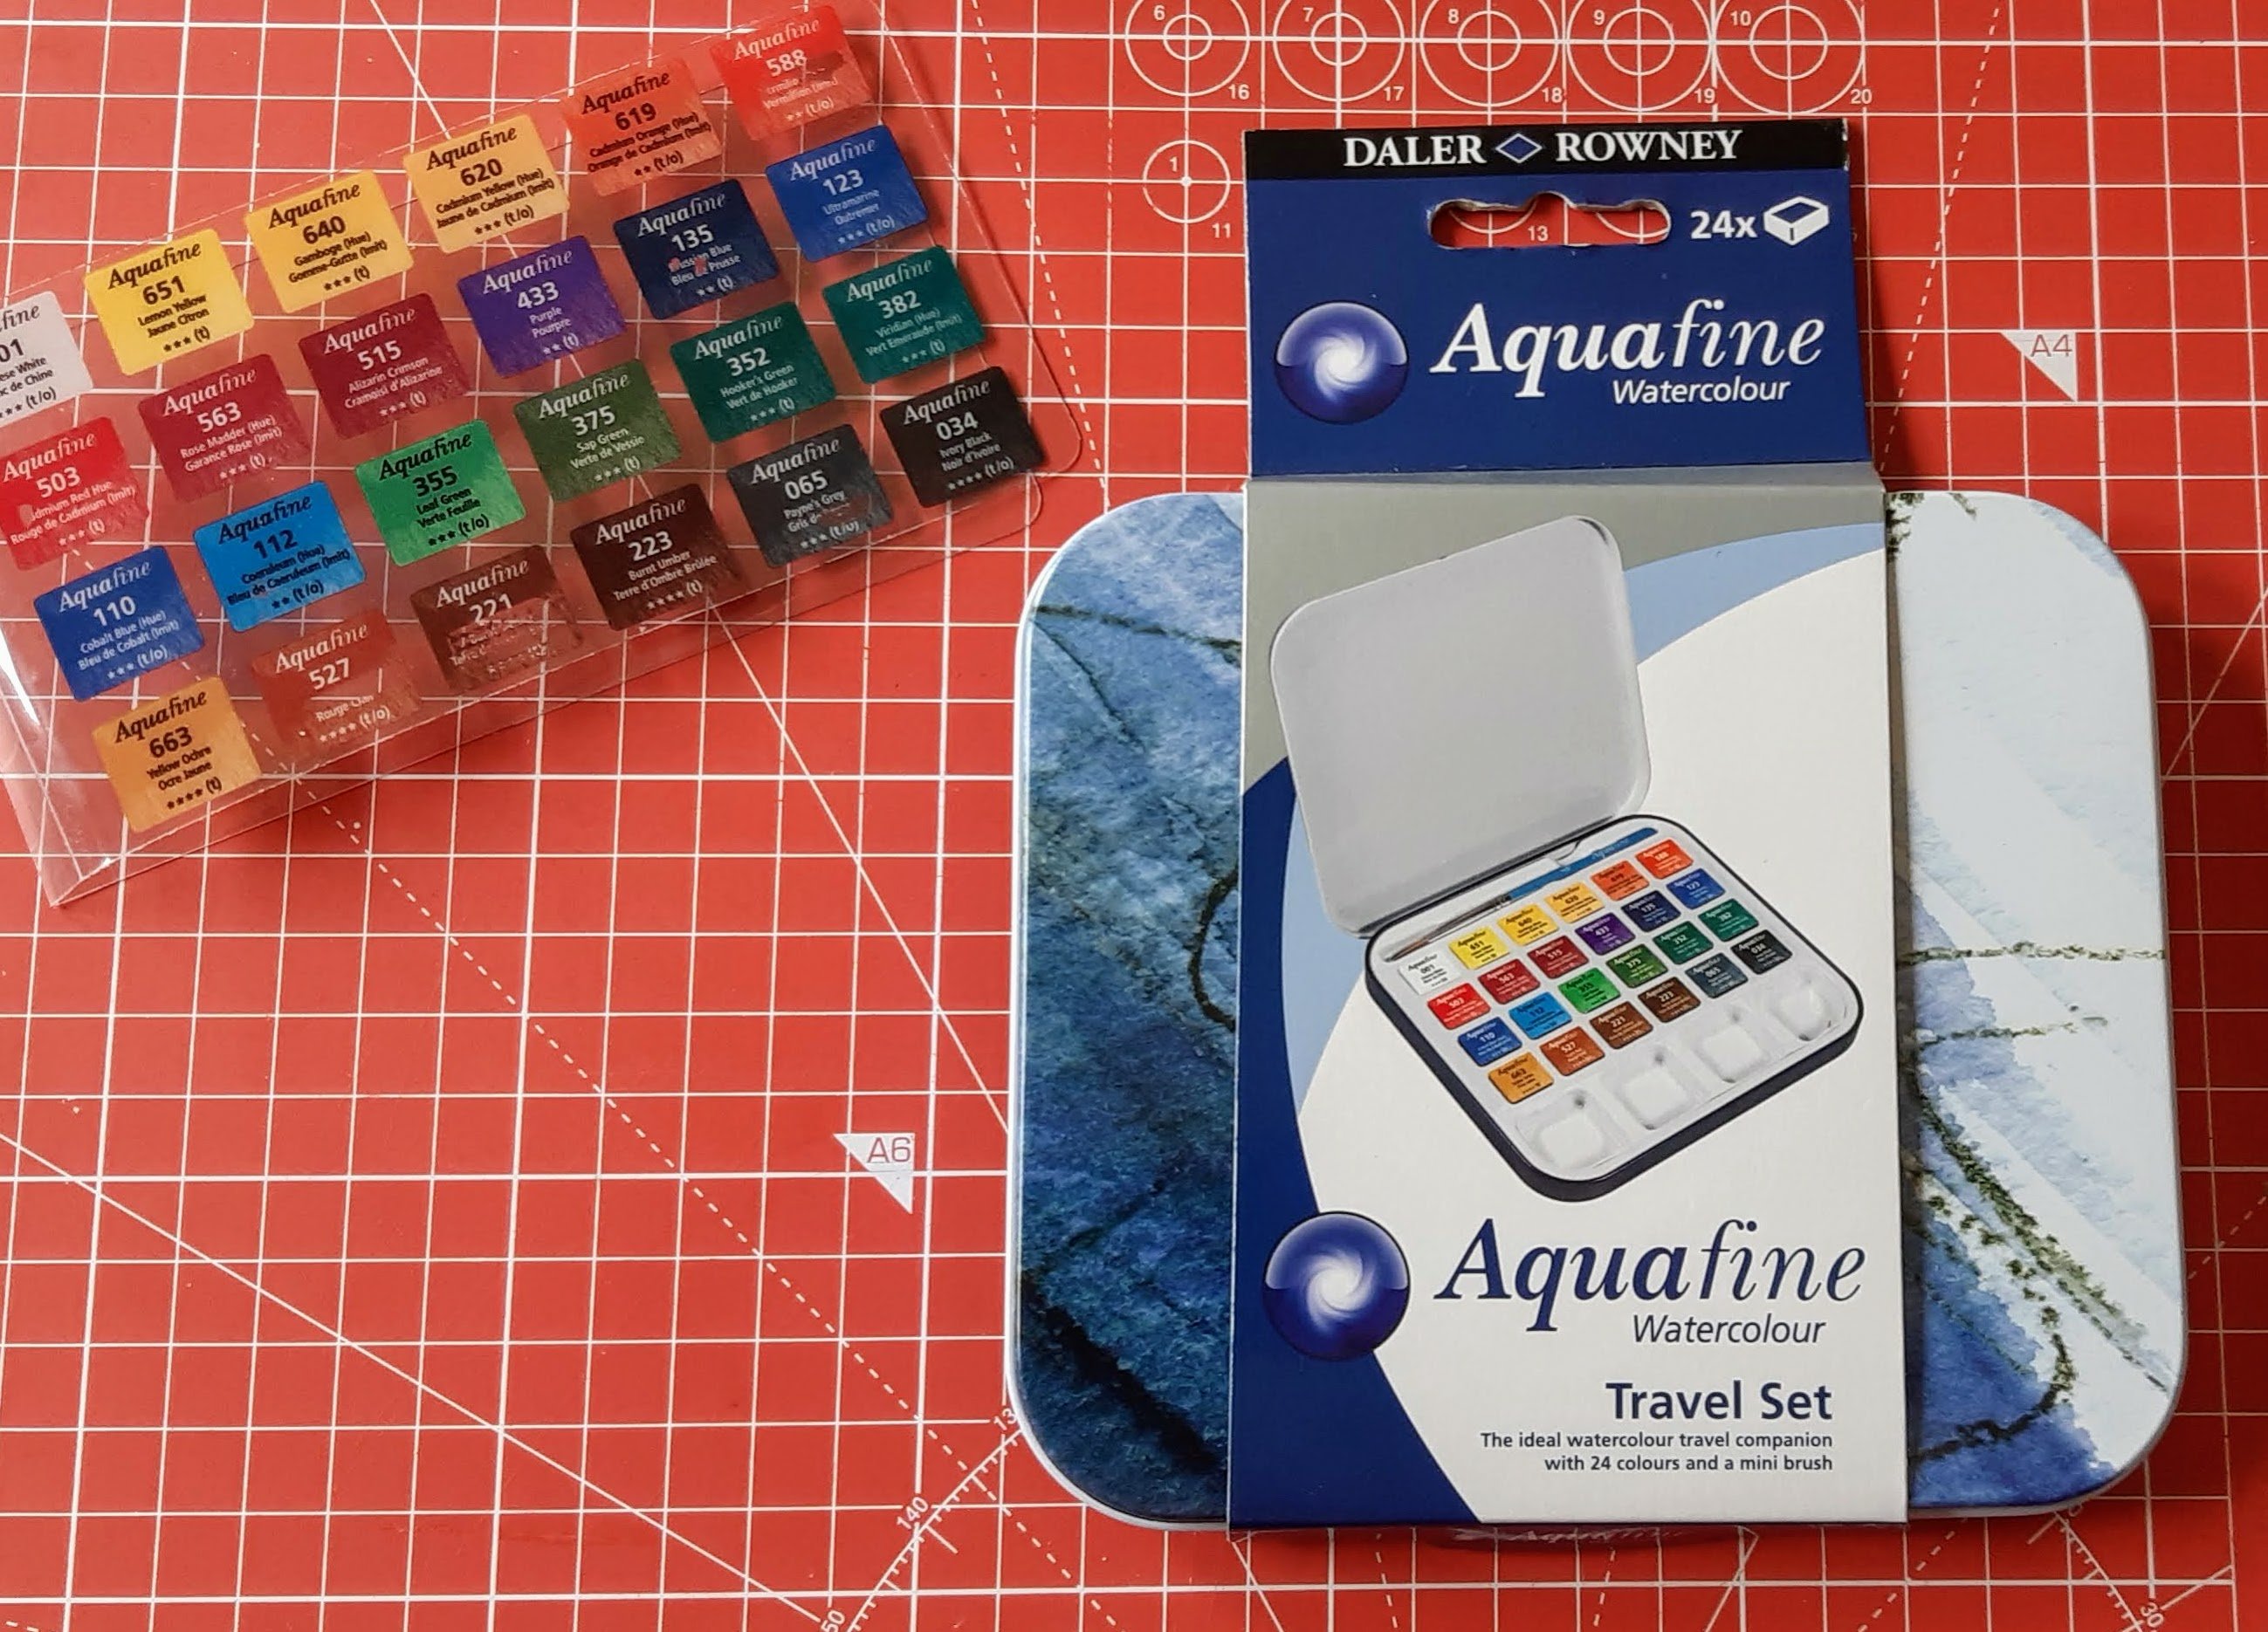
My new Daler Rowney Travel watercolour set

My lovely new watercolours 😀

In a previous post, I shared some pages I’d done in one of my TN inserts using Tiger watercolour paints. They were really cheap, and had quite a chalky finish on the paper I used but at the time, I just wanted to give watercolour painting a go as I used to enjoy doing it at school and found it really relaxing.

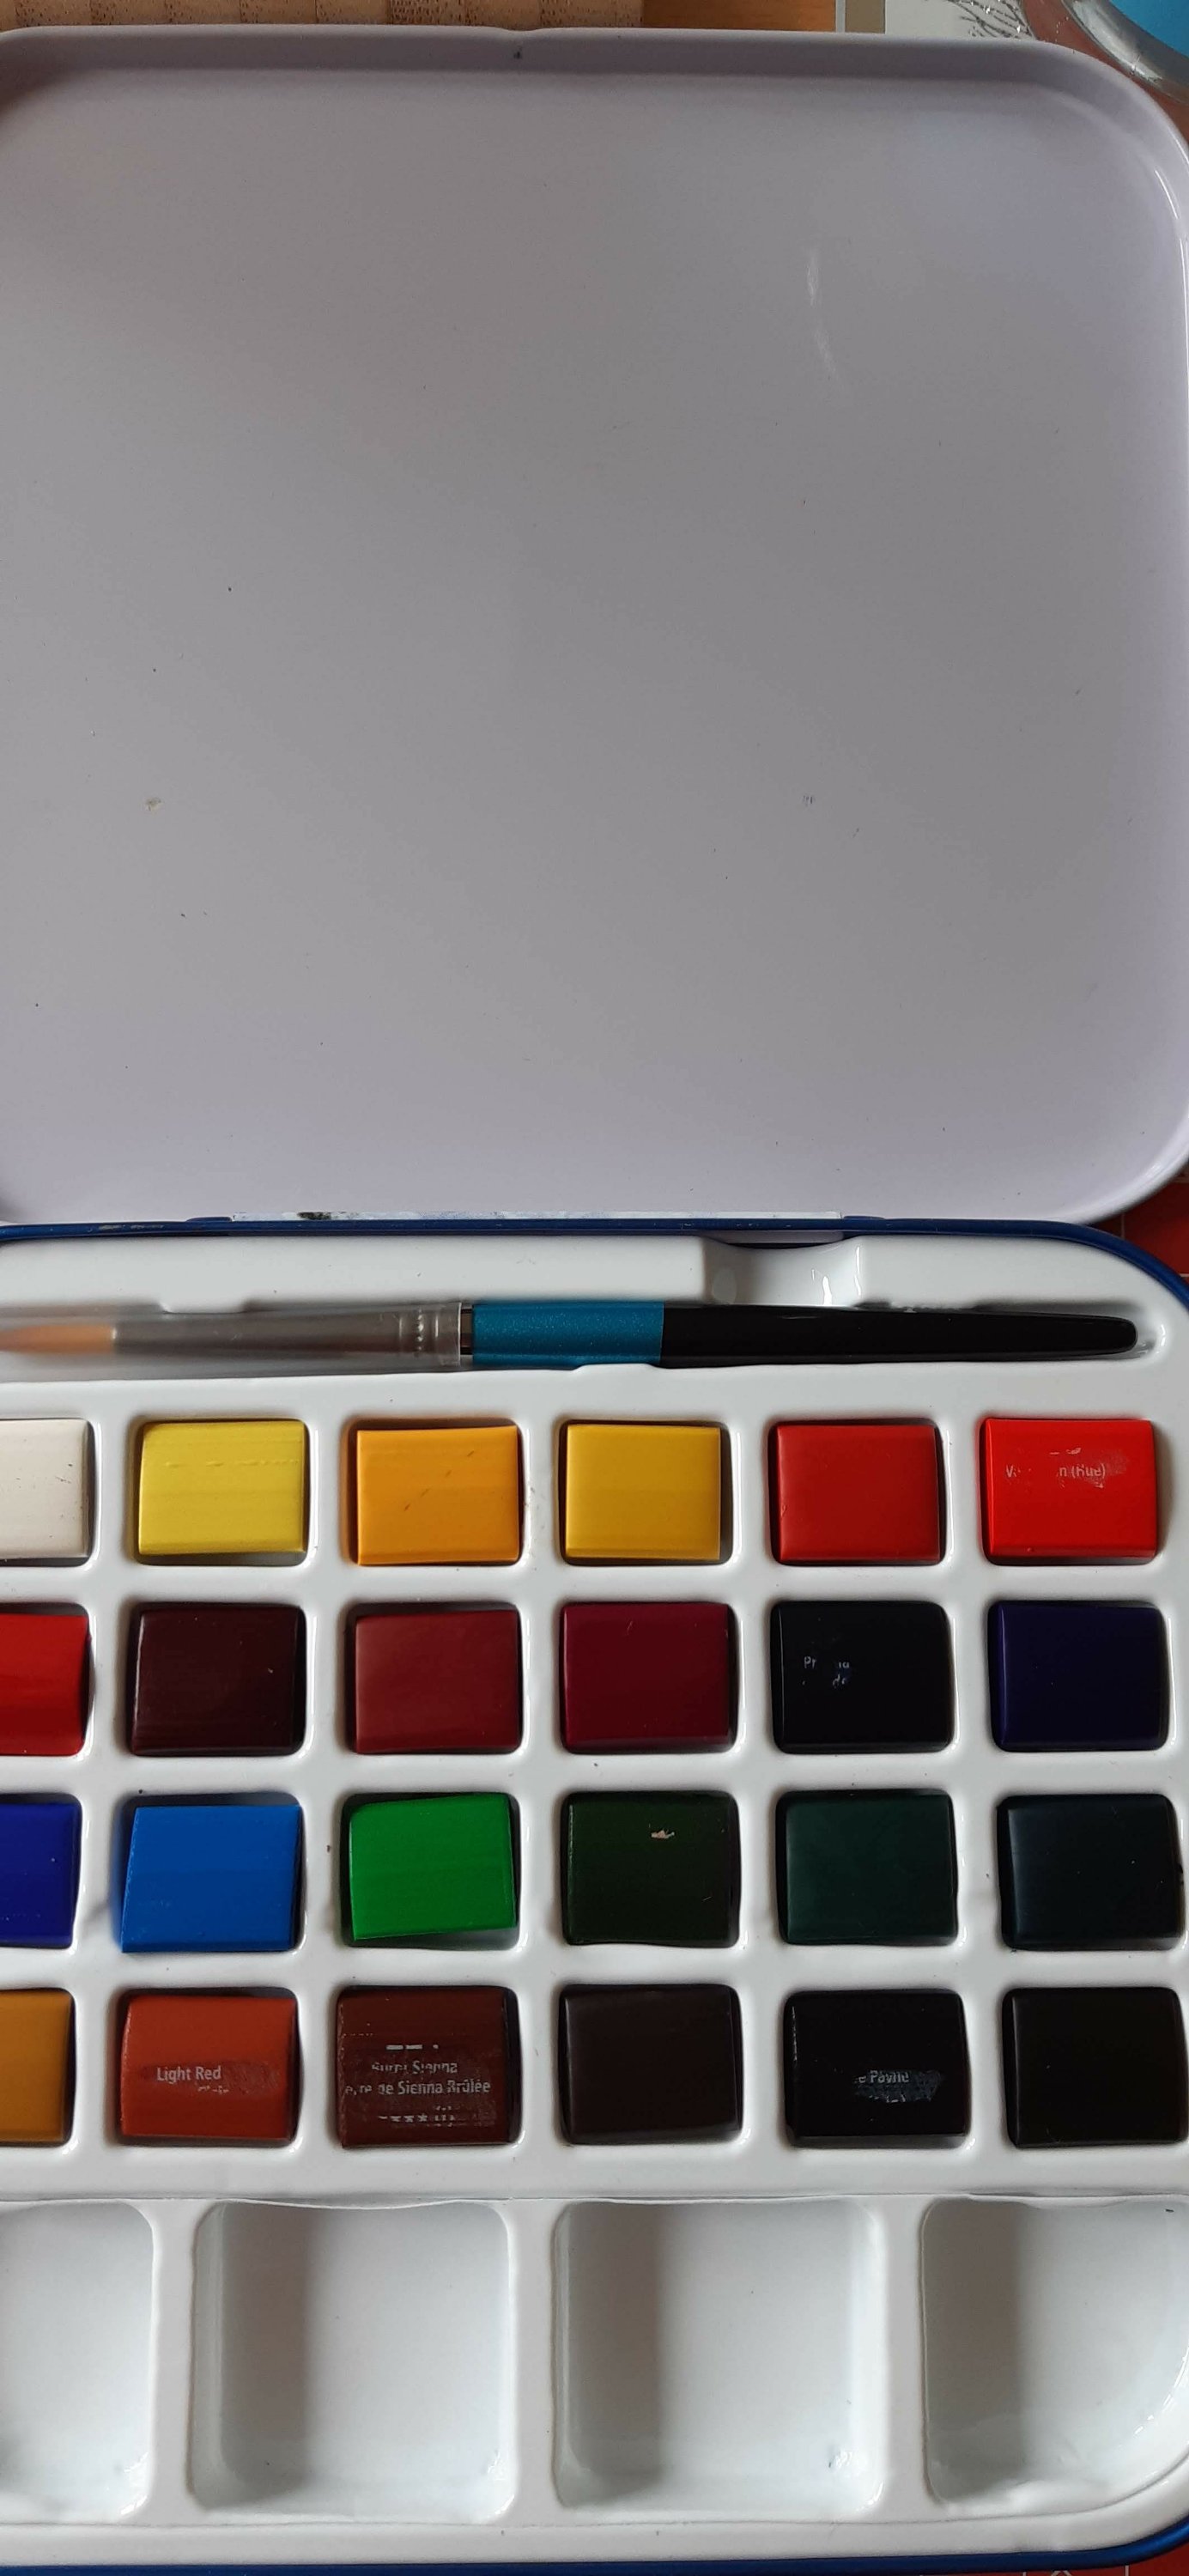
Now that I’m more experienced, although still very much a beginner, I decided to buy a small set of higher quality paints. This travel set looked ideal as it contains quarter sized pans and 24 gorgeous colours so only basic mixing is required. Plus it was discounted at The Range so I grabbed it (along with lots of other bits and pieces that I couldn’t resist!).

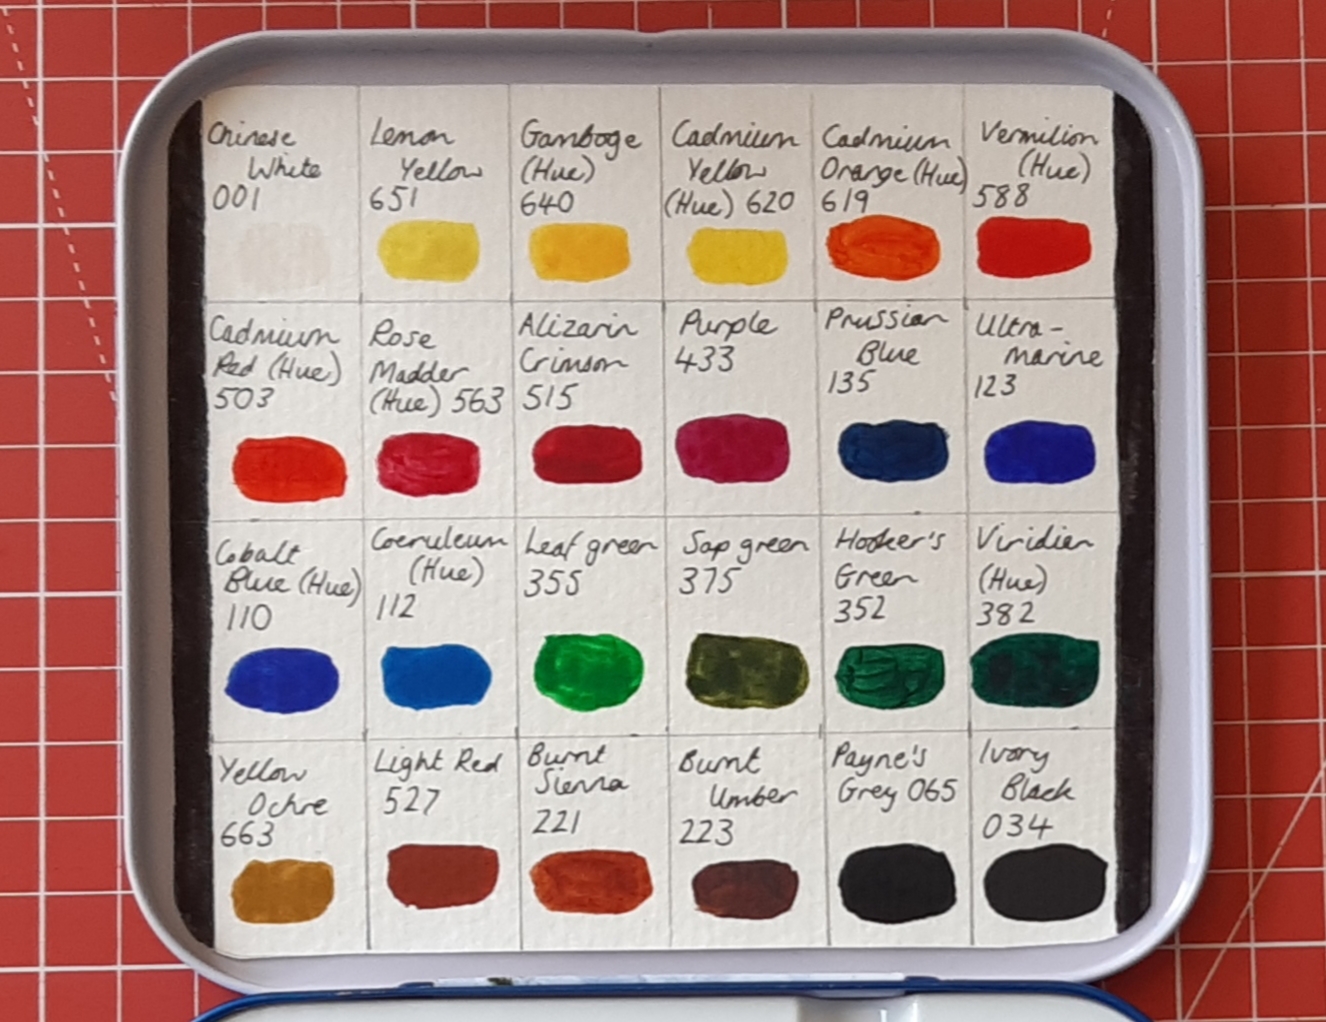
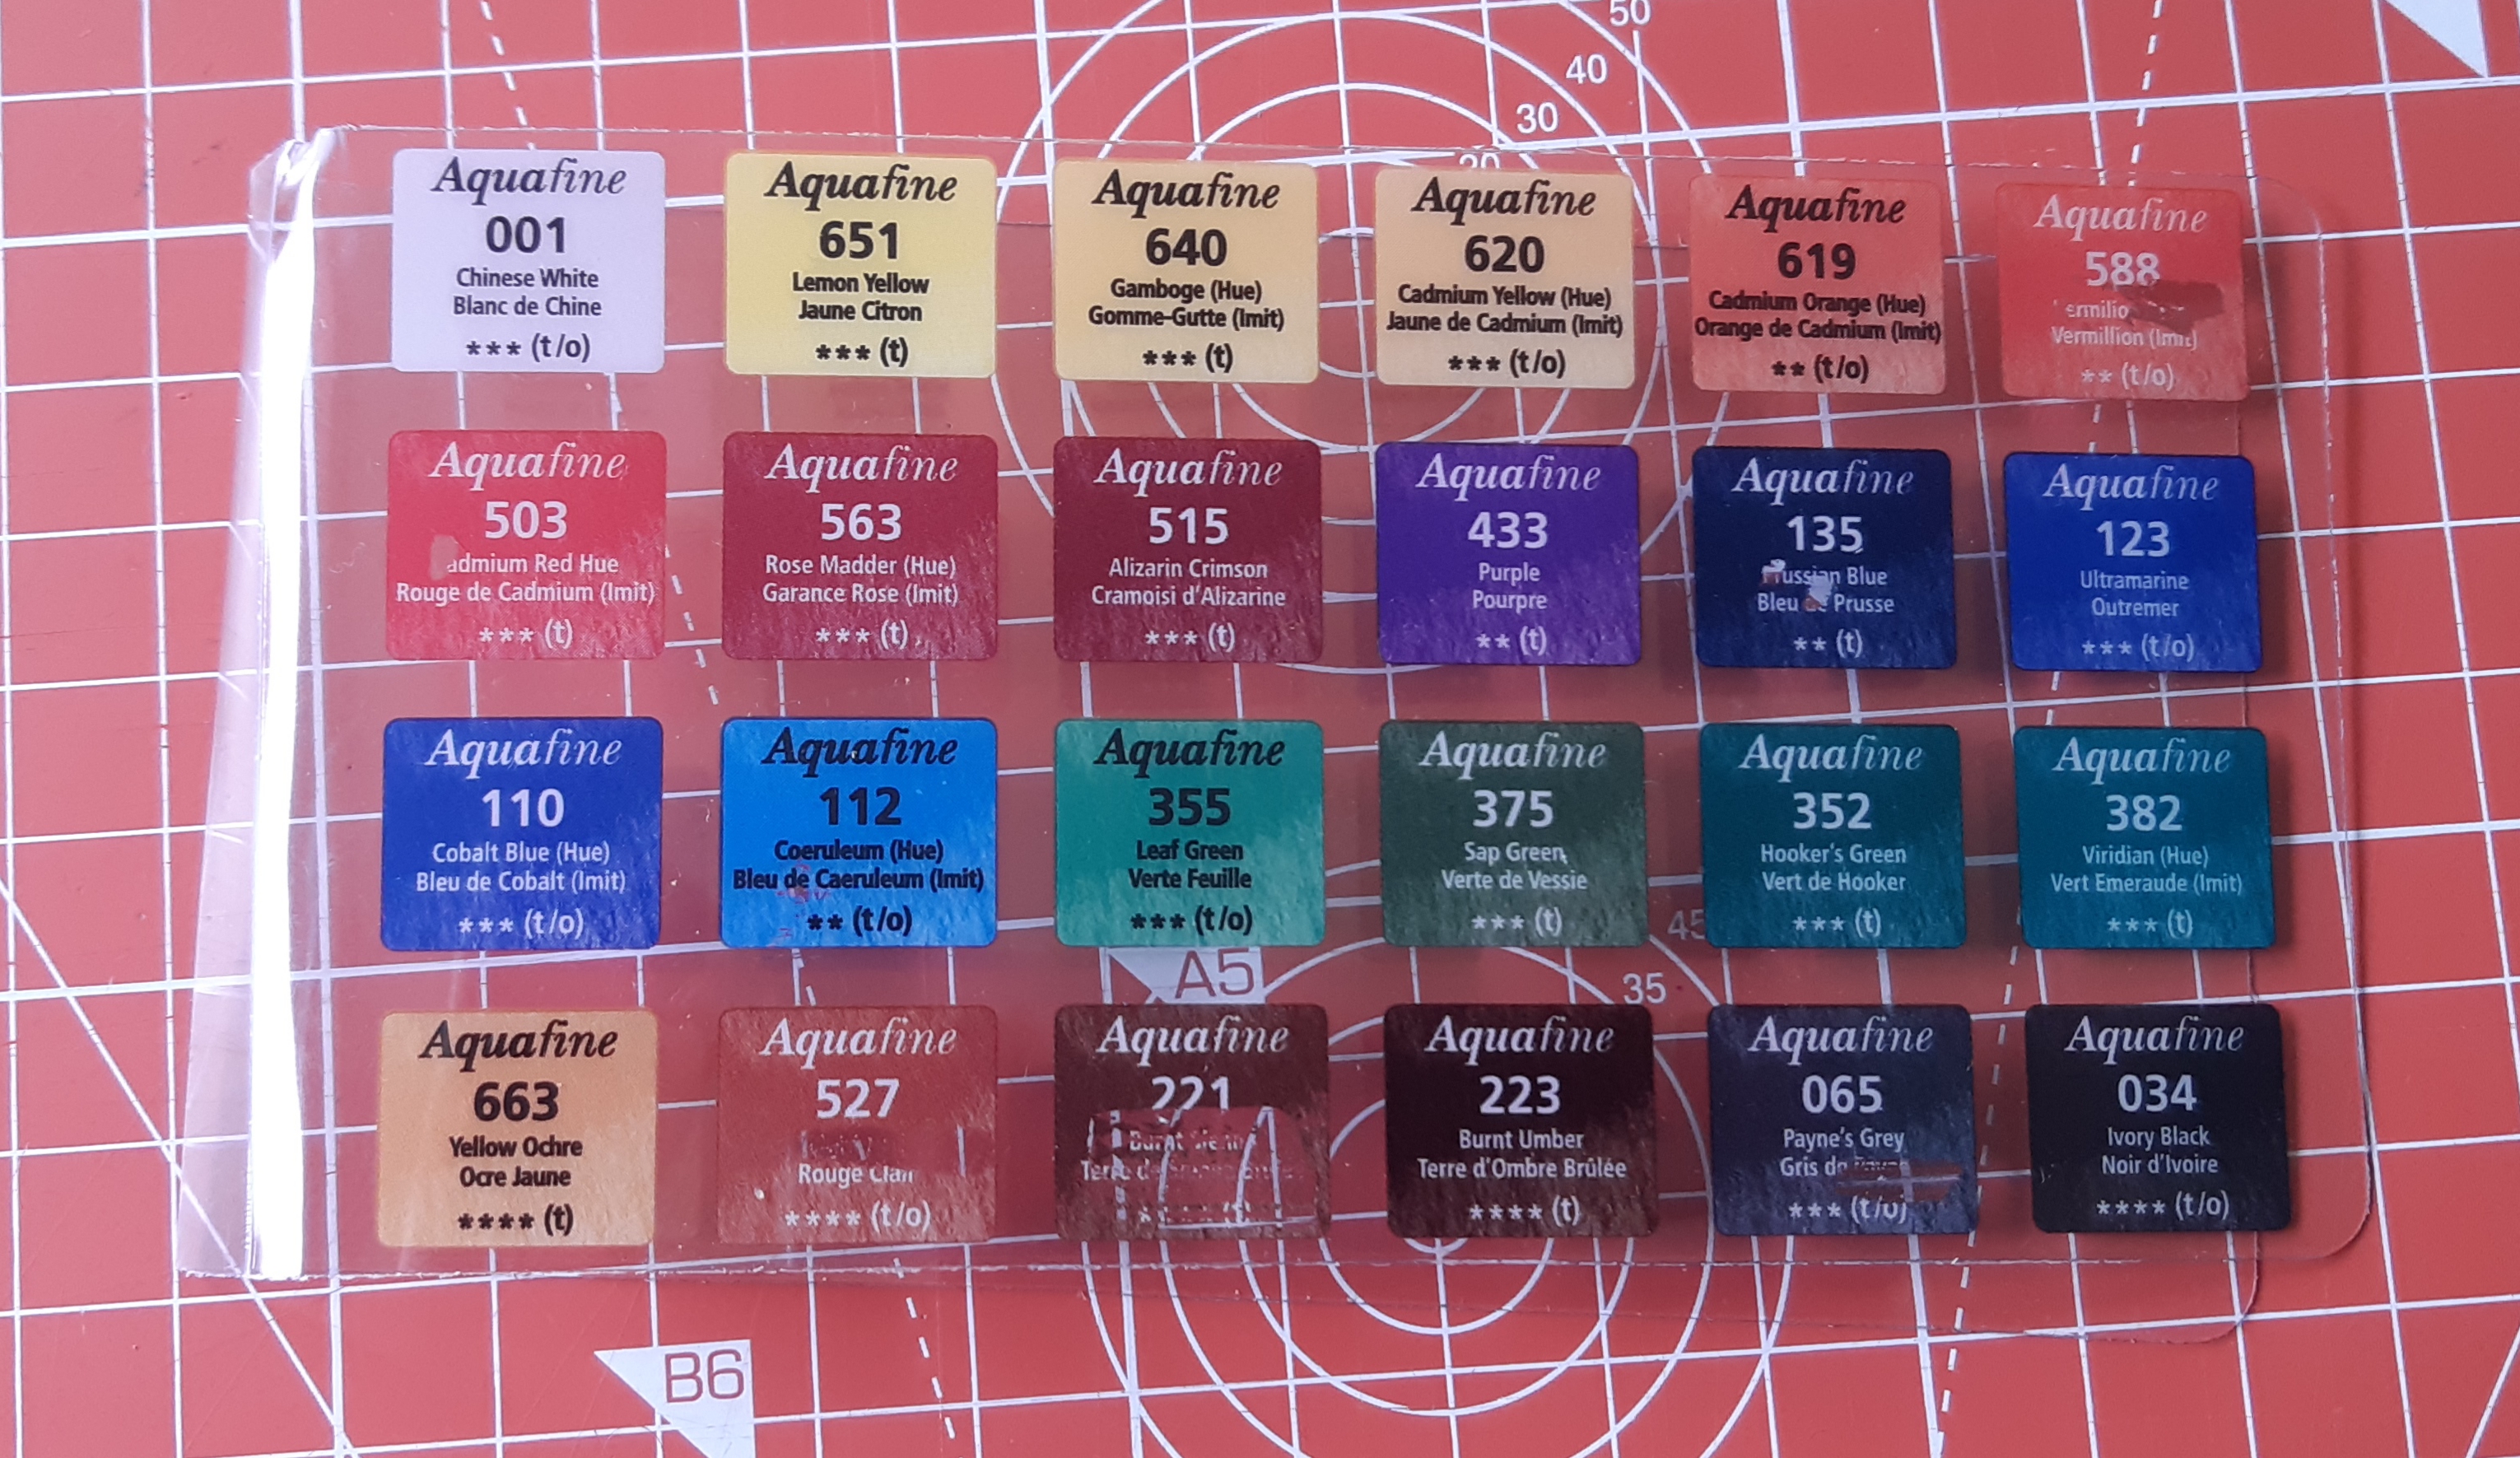
Before I start using them for projects, I decided to make a swatch of the colours to tape into the lid so I could see what each paint pan looked like on watercolour paper. I cut down an A4 sheet from a pad and then rounded the corners so it would fit nicely.

I’m really pleased with the colours and look forward to using them creatively. You can use lots of water to get a washy colour or build up the colour to create something more opaque.

The only issue I had with them was that the images on the plastic which had the colour names and numbers on came off onto some of the pans. This didn’t cause too much of a problem but it obviously a bit of a fault in the design.

Overall, it’s a cute little package and you get plenty of colours in a neat tin. There’s a handle on the back for easy holding if you didn’t want to place them down on a surface but obviously I haven’t tried this out yet as I was working at my dining table!

If you have any questions which you would like answering about the set that I haven’t covered here, drop me a comment and I’ll do my best to respond and provide a suitable answer. Also, if anyone has watercolour tips either as part of their blog or as a YouTube video, leave me the link and I’ll check them out.

I hope you find this post useful and I look forward to hearing from you in the comments.

Until next time…

Laura x

Posted in bullet journal, Bullet journaling, creativity, Planning and journaling

Bullet Journal Beginner (How I’m setting up my new planner system)

Bullet Journal Beginner

As many of you who follow me on social media know, I got a gorgeous Webster’s Pages TN in fuchsia for my last birthday and have been using my handmade inserts to design my own planner layouts. I also add my habit trackers, shopping lists and meal plans in there as well as a notes section at the back. As I hand stitch my notebooks, and use premium paper, I was finding that the maximum thickness I could make, without the booklet looking too bulky, was about 24 pages. So, as I needed a WO4P (week on four pages) I was getting through a lot (and I mean a lot!!!) of notebooks throughout the months and kept having to transfer key information from one to another. I also had about 5 other notebooks on the go all at the same time and, unsurprisingly, I was becoming a bit overwhelmed by my system. Don’t get me wrong – I love notebooks, the prettier the better, but I was craving a set up where everything was all in one place.

So, fast forward a few months, to when I ordered a gorgeous Scribbles That Matter notebook from Amazon and became obsessed with watching YouTube videos and their related blogs on BuJo systems. I also started searching out creative bullet journal peeps on Instagram to follow for inspiration (there are so many amazing set ups out there). My favourite and most informative YouTube channel and blog has to be Kara’s at Boho Berry and you’ll see why when you check it out.

My A5 Scribbles notebook is amazing. Here’s a list of its main features:

  • A bullet grid for all of your amazing layouts
  • A page to write your key, including any colour coding you might have decided to use.
  • 3 index pages
  • Page numbers so, with the index, you can find all of your collections easily
  • A space at the back for testing all of your pens (well, maybe not all of them, but the ones you intend to use!)
  • A fantastic pocket at the back for keeping stickers, receipts or whatever you want to keep with your planner / journal.
  • Two ribbon bookmarks (I’ve got mine marking my index and what will be my weekly page when May comes)

For my first bujo, I decided to keep it simple with some highlighting (using my fab new Mildliners – also from Amazon), some brush lettering (using my Tombow Fudenosuke hard for smaller text and Tombow Dual Tips for larger titles) and a few stickers (from Pebbles). I might also add some washi as the months go on (after all, I have plenty of it in my stash!).

Here’s my set up for May. It’s not perfect, but I’m pretty happy with the way it turned out.

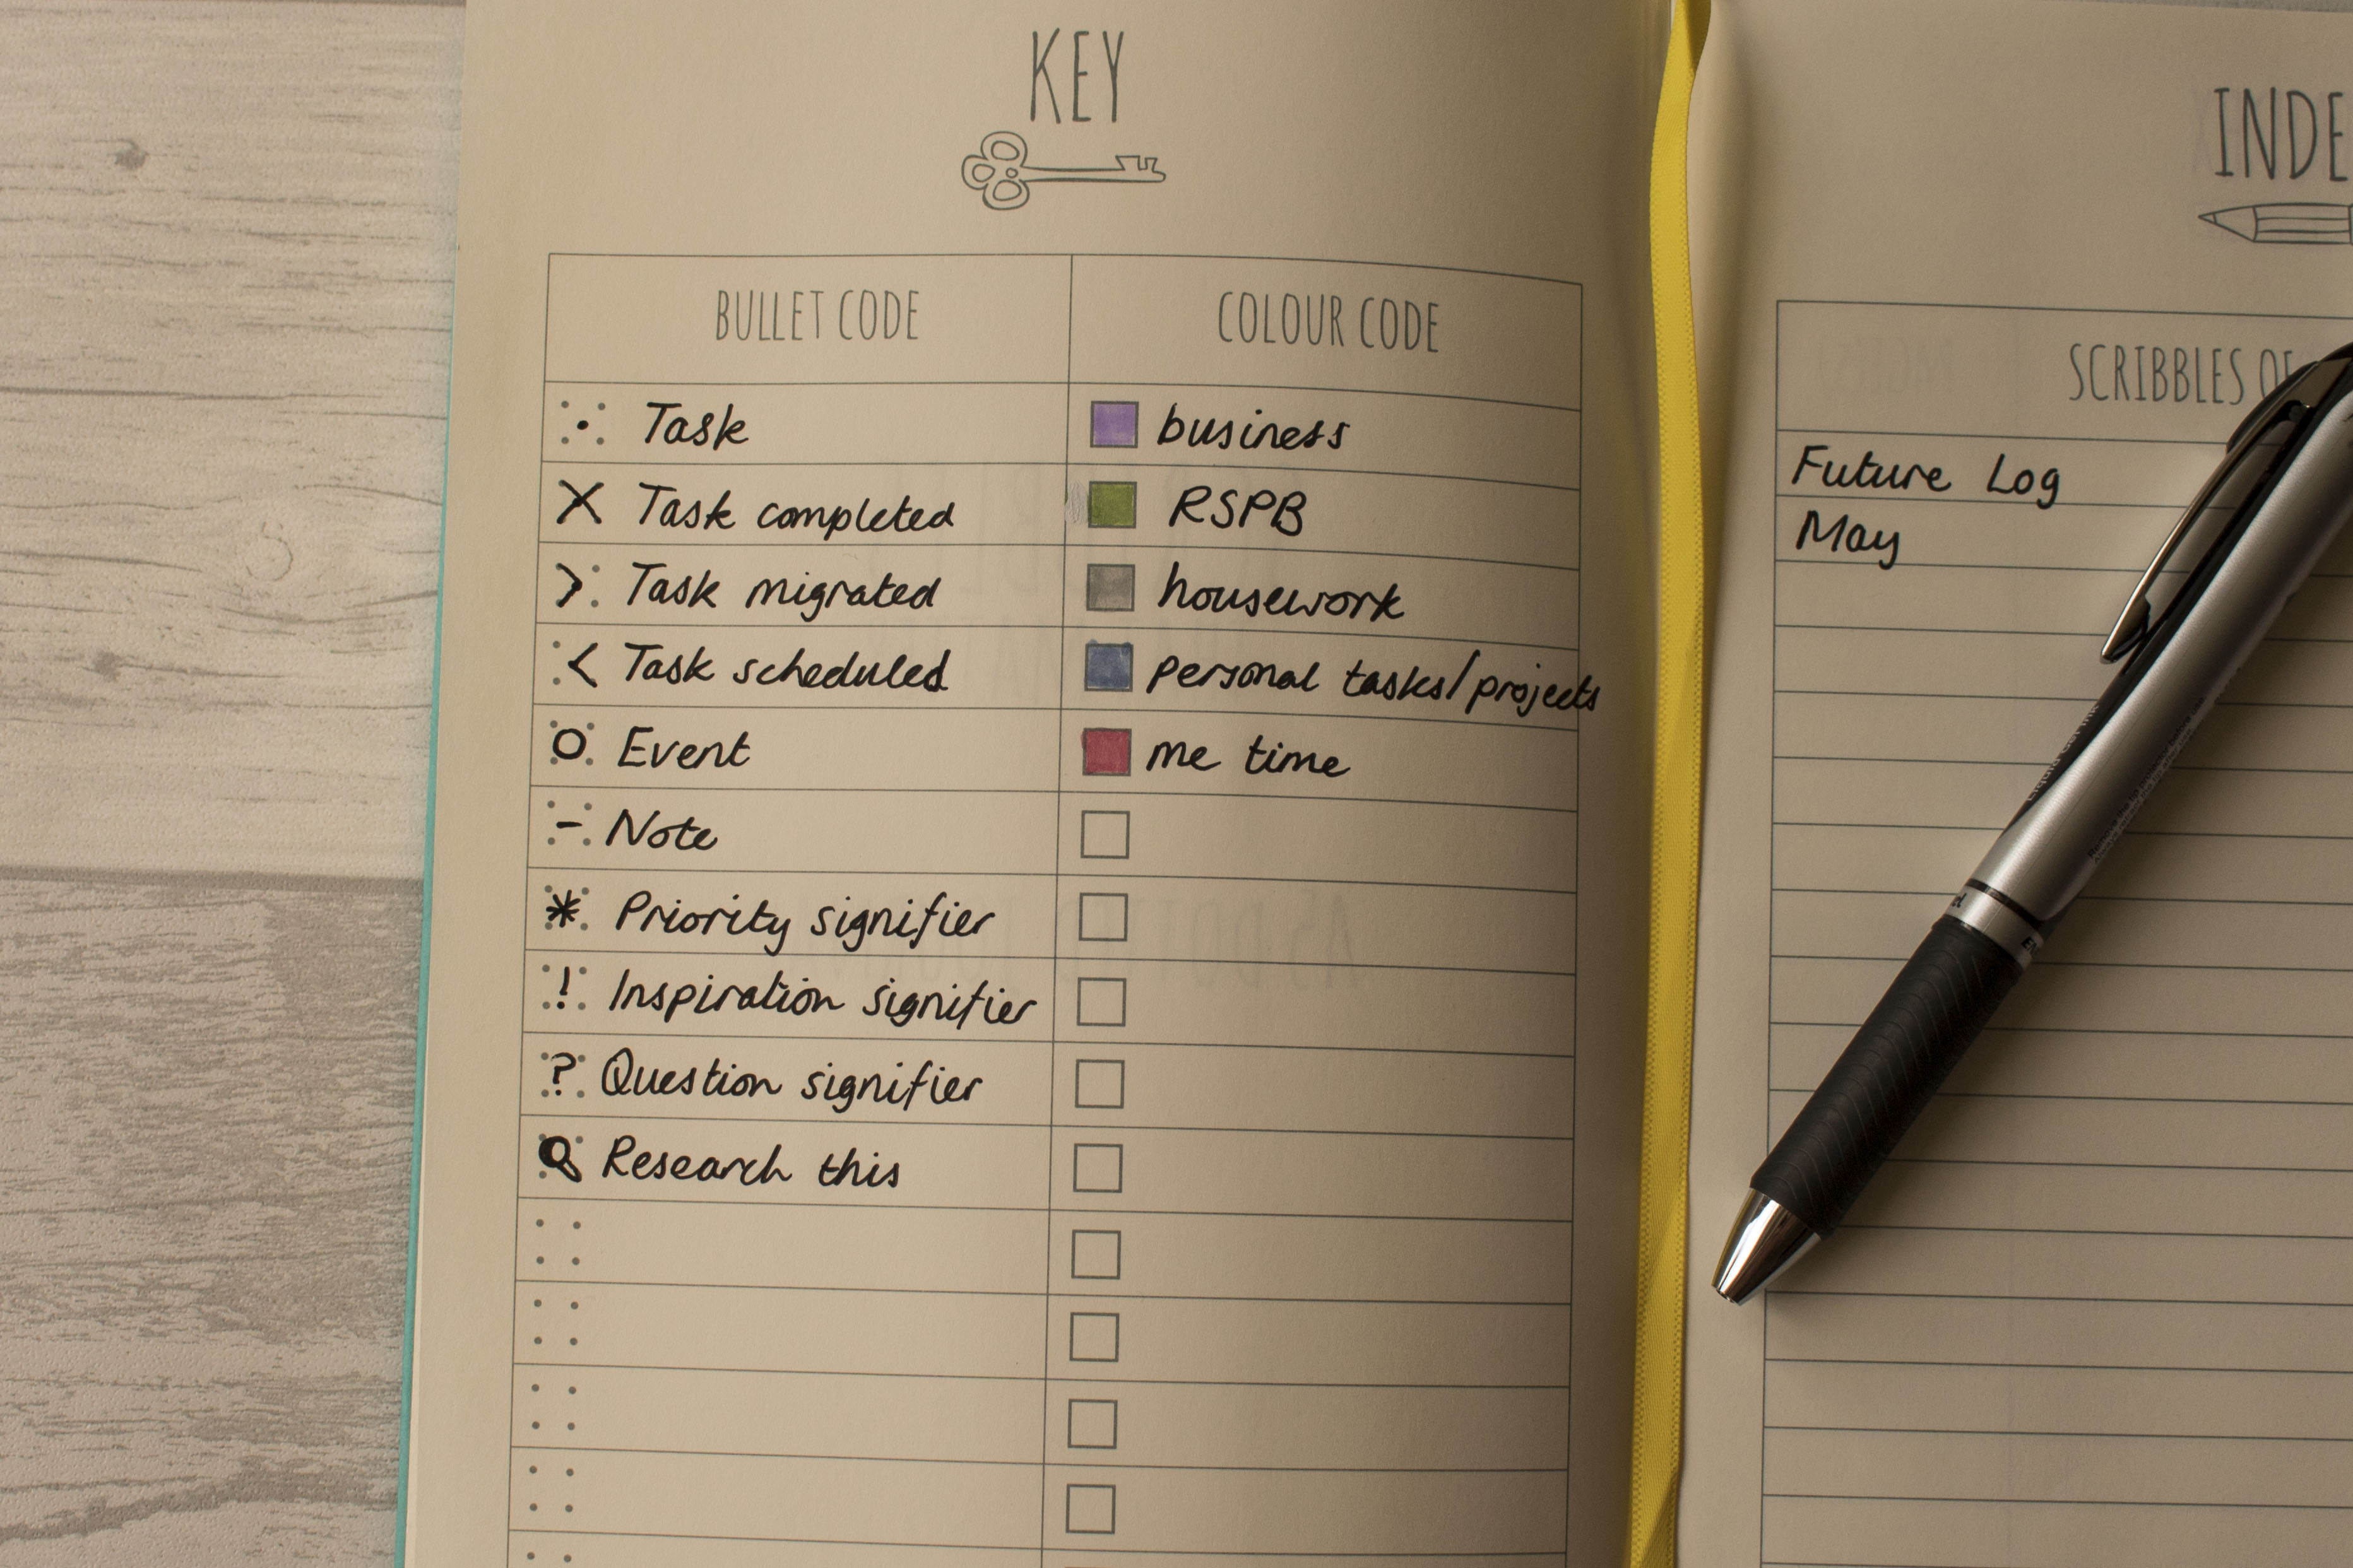
BujoKey
My key makes use of the original rapid logging bullets and signifiers invented by Ryder Carroll click here for more info. I’ve also added a little one of my own at the very end.

I started colour coding in my Traveler’s Notebook system a few months ago and loved how effective it was and how colourful it made my planner. I’ve stuck with the same 5 colours and I’m continuing to combine personal and business goals and tasks. As well as running my Etsy Shop I also volunteer for the RSPB once a fortnight by going into schools to deliver sessions to primary aged children with a focus on giving nature a home in the school grounds. I get bookings and have to keep in touch with my line manager regularly so I gave my tasks their own colour.

BuJoIndexPage
My index entries so far. Who knows how many pages May is going to take up, I’m on page 10 already!

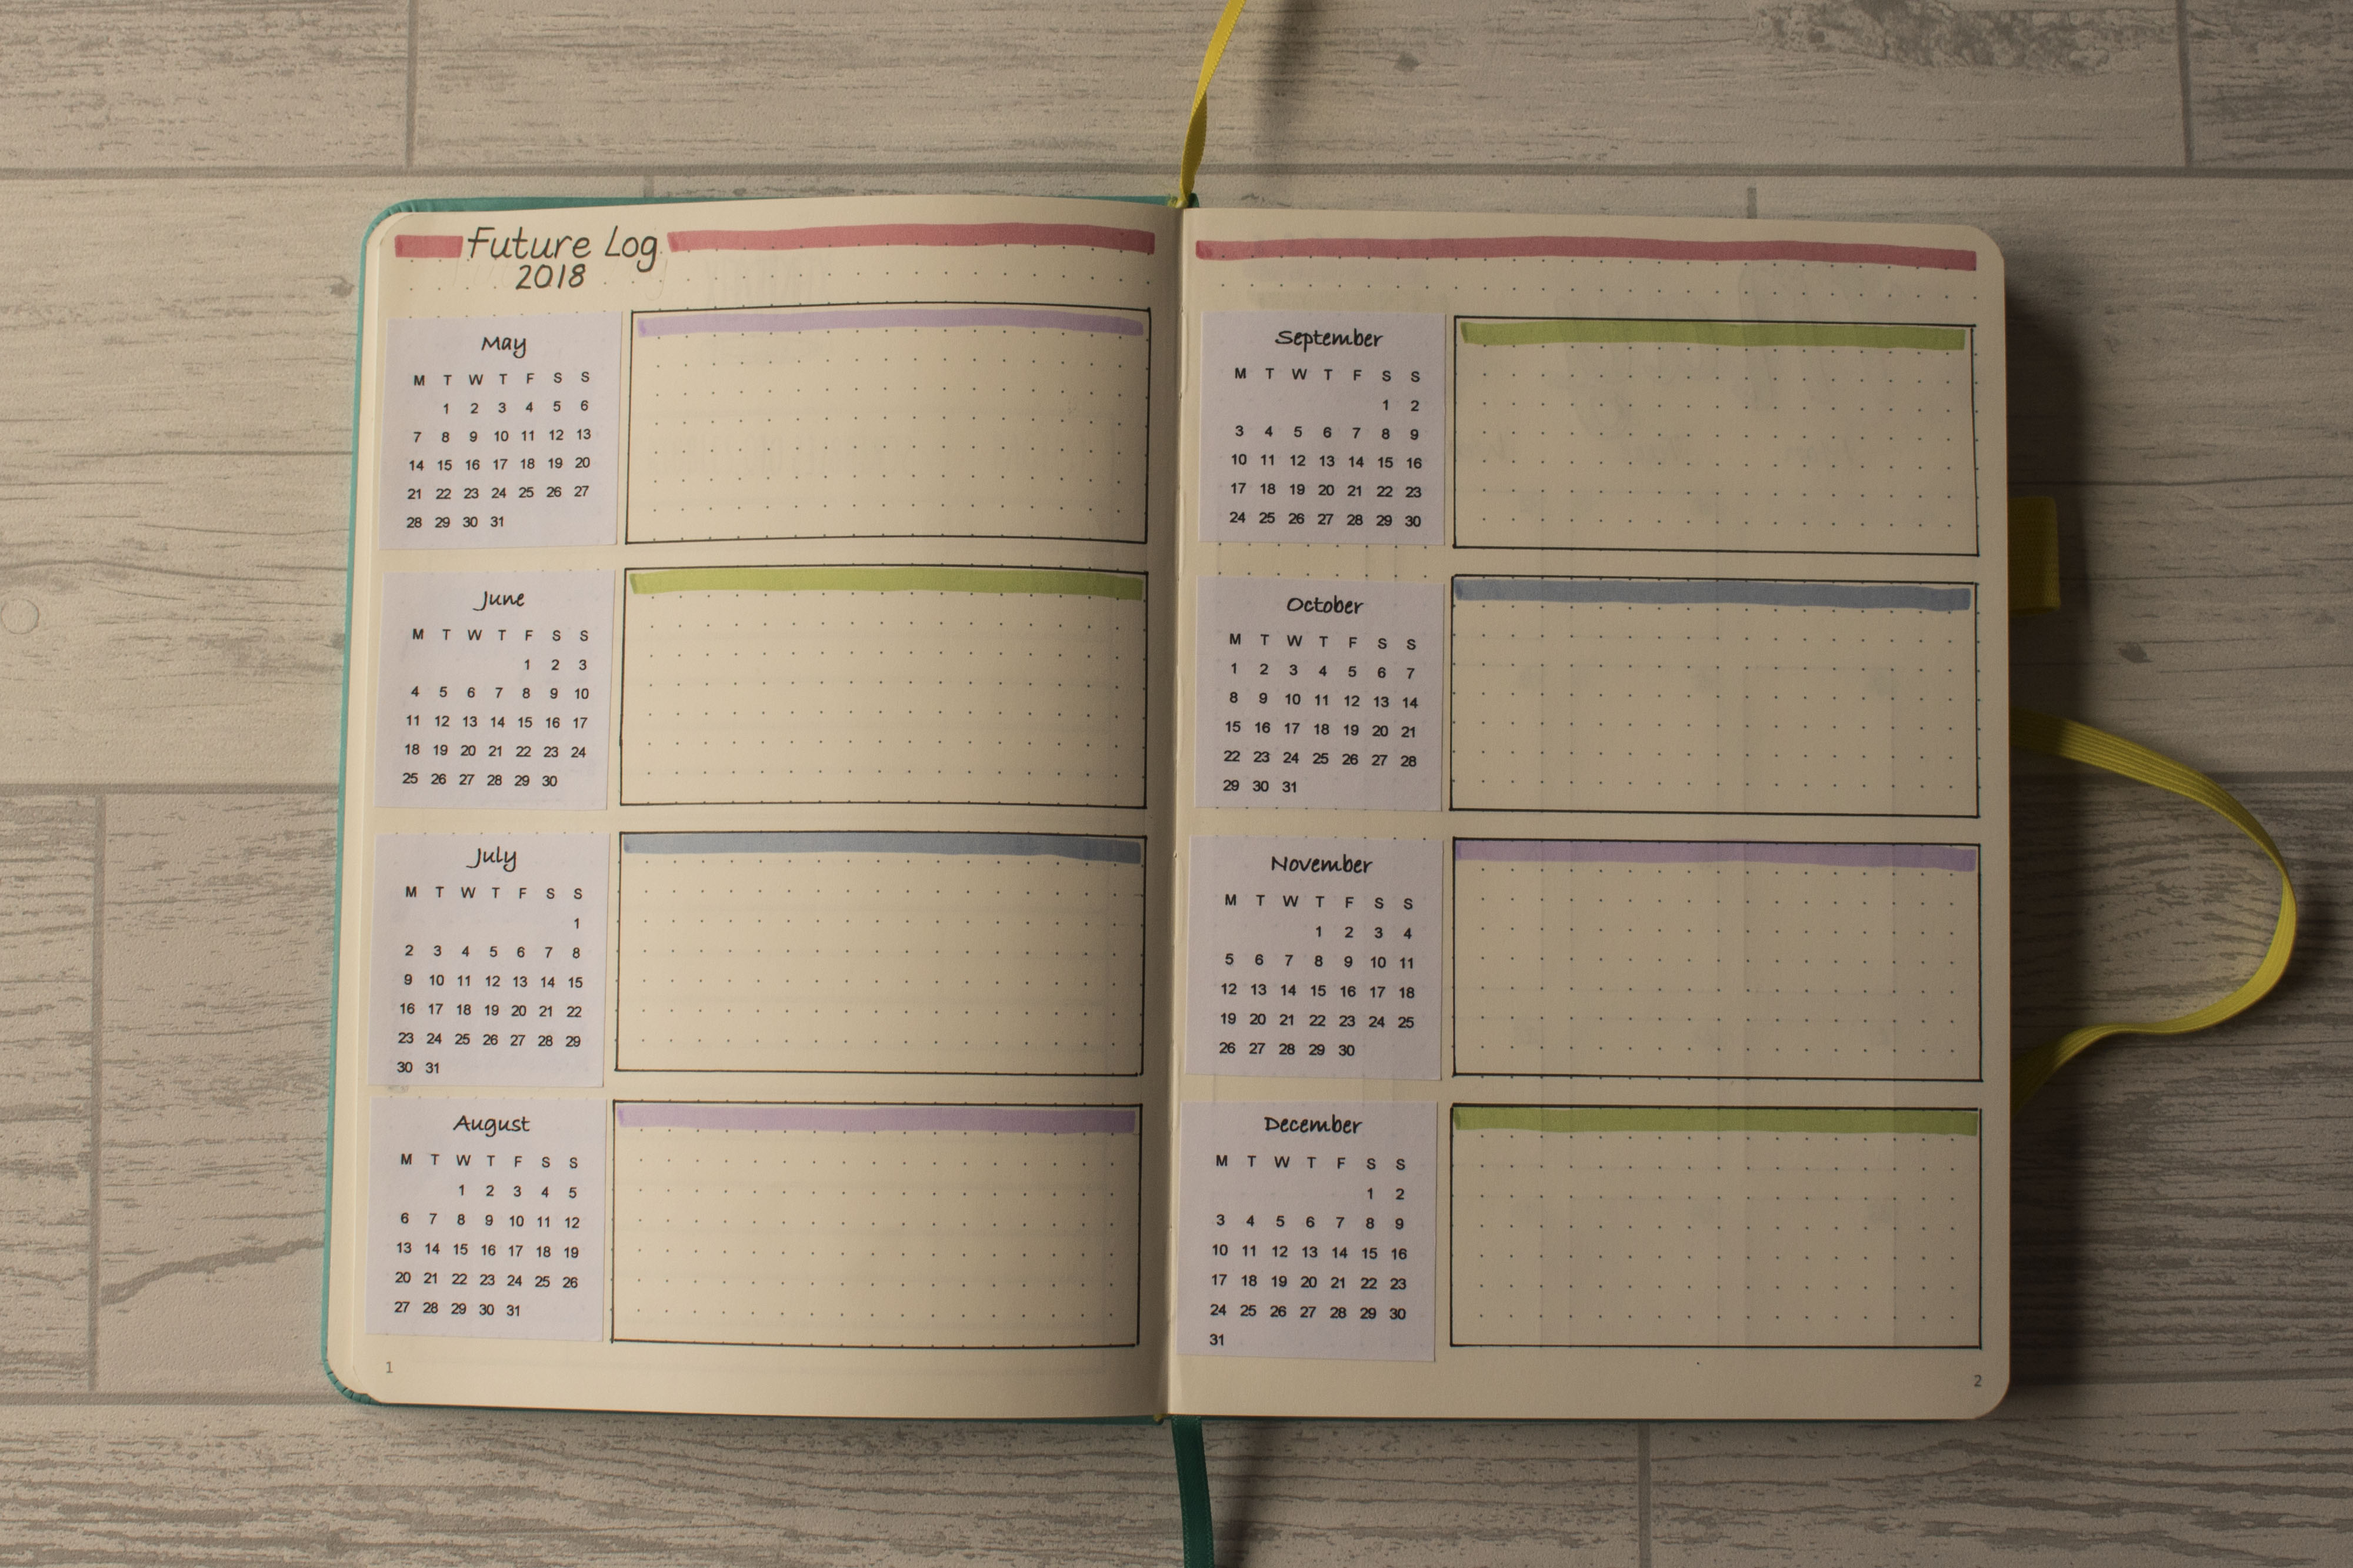
I hand wrote my calendars for my future log but I messed up with the numbering (and I didn’t use a Frixion pen!) so I had to create little stickers to cover up my mistake. For this, I worked on Microsoft Publisher, creating tables for each month for the rest of the year.

BuJoFutureLog
I used my Mildliners to add a pop of colour. I got my inspiration for this layout from a wonderful blog by Christina over at Christina77star

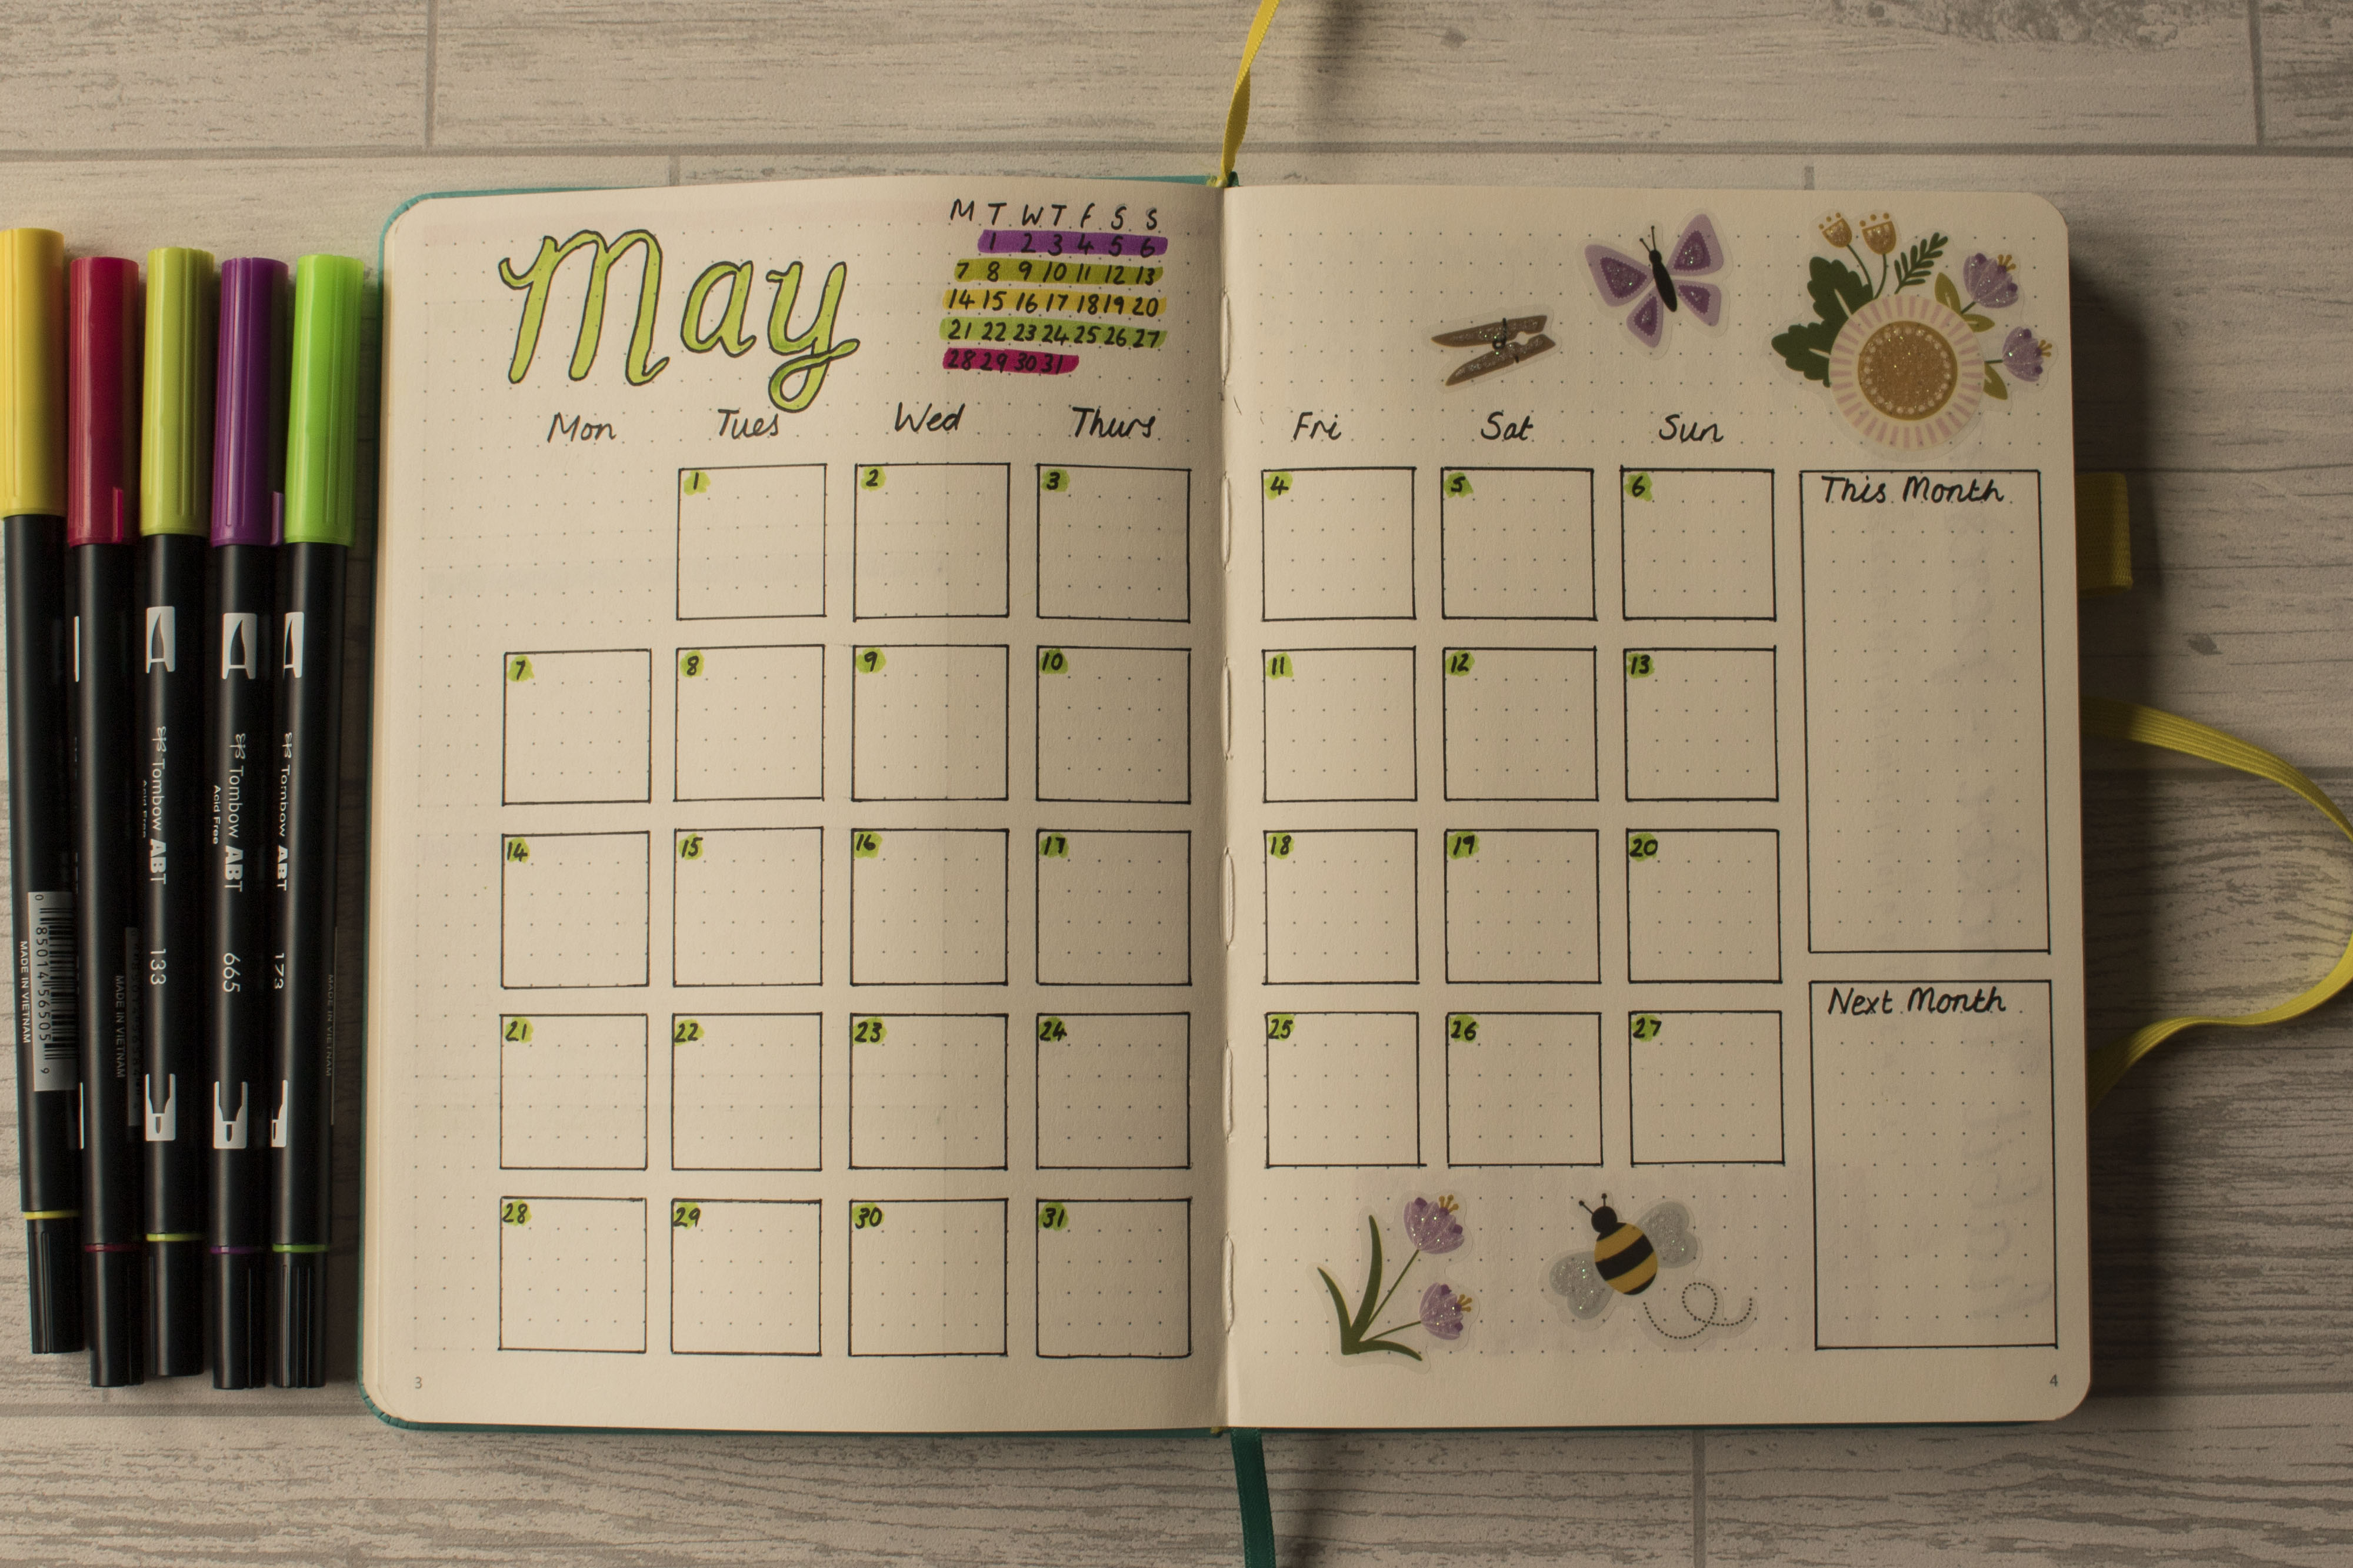
I deviated from the original Bullet Journal monthly set up, preferring to use a grid format:

BujoMayMonthly
A simple set up using my Tombow Dual Tips and a few accent stickers.
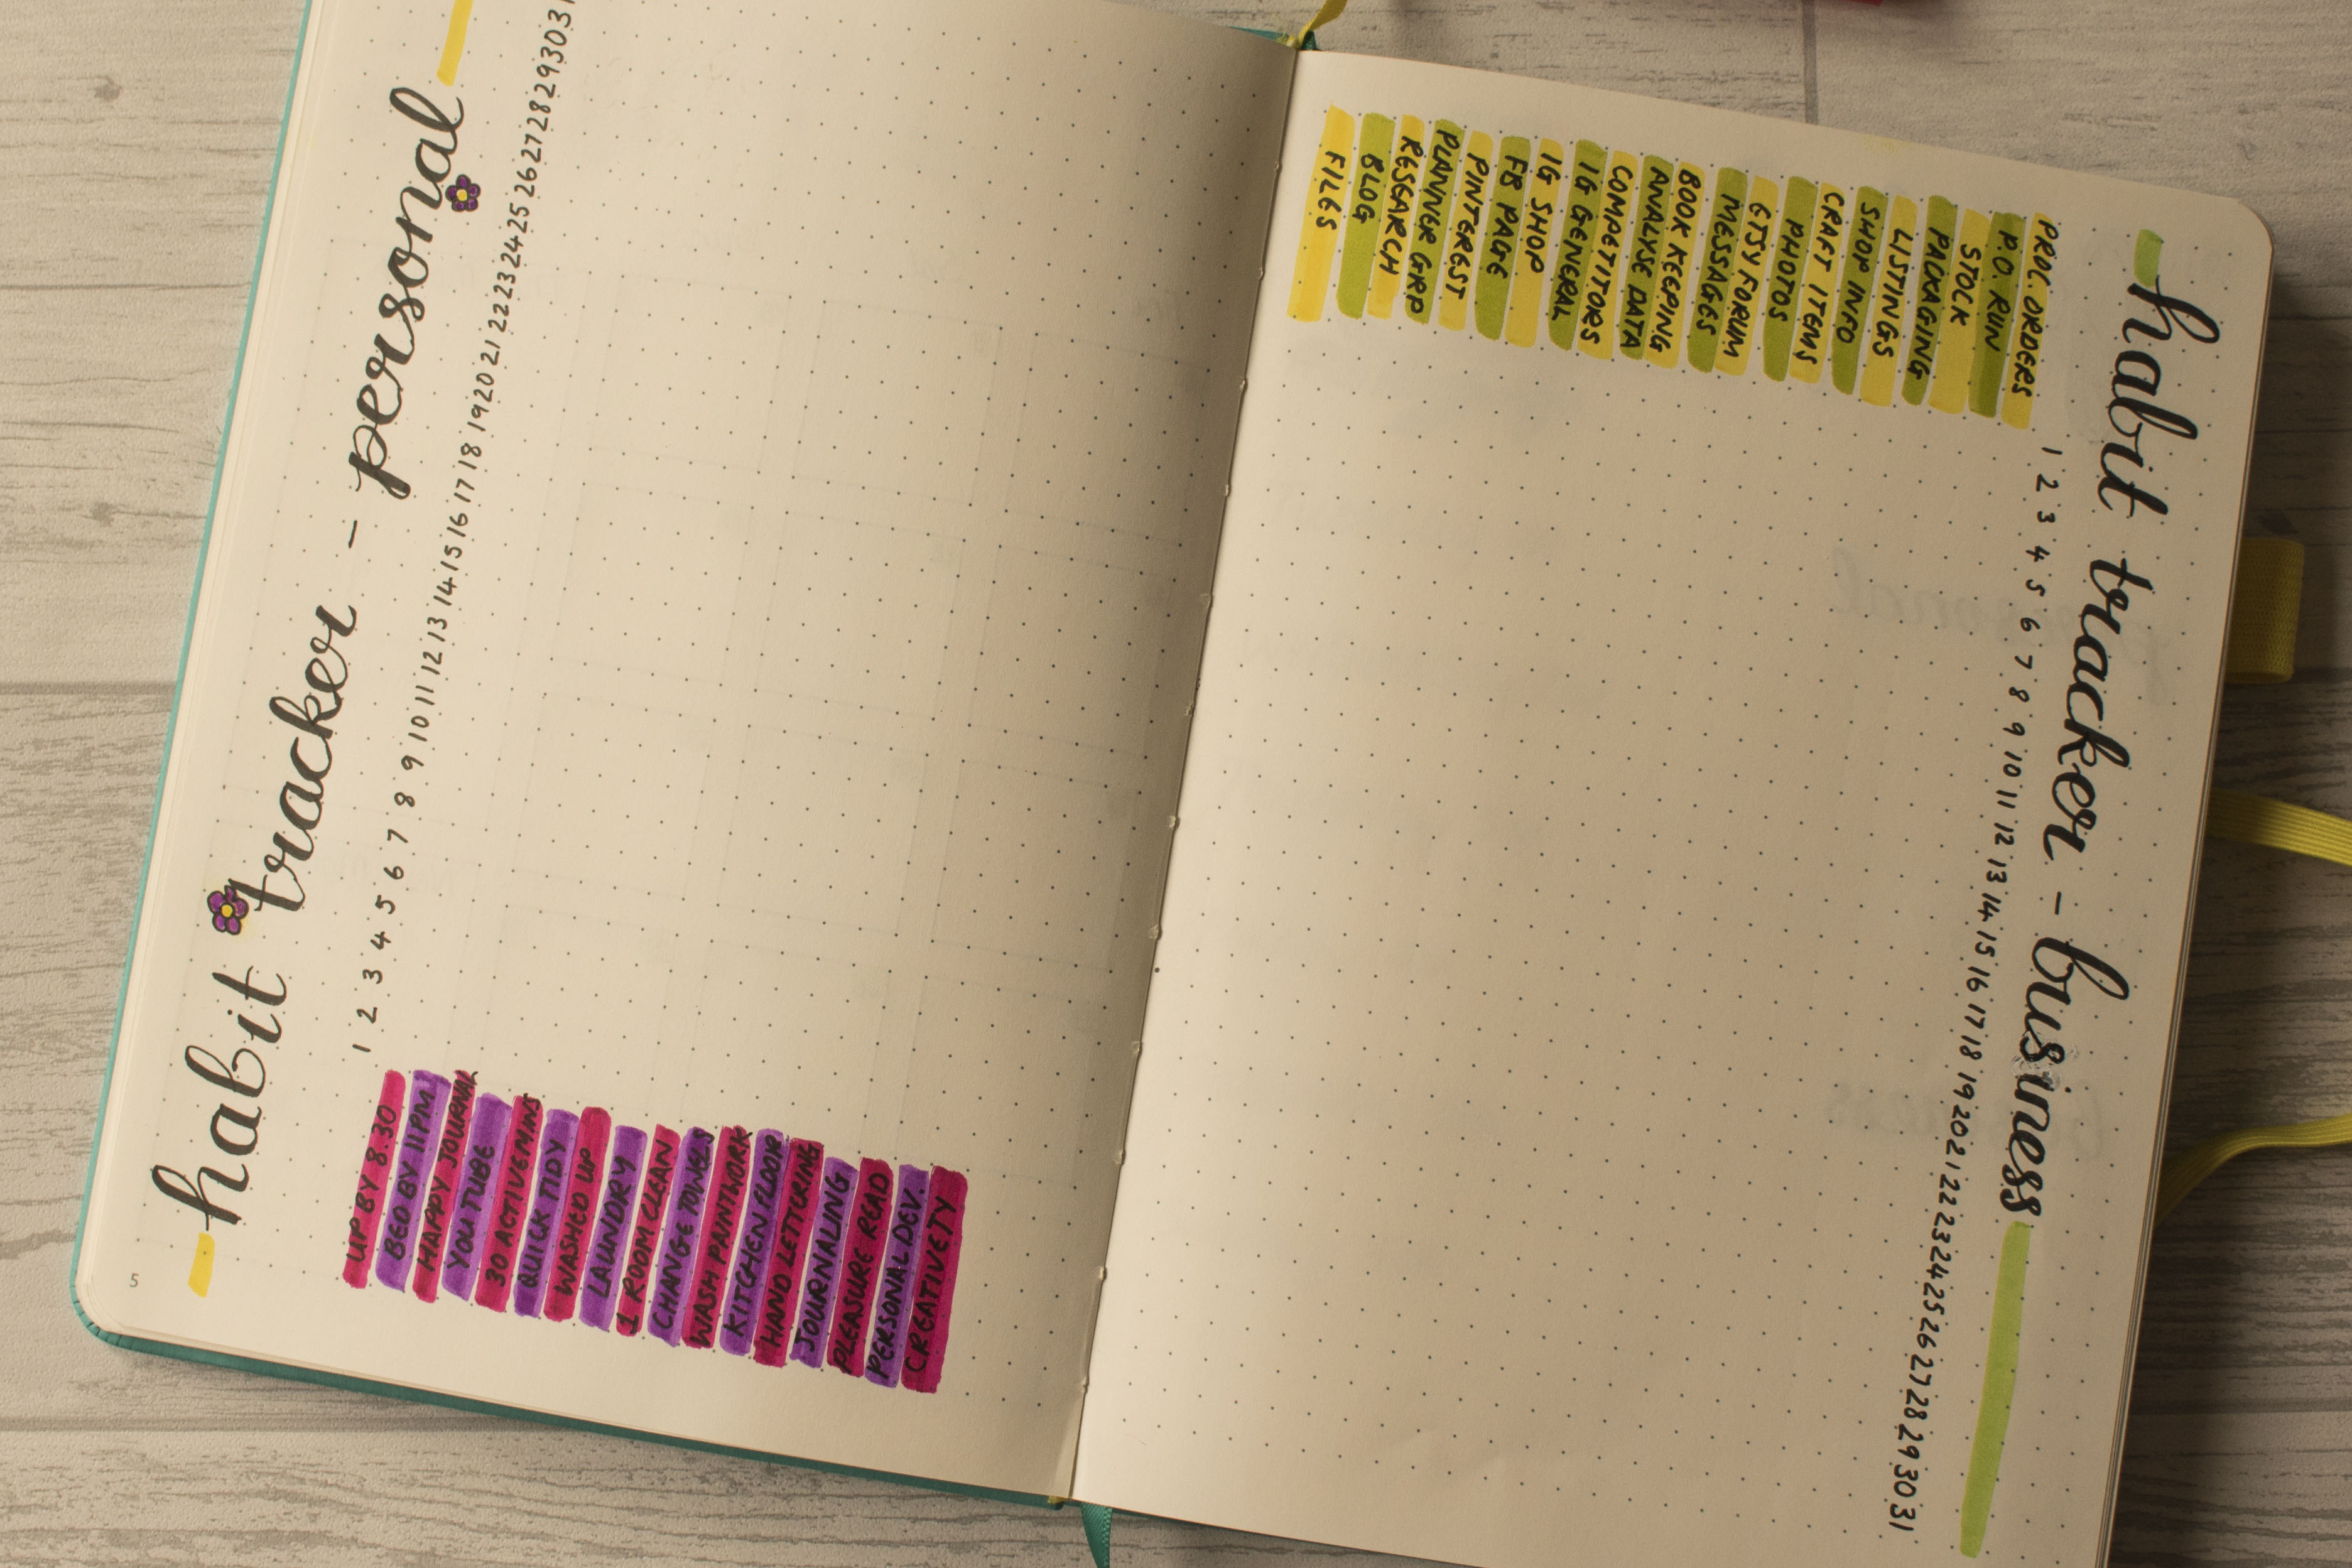
BujoMayHabits.jpg
Personal and business habits for May
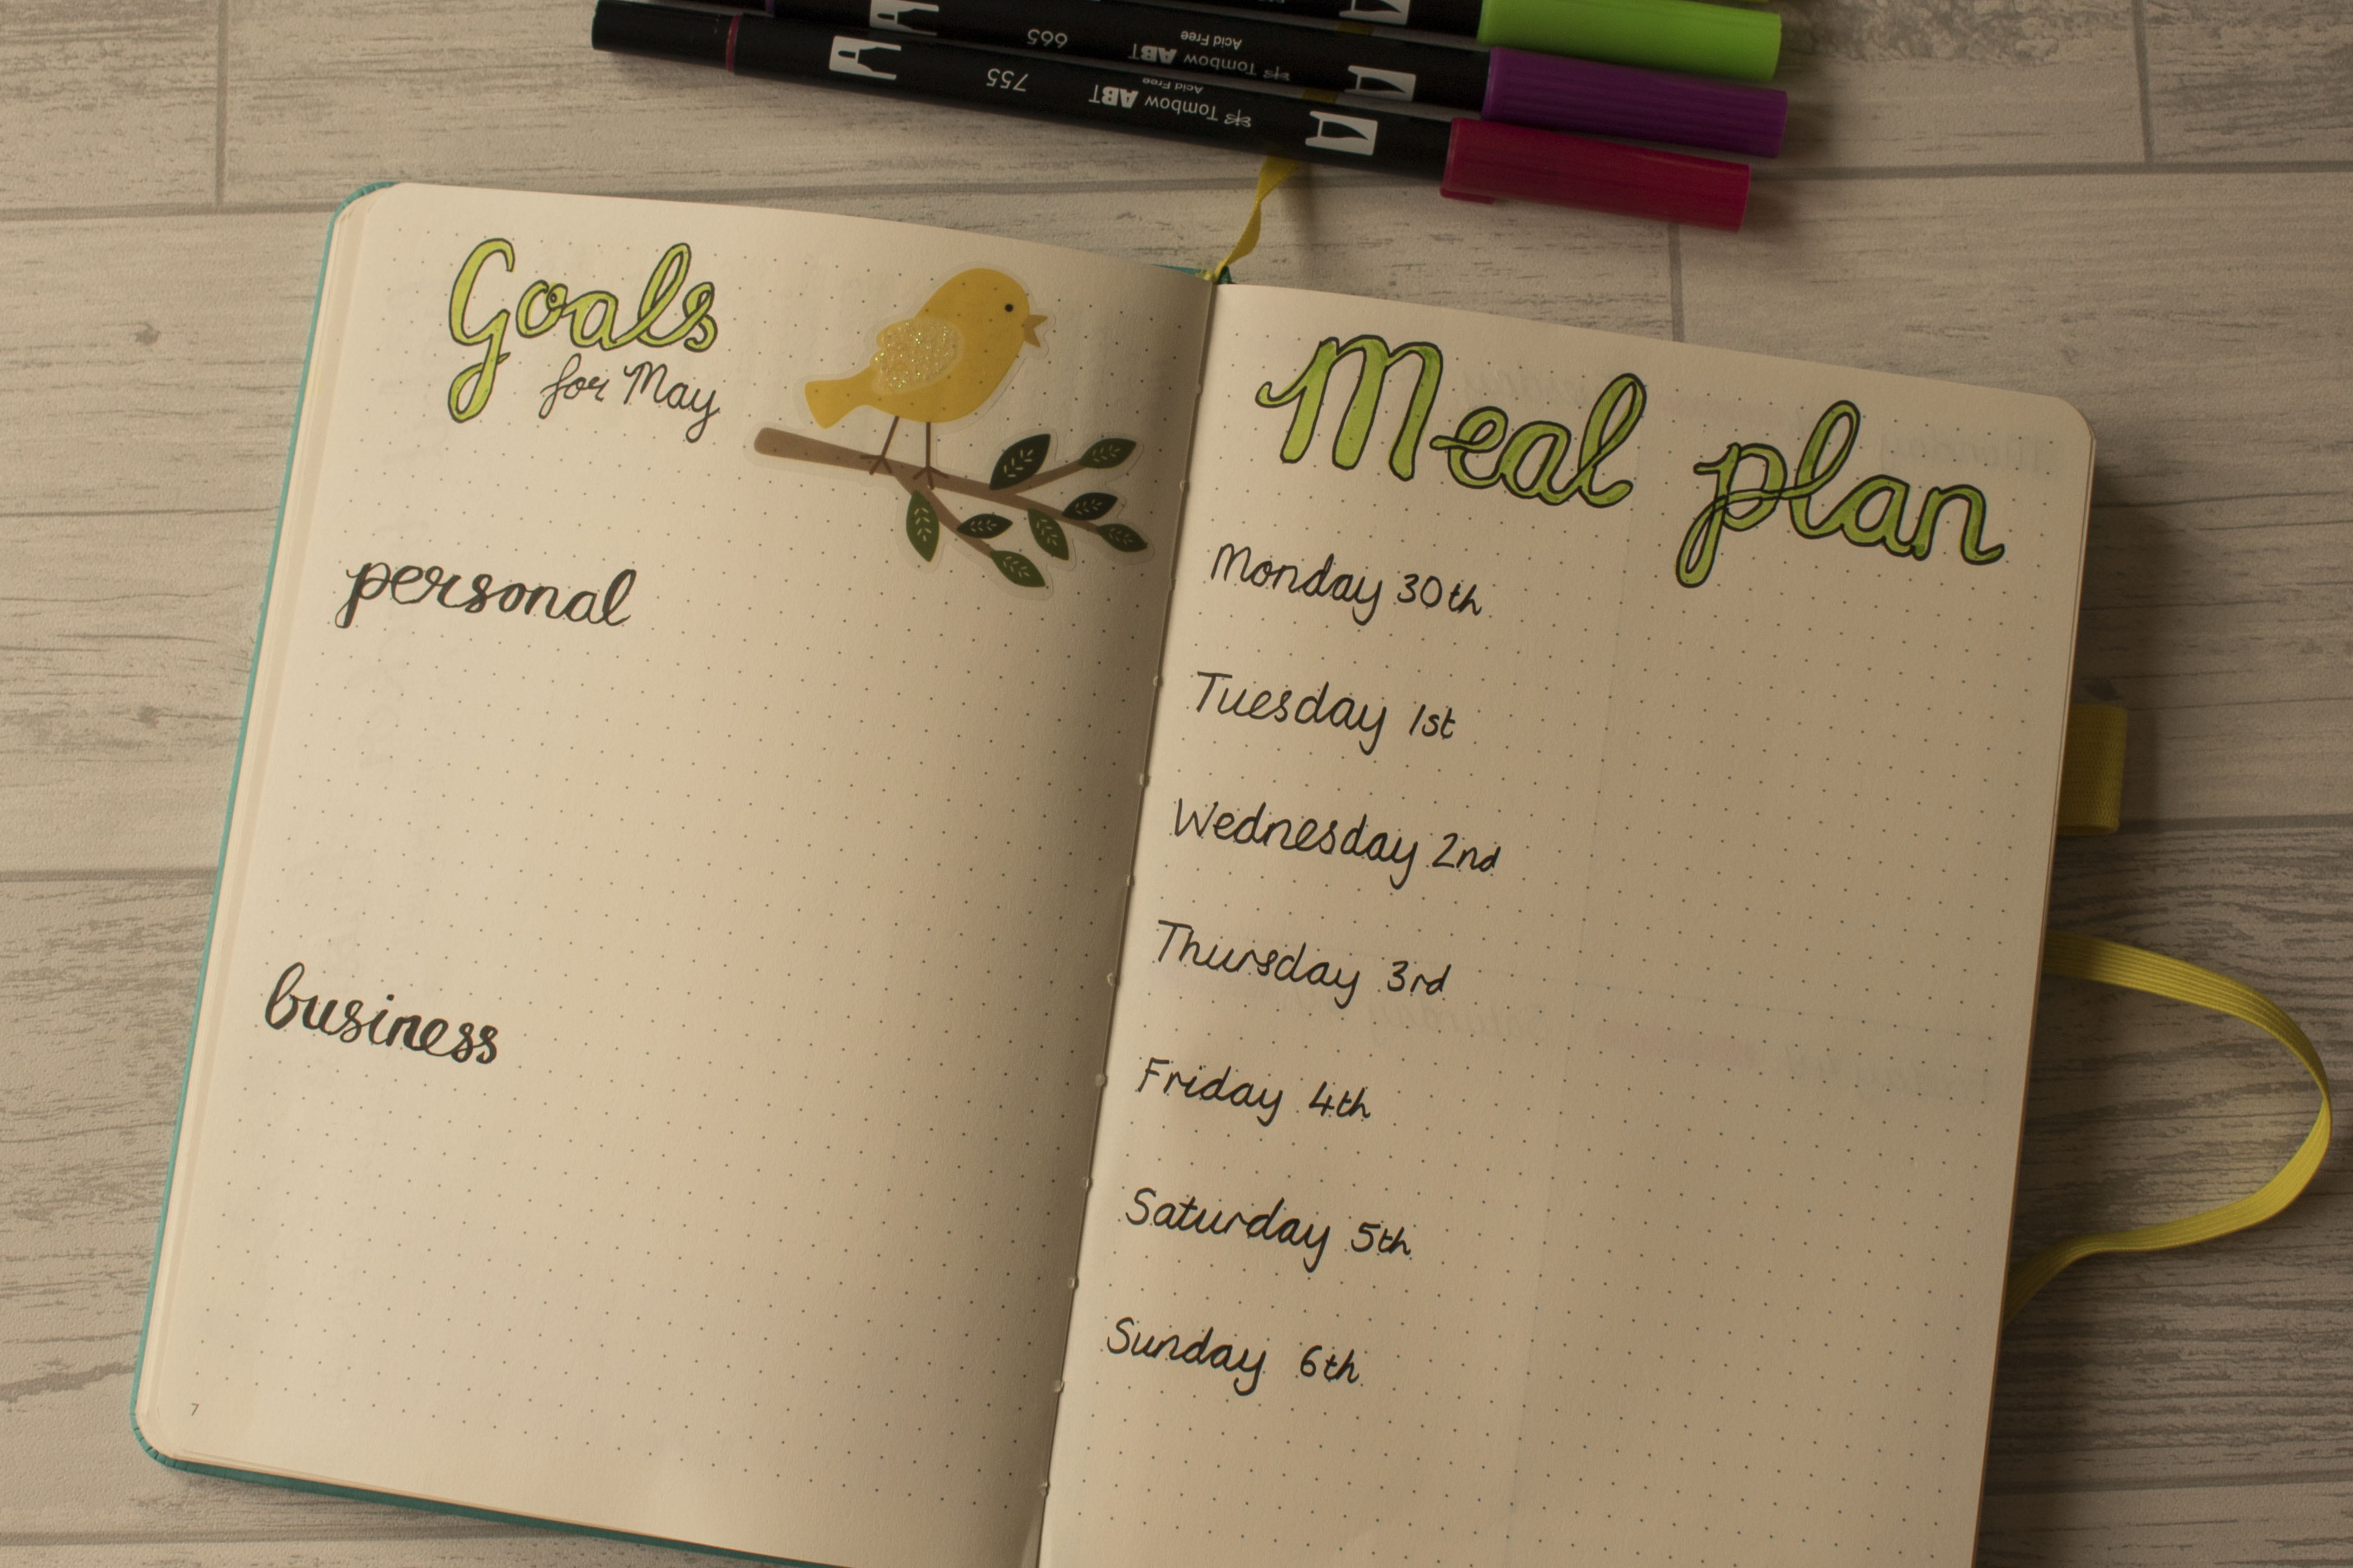
BujoMayGoals&Meals.jpg
Goals for the month and a meal plan for the first week of May.

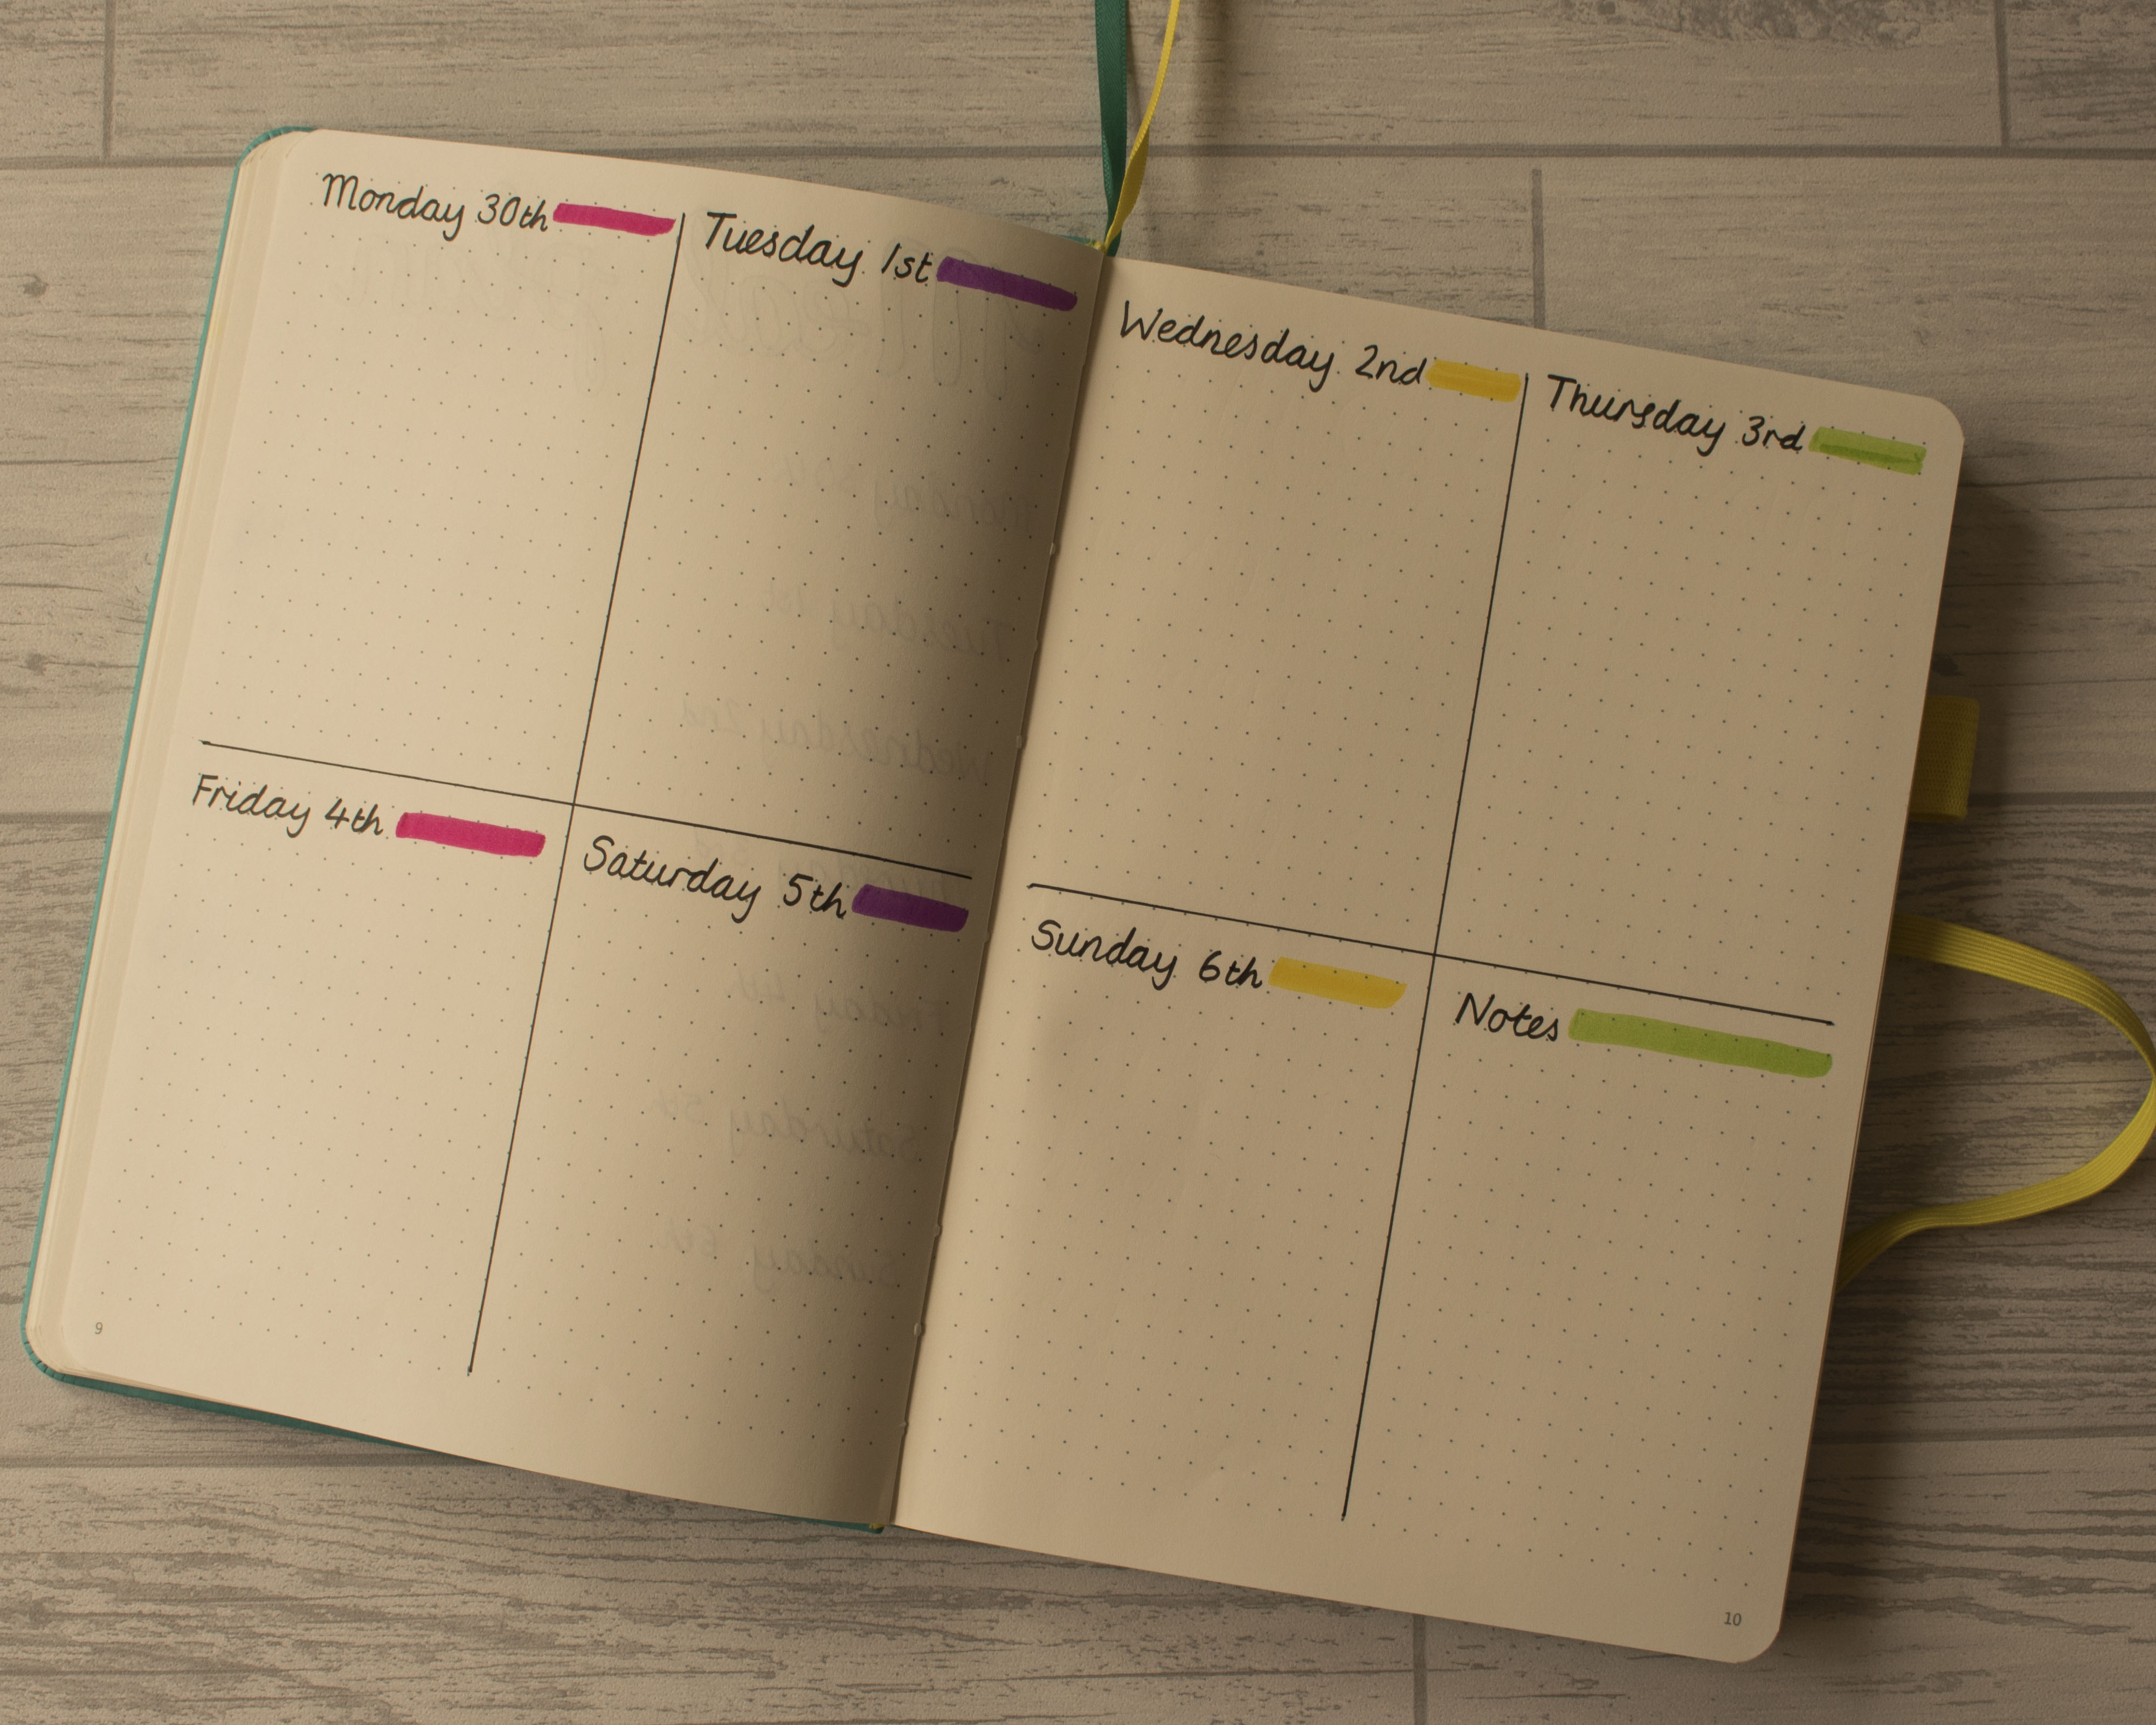
And finally, my first weekly plan, which is now on just two pages. I’m hoping the rapid logging system means that I need much less space for each day but I can always change my layout if it doesn’t work. I have, however, swapped over to a 0.7 pen so my writing might not be small enough. If anyone knows of a decent fine pen which you can use Tombows or Mildliners over the top of, let me know in the comments!

BujoMayWeekly1

If you’re new to bullet journaling and have any questions, feel free to leave a comment below. And, if you have a must see blog, YouTube channel or Insta account which you want to share, I would love to hear from you.

Thanks for reading,

Much love,

Laura xx

p.s. If you are worried that my gorgeous Webster’s Pages TN is going to sit unloved on a shelf collecting dust, don’t be – it’s now full of my creative journals!

Posted in Blogging, creativity, lifestyle, mental health, Planning and journaling, wellbeing

Welcome to my second little space of the internet…

I already had my little Etsy shop for selling my cute planner supplies, but I also longed for a space in which to write down my thoughts about planning, journaling, goal setting and general wellbeing so this blog was born. When I first started (back in Spring 2018 I think), I knew absolutely nothing about blogging but over the last couple of years, I’ve spent time reading tips on Pinterest and on the various blogs I found so I’m now a little more clued up and thought I’d revamp my initial entry on what my site is all about.

Basically, my entries are a mixture of planning and journaling ideas and spreads, my experiences of trying out a range of crafts and creative activities and mental health and wellbeing tips that I’ve picked up over the years as I develop my ability to cope with my various difficulties. I hope you find my posts both inspirational and useful and enjoy reading them as much as I find pleasure in writing them.

JournalSpringPage
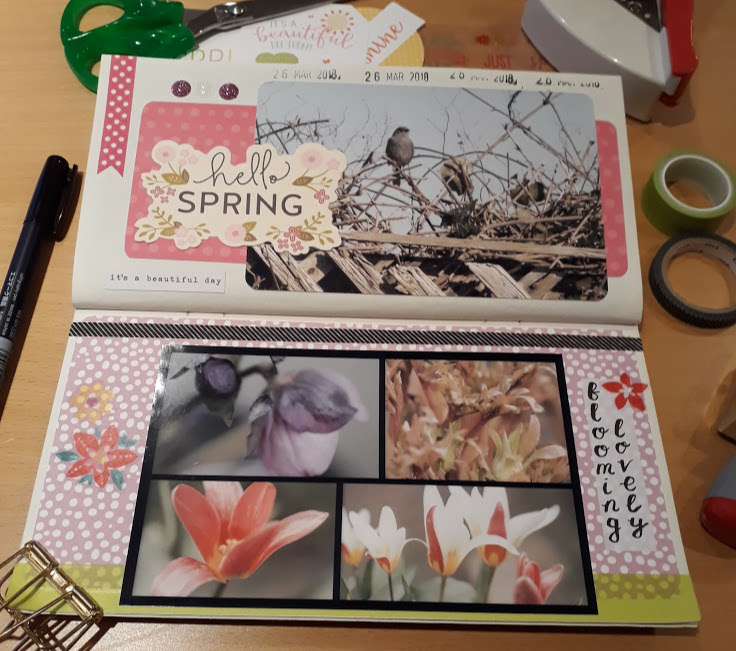
A couple of pages documenting first signs of Spring in my garden. Selphy photos of a dunnock on the fence and some buds and tulips. A range of bits from my journaling supplies.

Thanks for reading, liking, commenting and following!