Over the years, I’ve tried lots of different ways of creative journalling in Traveler’s Notebook inserts that I’ve purchased or made myself. I’ve loved completing different pages and layouts but I’ve often found myself trying to record too many different things in far too much depth. This has meant many collections of photos and ephemera in various bits and pieces of storage which never got journalled about (I didn’t even get started on them), half finished pages (often with photos and decor stuck in with spaces to journal about events and experiences and numerous blank pages (where I’ve penciled in what is to go on there) left to fill in later. It’s also been the case in the past that, during periods of bipolar illness, I’ve struggled to get motivated to do any journalling when depressed or taken on too much when I’m high, leading to tonnes of half finished or barely started creative projects.
Although my bipolar disorder is better managed now, and my mood is much more stable, I still wanted to find a way to record things whilst at the same time ensuring that journalling does not become too onerous a task. I think I’ve now found a method that works and I’m excited to share what this looked like for February this year.
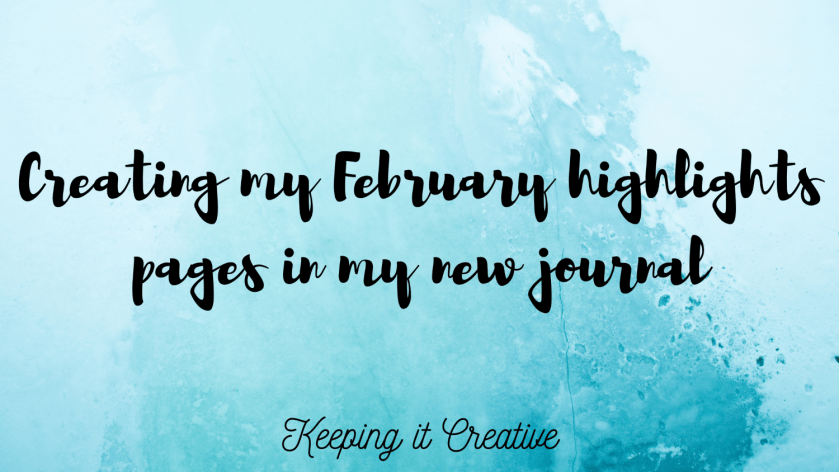
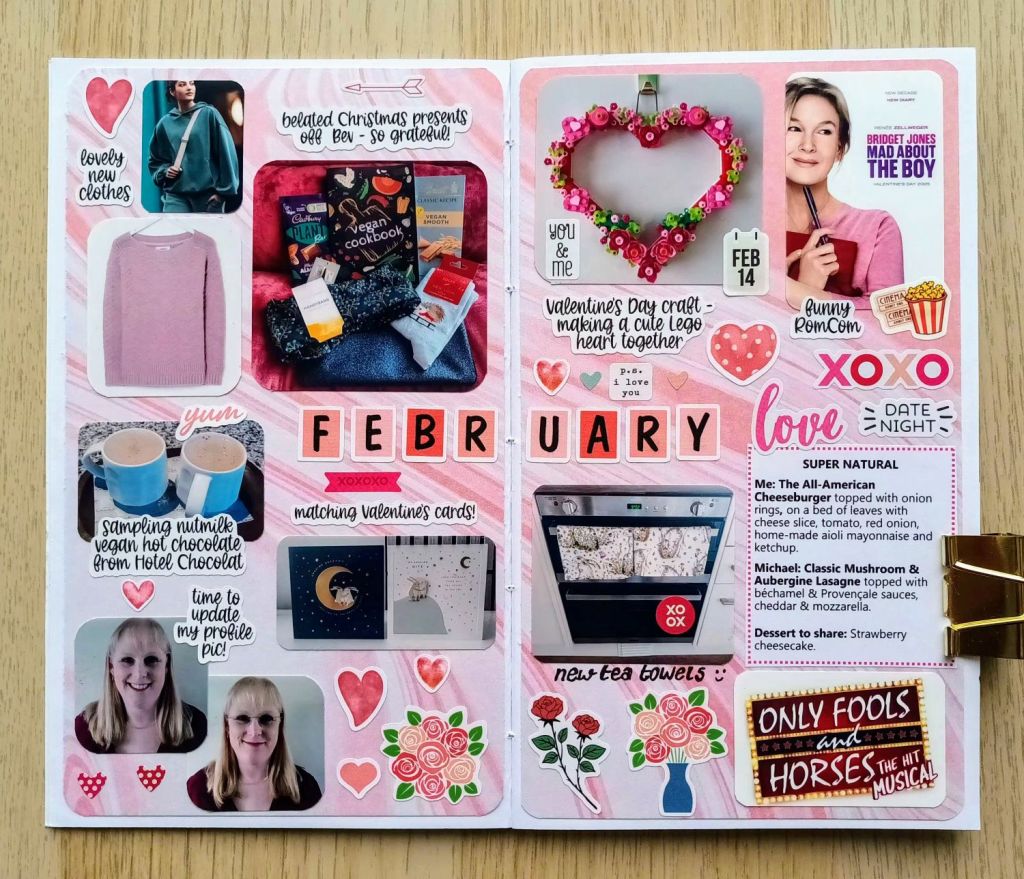
In January, I started a new TN wide journal insert as a memory keeping project for 2025 (and if it continues to work for me, beyond this). Each month, I intend to create a double page spread with the main highlights on including events, trips out, purchases and general happenings. I set up the pages at the beginning of the month with a background paper and the title and then work on filling it in just after the particular month has ended. Today I’m sharing my pages for February which I’ve just finished this week and a little explanation of how I set about doing them.
Monthly Highlights Journalling
The idea of doing monthly journalling came from Kelseyleigh over at My Abiding Journal on YouTube. She’s been doing summary spreads of each month for quite a few years now and I’ve picked up lots of tips and ideas from watching her videos so I definitely recommend subscribing to her channel and watching some from the archives as well as tuning in to the livestream of her process which offers so many ideas and the opportunity to purchase stickers to use if you join her on Patreon.
Personally, I’ve not joined Kelseyleigh’s paid tiers as I like to make my own stickers and ephemera using my Cricut machine. However, she has some lovely ideas for each month of the year and I think her members get to suggest ‘bucket list’ items for inclusion on her sheets.
A few tips for success
As well as picking up some tips from Kelseyleigh, I’ve also developed my own systems for collecting bits and pieces, photographs and ephemera. As a Canva Pro and Cricut Design Space user, I’ve also got into the habit of designing a set of stickers each month too. Here’s what I’ve learnt so far and what is working for me:
- If you want to have a background to your pages like I have, it helps to choose a simple patterned paper and adhere it prior to doing your journalling. I’ve also found that adding the letters of the month using small stickers that I create using Cricut Design Space helps in seeing how much space you have to work with. If you don’t have alpha stickers, you could try hand lettering a title, stamping the letters or use a letter stencil, depending on your craft supplies and how you want your pages to look.
- As you engage in different activities during the month, think about photos you could take (or source) which would provide a good record in your journal. For example, I’ve screenshot and then cropped online images of items I’ve purchased if I want to include a very small photograph of a product that I’ve been excited to buy. I’ve also tried to consider photos that I could take which aren’t too busy so as to be able to shrink them enough to add as part of multiple photos on my dedicated two page spread.
- Throughout the month, consider items that you could stick into your journal (tip ins) for example a business card, parts of some packaging, your menu choices when you go out for a meal, a section of a leaflet or map etc.
- Use a small envelope to collect mini photographs, patterned paper, tip ins (e.g. maps, business cards, packaging labels as mentioned above), stickers and ephemera for the month and store it in the back pocket of your BuJo or other planner.
- Create a notes page in your journal or on your phone to store information about events and happenings you want to record, ideas for captions, stickers you want to add to fill spaces on your pages and any other creative thoughts you have during the month.
- Create a folder on your phone to add any photos you want to use in your journalling. This means you don’t have to spend ages searching your photos, screenshots, downloads, uploads and other resources when the time comes to work on your pages.
- Use Canva or the PicCollage app to add small photographs that can fit together to create a single image to print. I have a 4×6 and 6×4 inch template on Canva for this purpose as that’s the size that my Canon Selphy prints at.
- Consider purchasing an instant photo printer such as a Selphy, Instax or Sprocket so you can easily add to your photo collection and make mini versions of images you want to include. Check online reviews for the pros and cons and different price points so you can choose the right one to suit your needs and budget. I have a Canon Selphy which I’ve been using for years but you might prefer photographs that have a sticky back so you can put them straight in to your journal without needing to cut them out and add adhesive.
My February highlights pages
As I’m currently trying out the monthly recording system, I’ve picked out a notebook that I had already made and which fits in to my Carpe Diem Traveler’s Notebook that I’ve been using for journalling for a few years. So far, I’ve found that not everything I want to record will fit into the double page spread in my TN wide insert but I want to trial using this size for the full year to see if I always have too much stuff to include. It’s helping me to decide which are the main highlights and is good at making me condense things down or just let a photo do the talking (wholeheartedly embracing the saying that a picture is worth a thousand words). I may, in future use a larger blank notebook but I need to make sure that I’m still able to fit in the time at the beginning of the next month to create the pages.
Final thoughts…
One of the main problems I’ve found with creative journalling is wanting to document all of my life in detail using photos captions and lengthy bits of writing. Although I love working on my pages, it’s impossible to cover everything and trying to can lead to lots of overwhelm and feeling like you can’t keep on top of it. Creative journalling should be an enjoyable experience and if it starts to stress you out, I think it’s really important to do some self reflection on why. Although I’ve only done January and February so far, the pages were a pleasure to work on and only took a few hours to finish. My only issue now is you decide which highlights to include and which to miss out.
If you’re struggling to keep up with your creative journalling and feel like you’re always behind and desperately trying to get up to date, monthly highlight journalling might be a good way forward. Also, there’s nothing to stop you doing an extra couple of pages if you want to document something like a wedding, birthday, holiday or other special event in more depth before returning to a double page per month.
I hope you’ve found today’s post useful and it has helped you to see the benefits of doing a monthly summary if you have minimal time to work on your spreads. If you would like me to share future finished pages please do let me know in the comments.