Posted in art, bullet journal, Bullet journaling, creativity, lifestyle, Planning and journaling, watercolour painting

Setting up my Bullet Journal for February 2024: Valentine’s roses and hearts theme

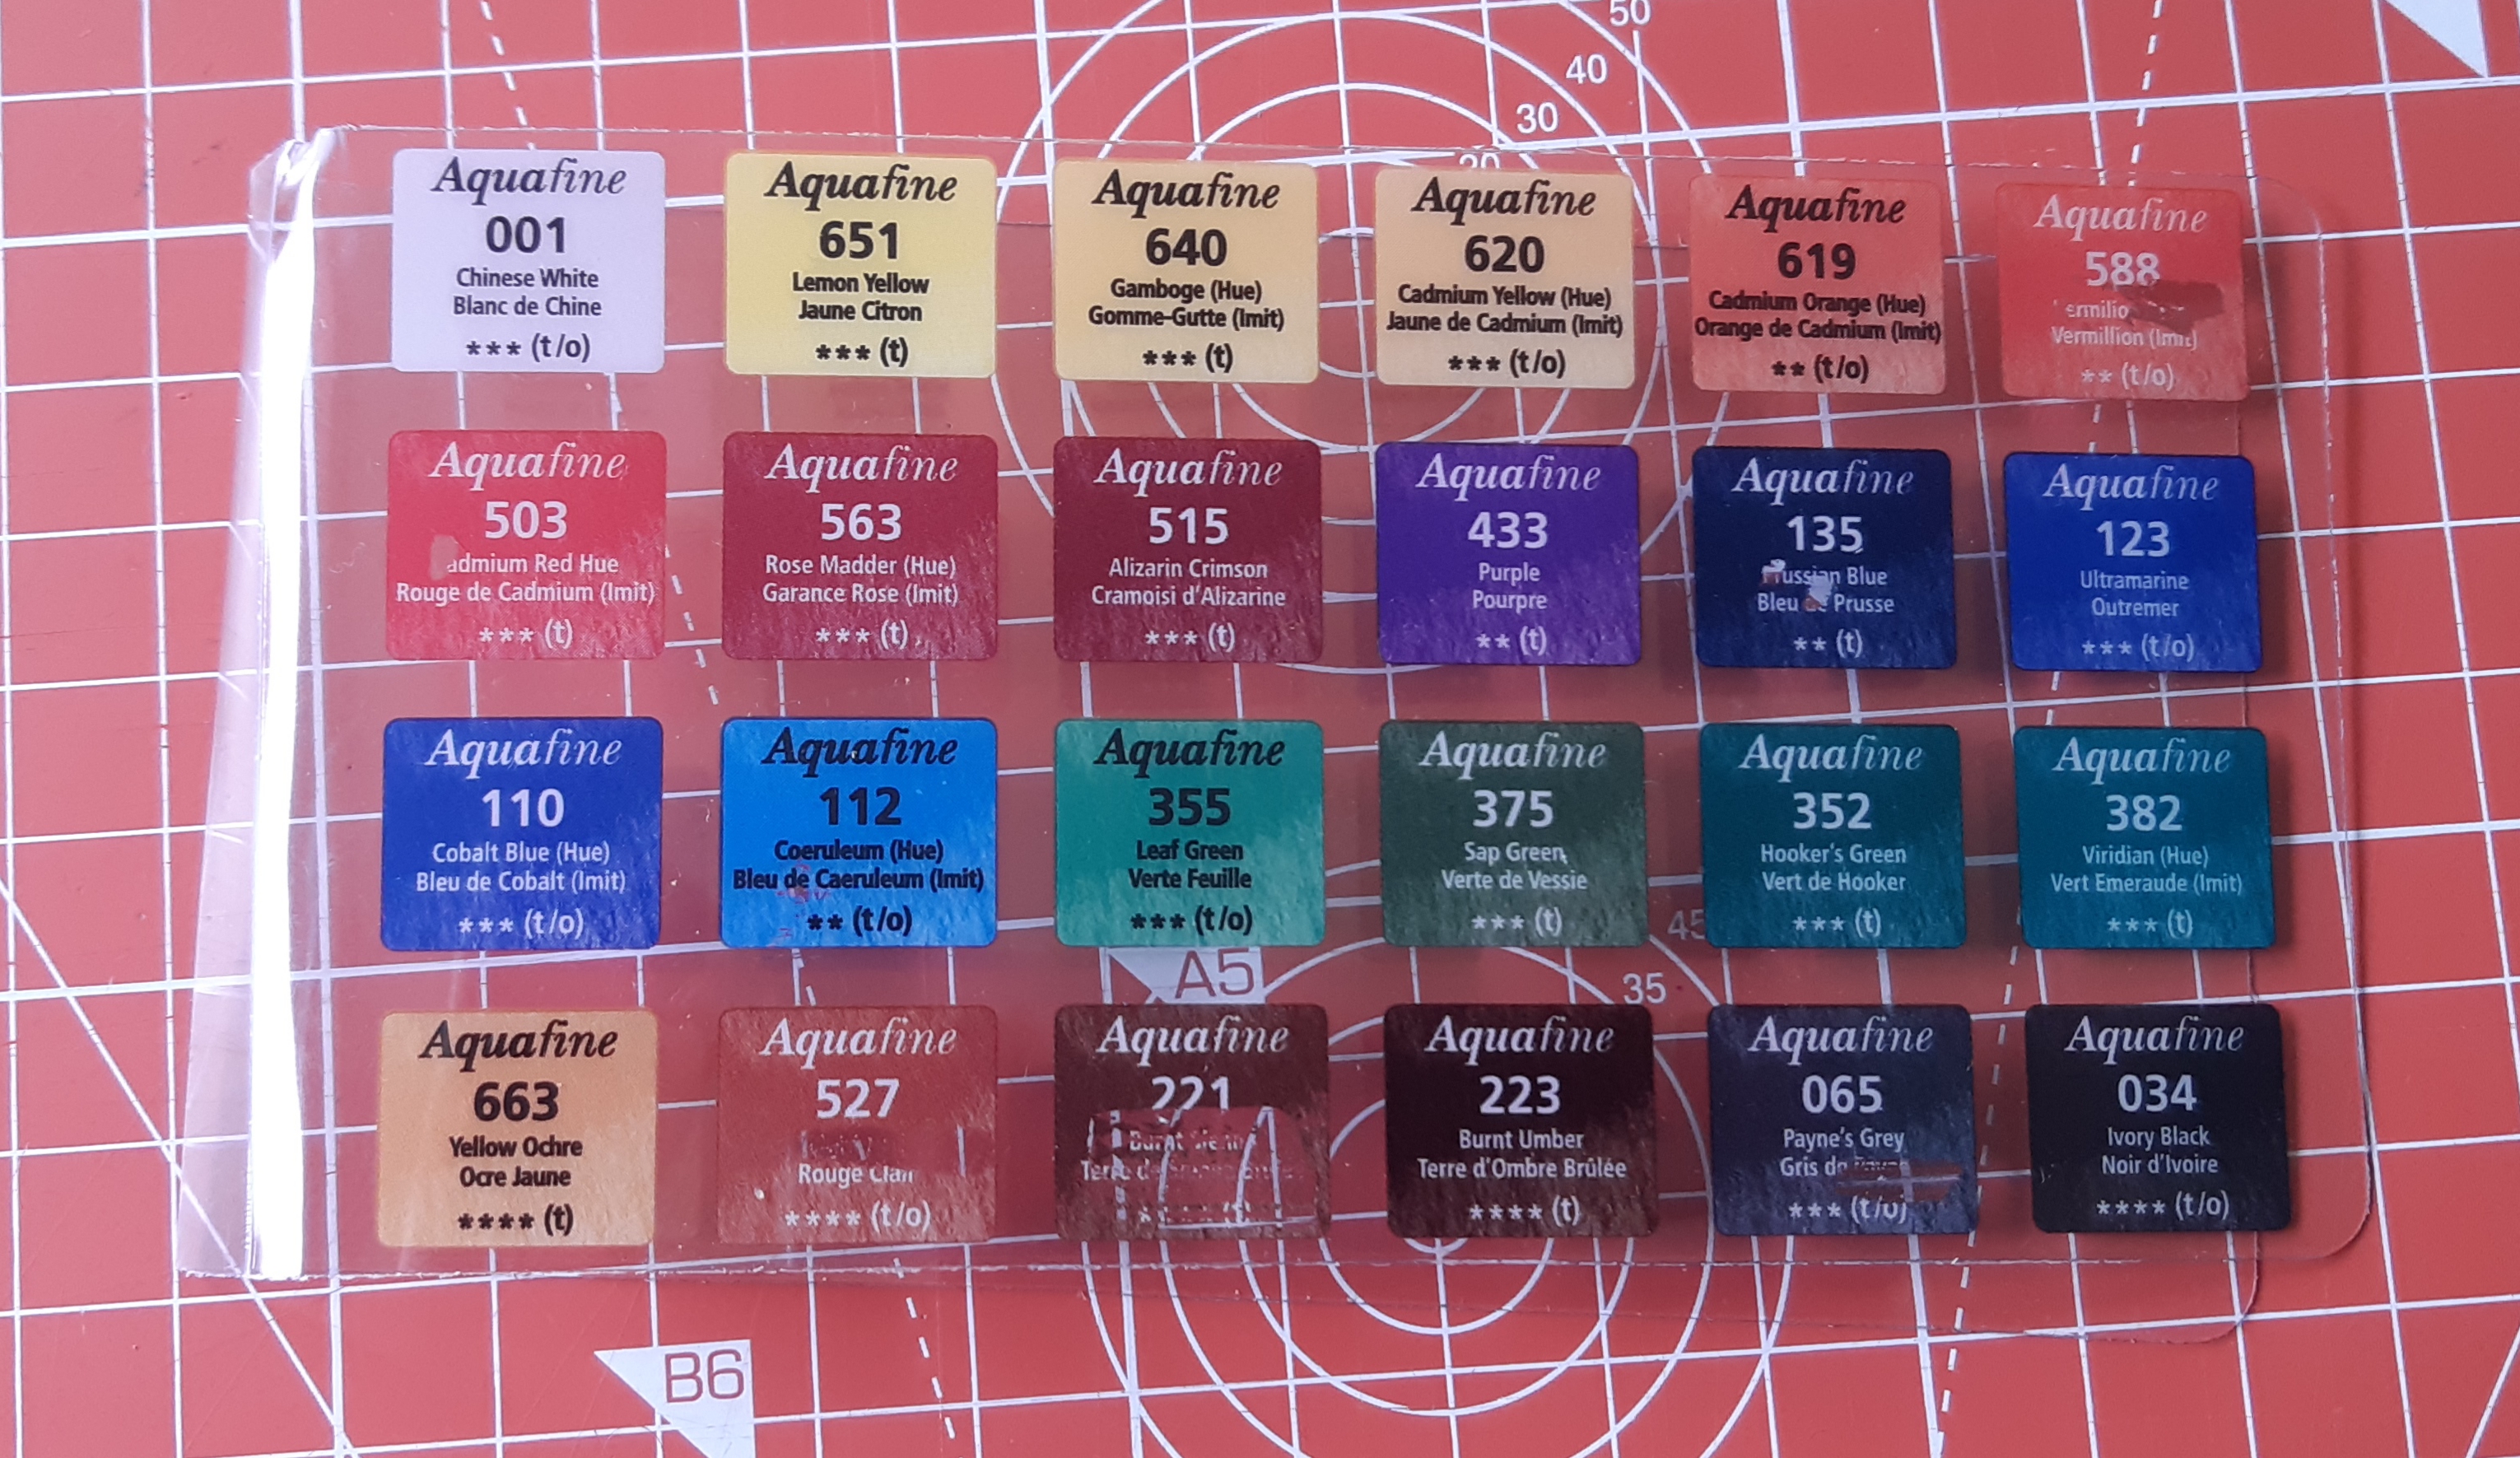
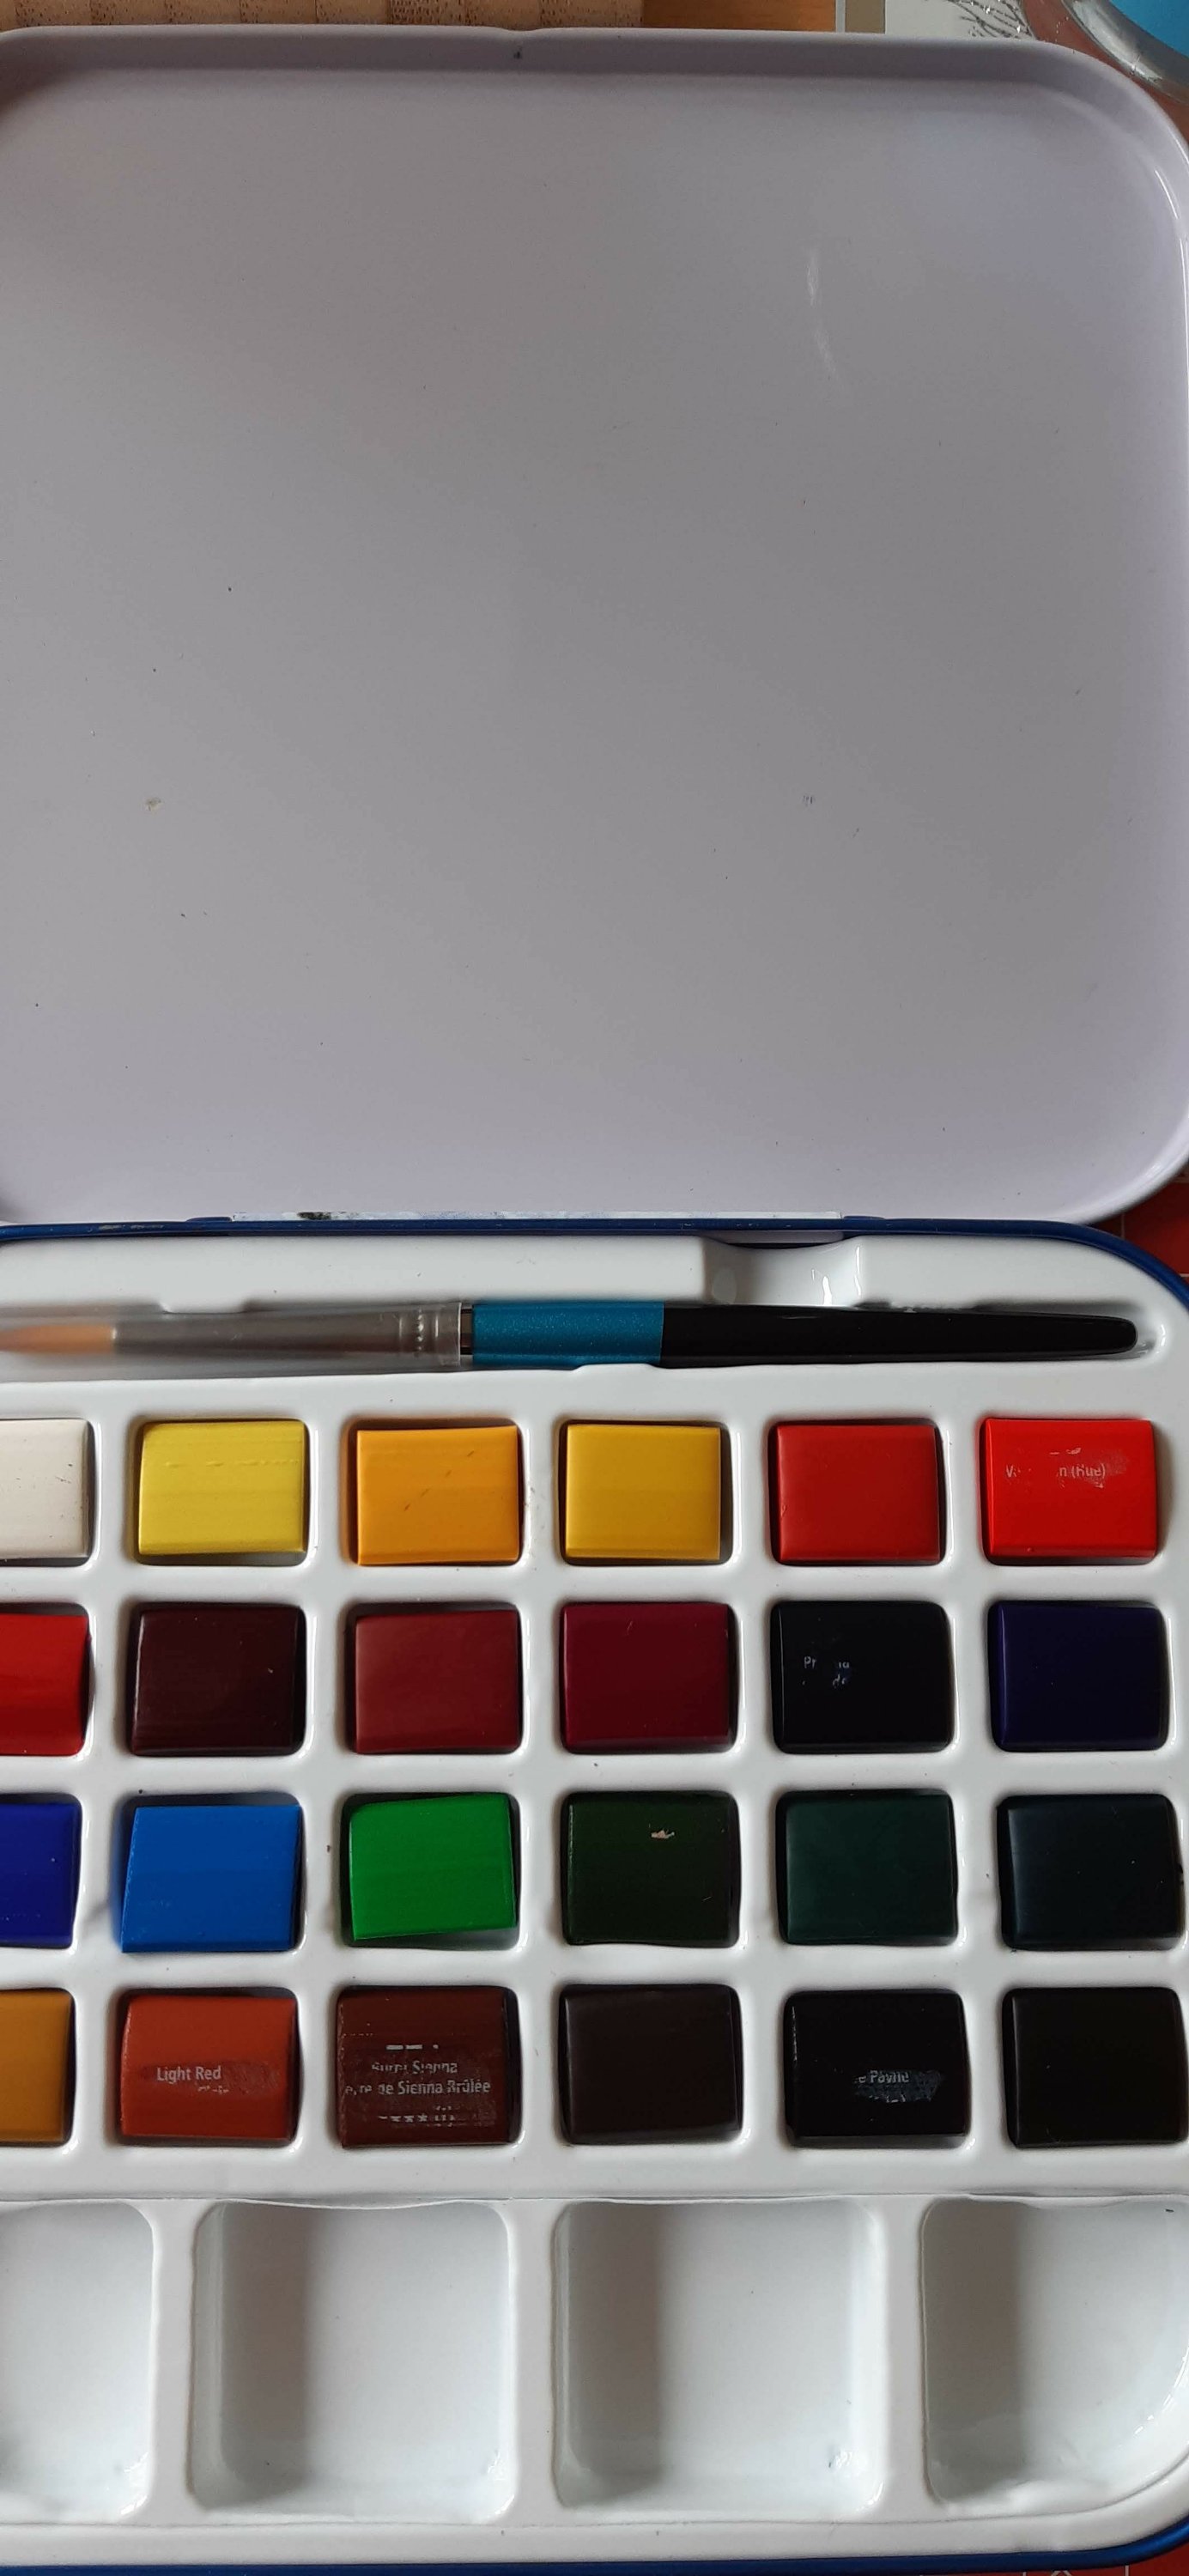
For the month of February, I decided to do some more watercolour painting. There’s lots of tutorials online for loose watercolour roses, so I thought I’d give it a try and then use my new skill to create a front cover. I searched for easy and beginner tutorials but I used more than ten A5 sheets of watercolour paper developing my technique so it definately wasn’t a breeze for me and my perfectionist self!

For the rest of my spreads I made stickers using my Cricut Joy Xtra. I would love to turn my watercolour images into stickers but I’m not sure how easy it is to do, so, for now, I’m just using pictures from Cricut Design Studio which I subscribe to. I hope you like my finished pages and I look forward to seeing everyone else’s themes and approaches on WordPress, YouTube and Instagram.
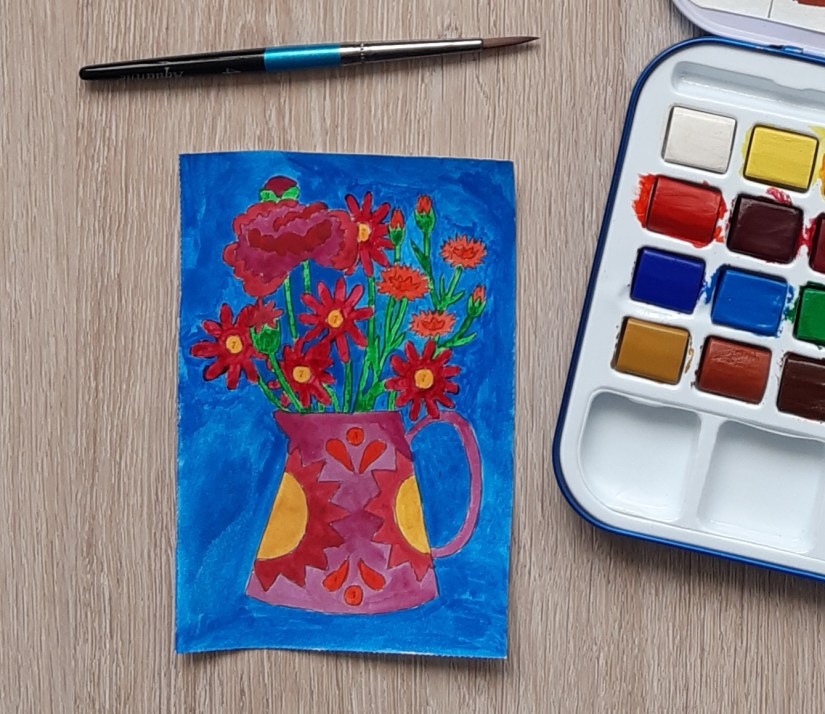
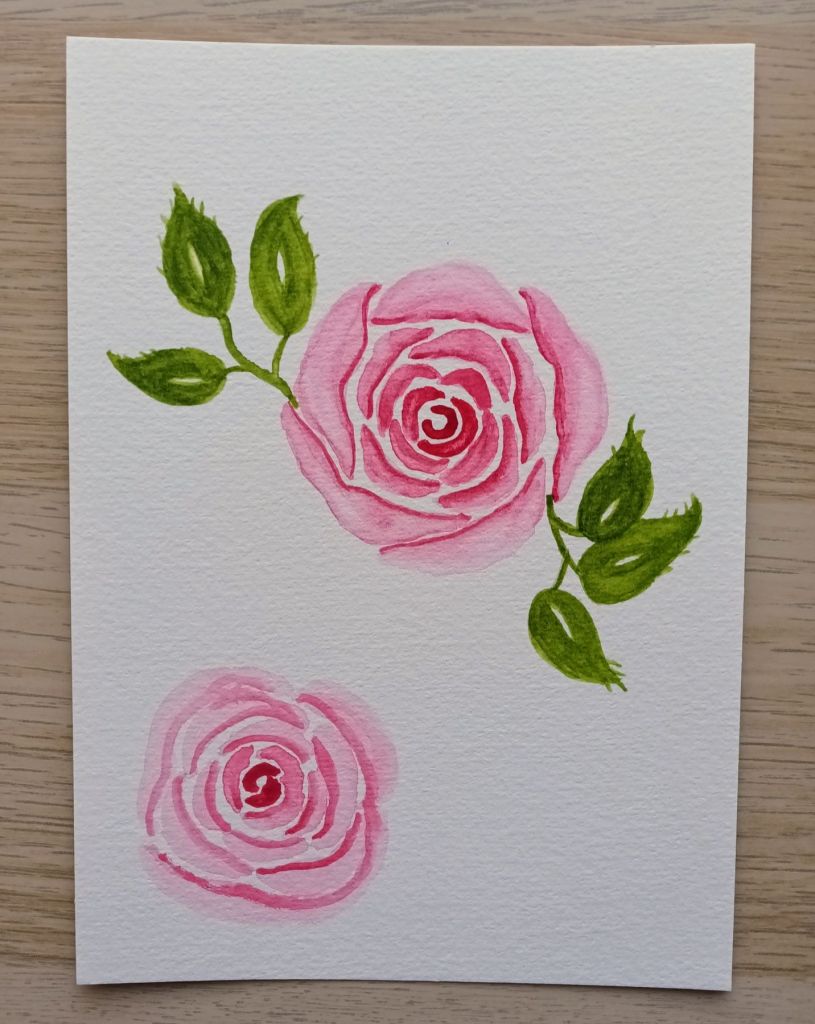
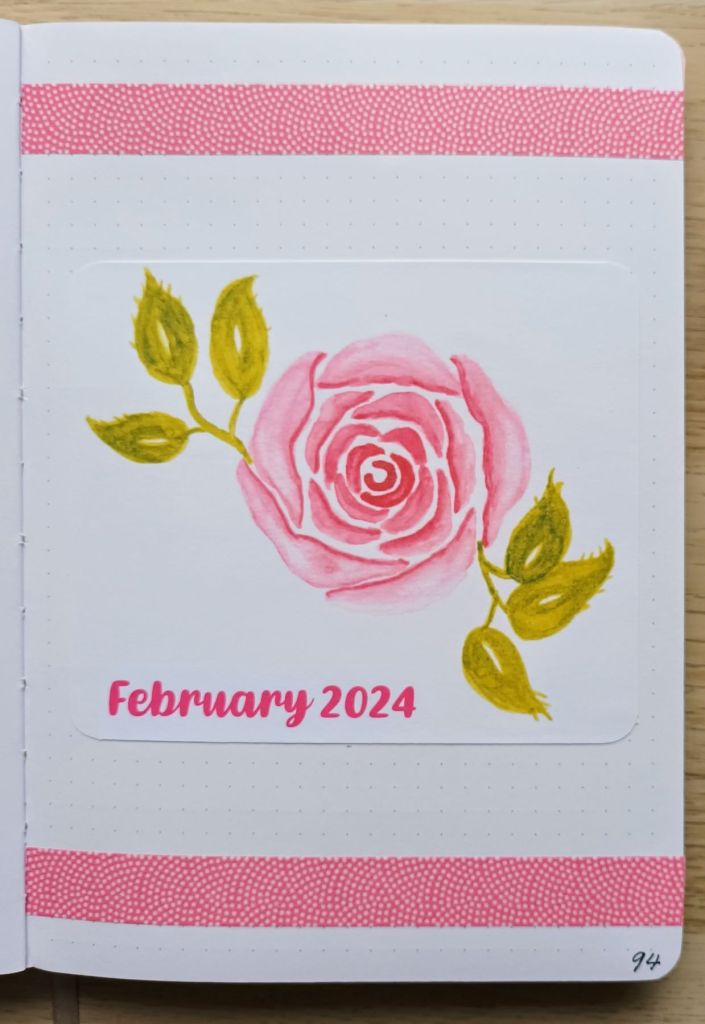
Watercolour rose

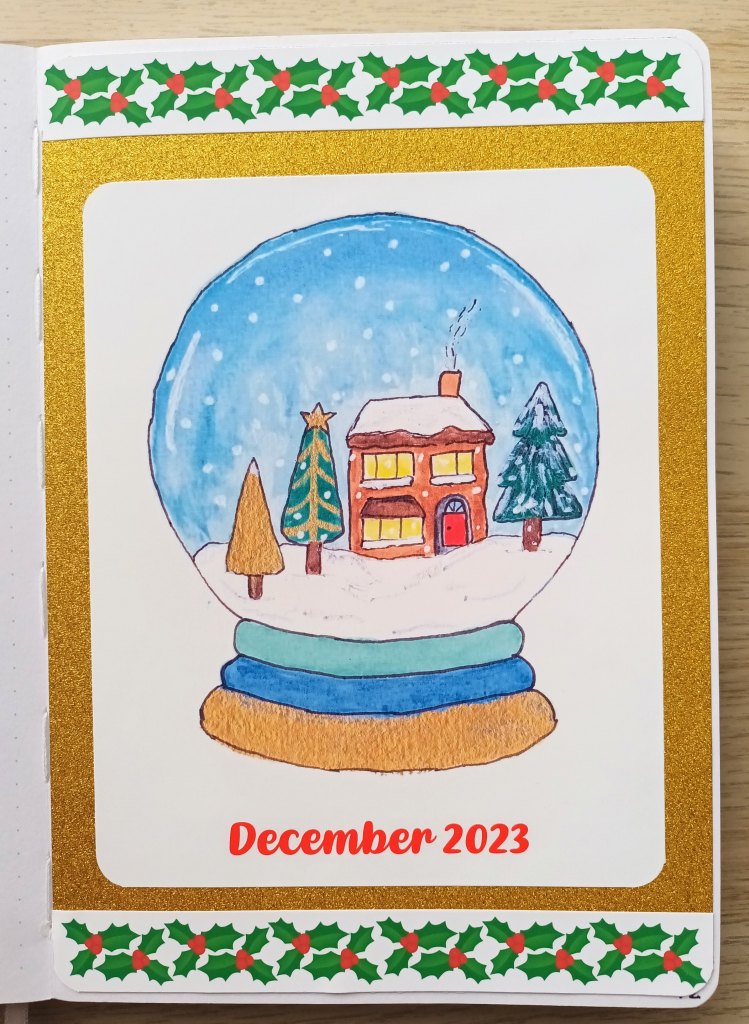
My intention for the front cover was to paint three roses in different colours – pink, red and peach, and add leaves. However, every time I attempted the final piece, I would create two lovely roses that I was happy with and one which went completely wrong! In the end, I decided to do just one rose to place in the centre of my page. In a bid to save watercolour paper, I used a piece that I’d already practised on. Unfortunately, I didn’t watch where I was putting the leaves and had to fix my mistake with a carefully placed title on my cover page as you will see shortly!

Photo credit: Laura Jones for Keeping It Creative

Front cover

After my painting session, I scanned my artwork and printed it using my Canon Pixma printer. The colours aren’t quite the same but they look okay. I added the image to a page in MS Publisher and hid the top part of the other rose by adding a title using a text box with white background. As I eventually opted for just one rose and some leaf decoration, I had some space at the top and bottom of the page. I found a washi tape that worked perfectly. This one is from MT which are always superb quality.

Photo credit: Laura Jones for Keeping It Creative

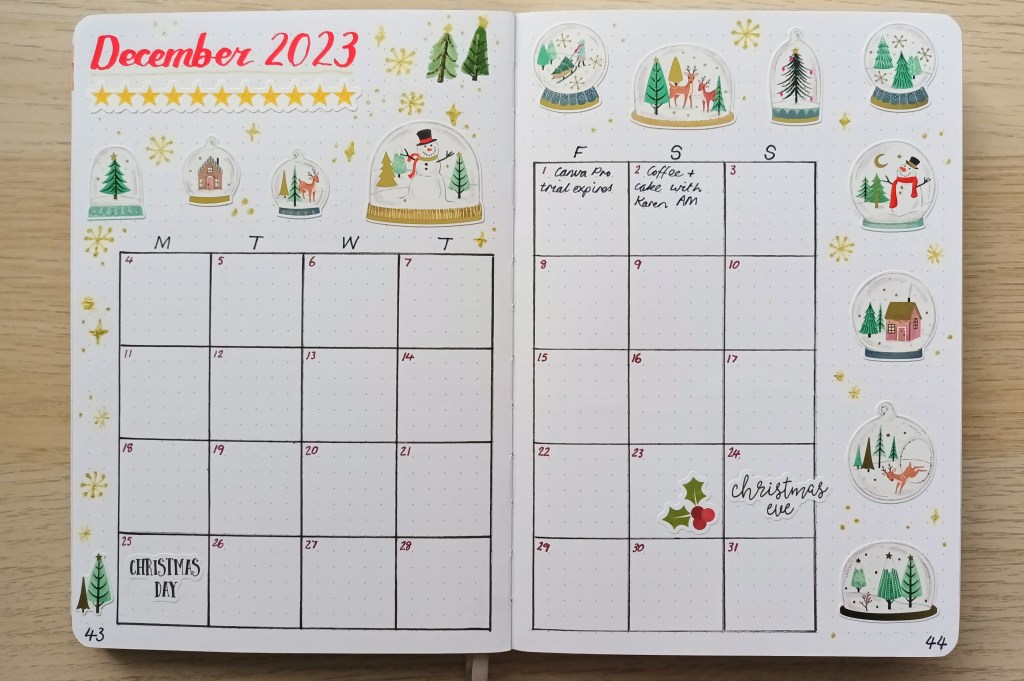
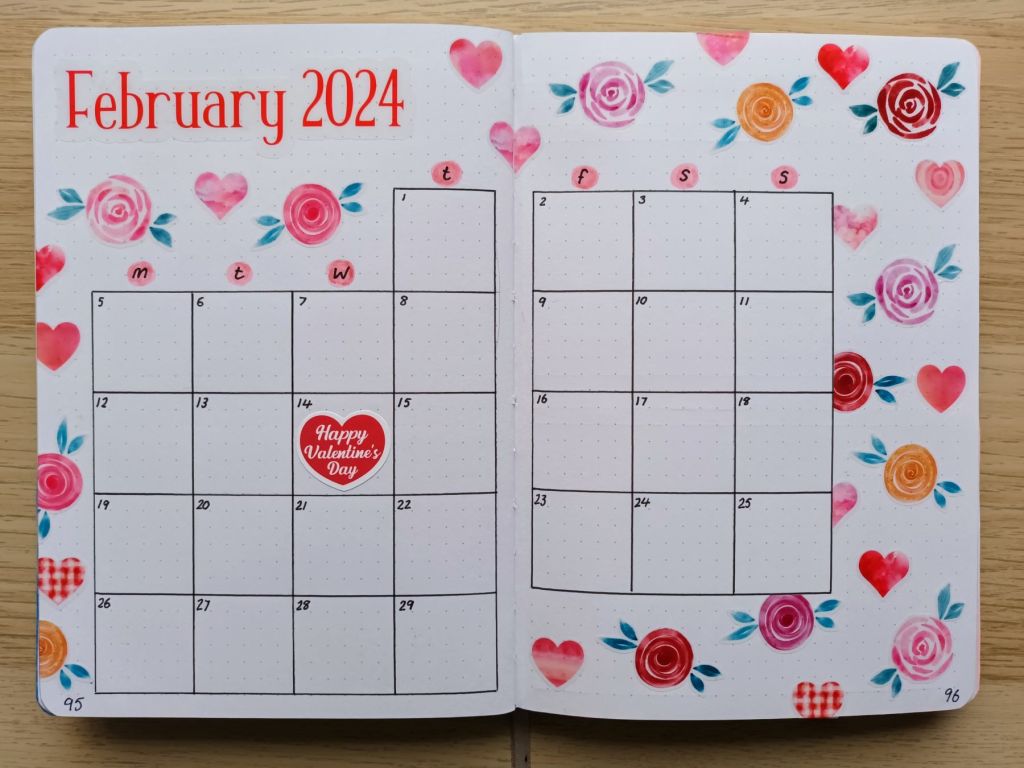
The monthly calendar

When I popped to Hobbycraft the other week, they were having a 20% off Cricut consumables sale so I treated myself to some transparent sticker paper to use with my Cricut Joy Xtra. Unfortunately, when I got to the till, I discovered that the product I had chosen was one of the only items that wasn’t part of the offer – typically eh! Needless to say, I bought it anyway. I love how bright and colourful this double page turned out and it was super quick to create all of the stickers as both the roses and the hearts had a white border offset on them already!
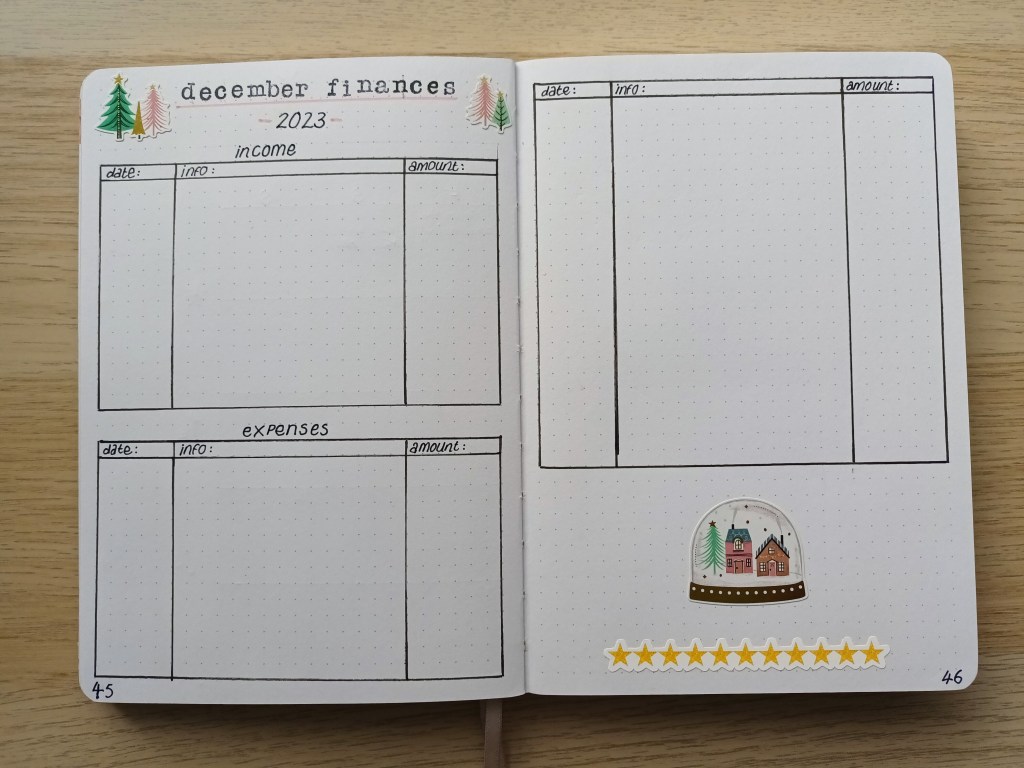
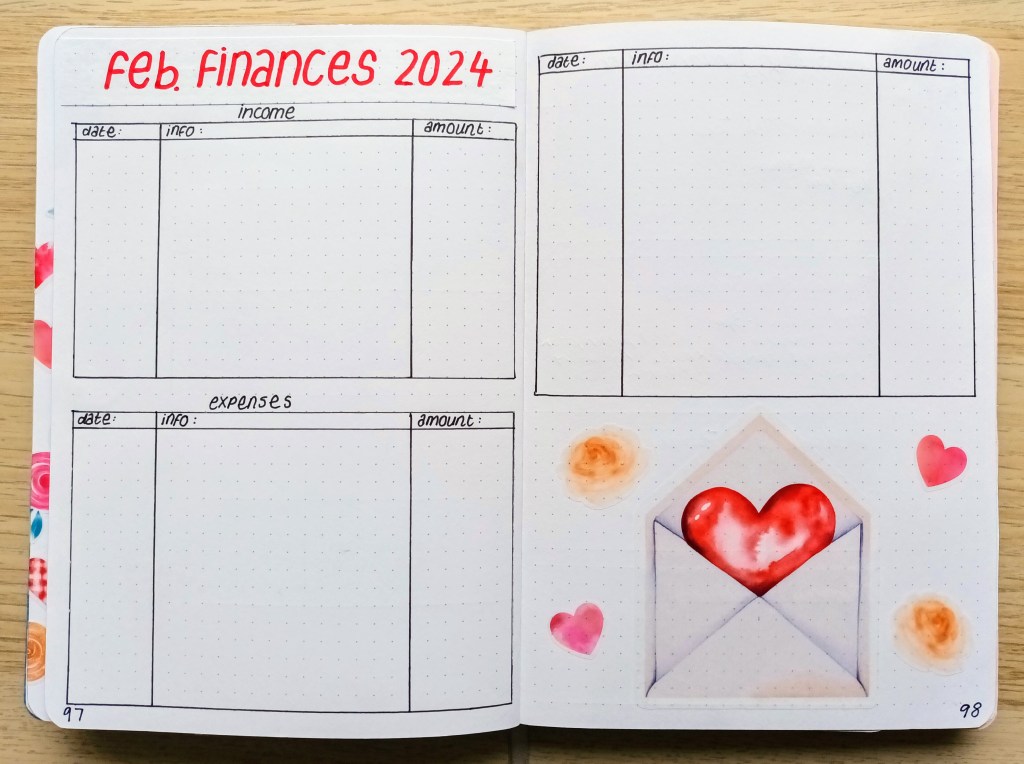
Photo credit: Laura Jones for Keeping It Creative

Finances record

I absolutely loved the watercolour heart envelope so I made it into a large sticker. Of course, it means that I’ll have to try not to have too many expenses for February or I’ll run out of room to record them!
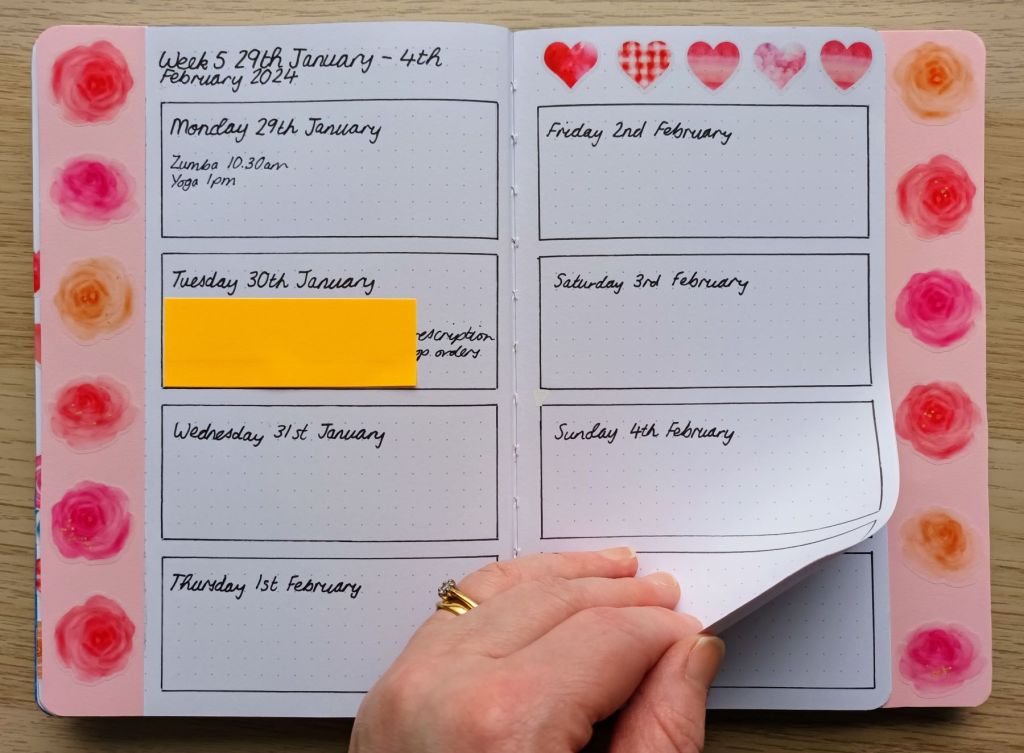
Photo credit: Laura Jones for Keeping It Creative

Weeklies

I opted for a Dutch door layout again this month but there was still plenty of room for the stickers I created. My daily events are recorded in the boxes on this double page and then overleaf, I have a running task list.

Photo credit: Laura Jones for Keeping It Creative

A Valentine’s mood board

This is another decorative spread which I think turned out really nice. I found the middle image on Cricut Design Space but when I’d printed and cut it, I had no idea what do do with it! Then I though, I know, I’ll make a kind of mood board which makes me smile every time I see it.

Photo credit: Laura Jones for Keeping It Creative

Final words…

Thank you for taking the time to look at my bullet journal spreads for February. The pages took me quite a while to create, but I’m pleased with how they all turned out. I hope you like them too and they’ve given you some inspiration for your own BuJo.

Wishing you a happy and healthy February and a month filled with self love and kindness,

Posted in art, bullet journal, Bullet journaling, creativity, lifestyle, memory keeping, Planning and journaling, watercolour painting

Setting up my Bullet Journal for December 2023: Christmas, snow globes and decorative glass domes theme

This month’s theme contains a mixture of elements related to Christmas and winter. Whilst visiting the haberdashery and craft selection at Boyes Department store, I came across some sweet sets of seasonal stickers. This snow globe and glass jar themed pack really caught my eye so I treated myself to a sheet (despite it being no spend November!). I decided to use the stickers for my calendar page and my first weekly but I wanted a large image for my cover so I’ve had a go at creating a watercolour snowy scene in a snow globe to scan, print and glue in which is in a similar style to the stickers. After that, for the remainder of the month, I’m going to be using general Christmassy stickers made using images from Canva Pro. I hope you enjoy looking at my spreads for December and I would love to hear what theme my fellow bullet journallers have chosen for the month.

Photo credit: Laura Jones for Keeping It Creative blog

The front cover

The front cover image was painted on watercolour paper using my Winsor & Newton tubes, plus some gold and silver from my Finetec palette. Unfortunately the gold and silver don’t show up very well in the scanned image so I used some sparkly gold paper as a background with the addition of some holly leaf and berry borders at the top and bottom. I was debating having a go at painting over the top of the sticker paper with the gold and silver paints but I’m worried it won’t turn out as well as the original or it might end up getting spoilt.

Photo Credit: Laura Jones for Keeping It Creative Blog

Monthly calendar

This page came together really quickly and I think it looks really eye-catching. Along with the stickers, I added some sparkles using a gold glitter Uniball Signo and a strip of glittery stars to separate the December 2023 title and fill in the gap underneath. I used a Pigma Micron PN pen in a very dark red to number the boxes in the calendar. I love how the month finishes on a Sunday so that the calendar for January will go neatly across the top of the page in my next spreads!

Photo credit: Laura Jones for Keeping It Creative Blog

Finances

The set of stickers had a few separate groups of trees so I’ve used these to decorate my title for my finances spread. I’ve also used one of the larger snow globes and another strip of glitter stars to finish the bottom of the page.

Photo Credit: Laura Jones for Keeping It Creative blog

Winter Bucket List

In my previous post, I shared how I was going to create another bucket list for winter as I thoroughly enjoyed creating the autumn one and journalling about the process. I’ve included the actual list in my bullet journal but, like last time, I’ll be making a wide TN journal book to go in my Carpe Diem Traveler’s Notebook to record what I did for each item on the list. This will be instead of doing December Daily as it means I can work on it from the beginning of December to the end of February 2024.

Photo Credit: Laura Jones for Keeping It Creative blog

Winter Aesthetic Inspiration Board

Again, I created one of these for Autumn and had great fun setting it up, using photographs from Canva Pro and phrases created using Cricut Design Studio. This one looks just as good I think and was well worth the time and effort involved. I wanted to add some more snowflakes in different shades but I’m having problems with cutting small items using my Cricut Joy so I’ll have to add them at a later date.

Photo credit: Laura Jones for Keeping It Creative blog

Christmas Gift List

The first of many Christmas related spreads that I hope to get done this month. This is a space to record gift ideas, purchases and expenditure for family and friends. All of the stickers were created in Cricut Design Space and made using my Cricut Joy.

Photo credit: Laura Jones for Keeping It Creative blog

Weekly Spread One

I’ve been changing my weekly spreads each week according to how much work I have on at the university but I’ve decided to create a two page spread for the first week of December because I was eager to leave room for some stickeration! I’ll probably do the same for the remaining weeks because I’ve got a big stash of general Christmas themed stickers in a mini envelope on my craft desk.

Photo credit: Laura Jones for Keeping It Creative blog

Final words…

I hope you’ve enjoyed seeing my December BuJo spreads for 2023. I’ve seen some lovely set ups on YouTube already but I look forward to seeing many more. I know many people use digital planners nowadays but I love setting mine up in my notebook each month and you can’t beat being able to flick through the pages to keep organised.

Wishing you all a happy and stress free December and an enjoyable time with your family during the holidays.

Posted in art, creativity, watercolour painting, wellbeing, wellness

Creative time – using my new watercolours!

In my last blog post, I talked about my new Daler Rowley watercolours. Yesterday, I put them to good use on a simple painting project which I found in a magazine. The magazine, pictured below, is a creative special from the makers of Project Calm which includes ‘a carefully curated collection of wonderful creative projects for you to try at home using easy to find art supplies. Following a quick flick through the pages, I decided it looked like the perfect mag to provide inspiration and some easy projects to get me started with my watercolours and also some cheap Gouache paints that I picked up in TKMaxx a few weeks ago.

The magazine, which retails at £12.99 and can be purchased from Sainsburys and probably a host of other retailers, includes artists stories, information about useful art tools and supplies, a range of projects, plus a 64 page sketchbook and paintable postcards.

I decided to start with one of the postcards. The idea is you choose seasonal paint colours to fill a floral, paint by numbers, image. I decided to choose the summer one and therefore selected bright and intense colours for my design. On the reverse of the postcard, you add samples of your chosen colours and this becomes your palette.

My chosen colour palette

To be honest, this seemed like a good idea in theory, but in reality, you were unable to see the samples whilst painting on the front and you needed to carefully select the colours you chose for the paint by numbers system if you wanted a good looking image where the stems of the flowers were a green colour! I remedied the samples situation by taking a quick shot on my phone to refer to as I painted.

Although the results aren’t perfect, mainly because I could have done with a much tinier brush to keep within the lines, I did enjoy the process and found it very therapeutic. We all need some ‘me time’ and for me personally, nothing beats a little relaxing creative project.

I hope you enjoyed this quick post and it has inspired you to indulge in some creative me time or spend a few minutes doing something you find relaxing. On that note, I would love to hear about your favourite way to spend your ‘me time’ and why? Let me know in the comments.

Until next time…

Much love, Laura xx

Posted in art, creativity, watercolour painting

My new Daler Rowney Travel watercolour set

My lovely new watercolours 😀

In a previous post, I shared some pages I’d done in one of my TN inserts using Tiger watercolour paints. They were really cheap, and had quite a chalky finish on the paper I used but at the time, I just wanted to give watercolour painting a go as I used to enjoy doing it at school and found it really relaxing.

Now that I’m more experienced, although still very much a beginner, I decided to buy a small set of higher quality paints. This travel set looked ideal as it contains quarter sized pans and 24 gorgeous colours so only basic mixing is required. Plus it was discounted at The Range so I grabbed it (along with lots of other bits and pieces that I couldn’t resist!).

Before I start using them for projects, I decided to make a swatch of the colours to tape into the lid so I could see what each paint pan looked like on watercolour paper. I cut down an A4 sheet from a pad and then rounded the corners so it would fit nicely.

I’m really pleased with the colours and look forward to using them creatively. You can use lots of water to get a washy colour or build up the colour to create something more opaque.

The only issue I had with them was that the images on the plastic which had the colour names and numbers on came off onto some of the pans. This didn’t cause too much of a problem but it obviously a bit of a fault in the design.

Overall, it’s a cute little package and you get plenty of colours in a neat tin. There’s a handle on the back for easy holding if you didn’t want to place them down on a surface but obviously I haven’t tried this out yet as I was working at my dining table!

If you have any questions which you would like answering about the set that I haven’t covered here, drop me a comment and I’ll do my best to respond and provide a suitable answer. Also, if anyone has watercolour tips either as part of their blog or as a YouTube video, leave me the link and I’ll check them out.

I hope you find this post useful and I look forward to hearing from you in the comments.

Until next time…

Laura x