Posted in Bullet journaling, goal setting, life hacks, lifestyle, Planning and journaling, Setting goals and intentions, wellbeing

Monday Matters: A guide to creating your own seasonal bucket list for Spring 2024

For Autumn 2023 and Winter 23/24, I have thoroughly enjoyed and benefitted from creating my own personalised bucket lists and adding my seasonal ideas to a two page spread in my bullet journal for inspiration and reference. For each of the seasons, I also handmade and stitched a pretty TN wide size notebook to go in my TN journal where I added photographs, text, a variety of stickers, ephemera and tip ins to record my achievements over the months. I’ve found the bucket lists a great way to plan in some interesting and exciting activities, set some goals and ensure my husband and I make the most of each season of the year. So, today, I’m sharing my bucket list for Spring 2024, in the hope that you will be inspired to create your own and live your life to the full.

What is a bucket list?

A bucket list is a number of items that a person would like to achieve, experience or bring into fruition over a given time frame. This could be over a lifetime, a year, or, as with mine, during a specific season. There are many benefits of creating and working towards things on your bucket list including:

  • Helping you to reflect on what is important to you as an individual and what you really want from life
  • Offers you a number of things to look forward to over the chosen time frame, increases your excitement levels
  • Providing you with a visual reminder and the focus and motivation you need to move towards your goals
  • Creating a sense of accomplishment
  • Pushes you out of your comfort zone which is really good for your personal growth

You can create one which is just for you, or you could make plans with your partner, a close friend or even sit down as a family to come up with some ideas together.

My Spring 2024 Bucket List

Here’s my bucket list for this season in my bullet journal. The words and images were all made into stickers using Cricut Design Space and I’m really pleased with how it turned out. I’ve included a little ceramic bunny I purchased, the wooden egg which I got in the Hobbycraft sale last year and the jigsaw I picked out which I can’t wait to get started with. I’m yet to make the handstitched notebook but I have lots of floral papers which will be suitable for the cover.
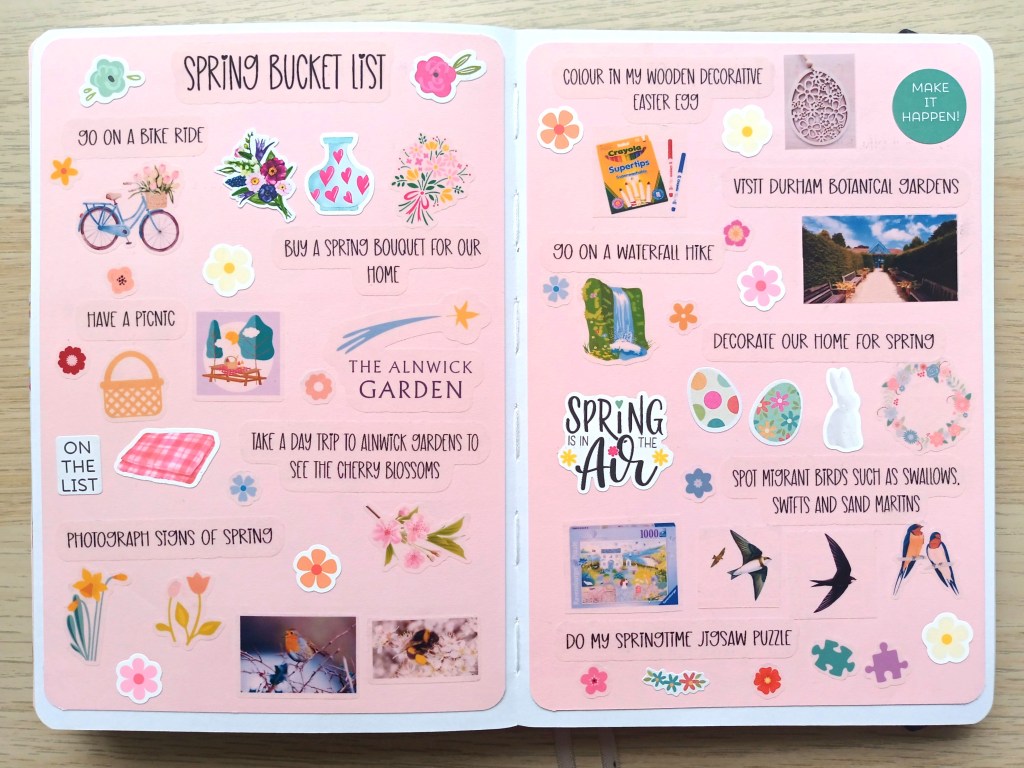
Photo credit: Laura Jones for Keeping It Creative

So, how do I get started with my Spring seasonal bucket list?

There’s plenty of seasonal bucket list inspiration online but I like to spend some time in quiet contemplation first. That way, what I add to my list is all about what I want rather than what others believe would make a good Springtime.

Consider your core values and what really matters – Spend some time thinking about what is most important to you in your life or what you wish to focus on more. You might want more fun and adventure, better balance between work, rest and play, opportunities to develop your creativity, new experiences or the chance to learn a new skill. You might want to experiment more in the kitchen, spend lots of time in nature or plan some different day trips to places in your local area. Living in alignment with your personal values is key to improved psychological wellbeing which includes your general happiness levels and outlook.

Think about the particular season you are making plans for – consider the weather associated with Springtime and any particular holidays or events which take place during the season. So, for example, in Spring, the temperature is starting to rise during the day but the evenings are still pretty cool. In Britain, the weather can be calm and dry, but, showers are also pretty common and it can often be a bit breezy. Buds and blossom begin to appear and early blooms such as snowdrops, crocuses, iris and daffodils begin to pop up in the flower beds. Spring is also the time for observing and listening to wildlife too. Bumblebees and butterflies start to make an appearance and hibernating animals such as bats and hedgehogs can be seen from dusk into the night. You might find frogspawn in ponds and watch tiny froglets appear in a matter of weeks. Birds are noisier and livelier as they pair off and start to nest and spring visitors such as swifts, swallows and house martins begin to arrive.

Mother’s Day and Easter both fall in the Springtime and there are, of course, a few Bank Holidays to look forward to. And if you want to find out about events specific to your town or city this website is a great source of information.

Write down every idea that comes to mind – Make a list of potential ideas, big and small, inexpensive and more costly, time consuming and quick. This could include a visit to Pinterest and other sites to look at bucket list ideas and inspirational images.

Refine your list – Having written a long list, it’s time to decide which items are the best fit for your values and priorities. Try to choose some activities which you enjoy each year and are somewhat traditional, but also make sure you include some which are completely new and will push you out of your comfort zone.

Choose a place to store your list – Having a finalised record of your bucket list is important if you want your aspirations to become a reality. Depending on your personal preferences, you might choose to put your list in your planner or journal or have a digital document in Notion of Microsoft Word. There’s even a website and online community dedicated to bucket lists! And, if you relish every opportunity to get creative, like I do, you can make a physical copy of your list with fancy lettering, motivational phrases, sketches, stickers and inspirational images. You might even find you’re excited to share it with your friends and family too.

Remember things can change – Your finished bucket list is a set of items that you hope to experience this Spring but, it’s not a list of commitments or things that you must do or achieve over the time period. You may find that priorities or circumstances change and that some of the items become less important or need to be put on hold for another year. You might also learn of some new opportunities as the season progresses which you want to add to your list or replace an item with.

Previous Bucket Lists

I think I’ve previously shared my Autumn and Winter bucket lists but thought readers might like to see them again for examples of the kinds of thing you could add and how you might decorate a spread in your notebook or bullet journal.

I achieved everything on my Autumn one but didn’t get to play in the snow over the Winter time as it was mostly wet and often quite mild. I still included all of the items in my Traveler’s Notebook journal. but I wrote a few lines about the weather and the impact it had on the season.
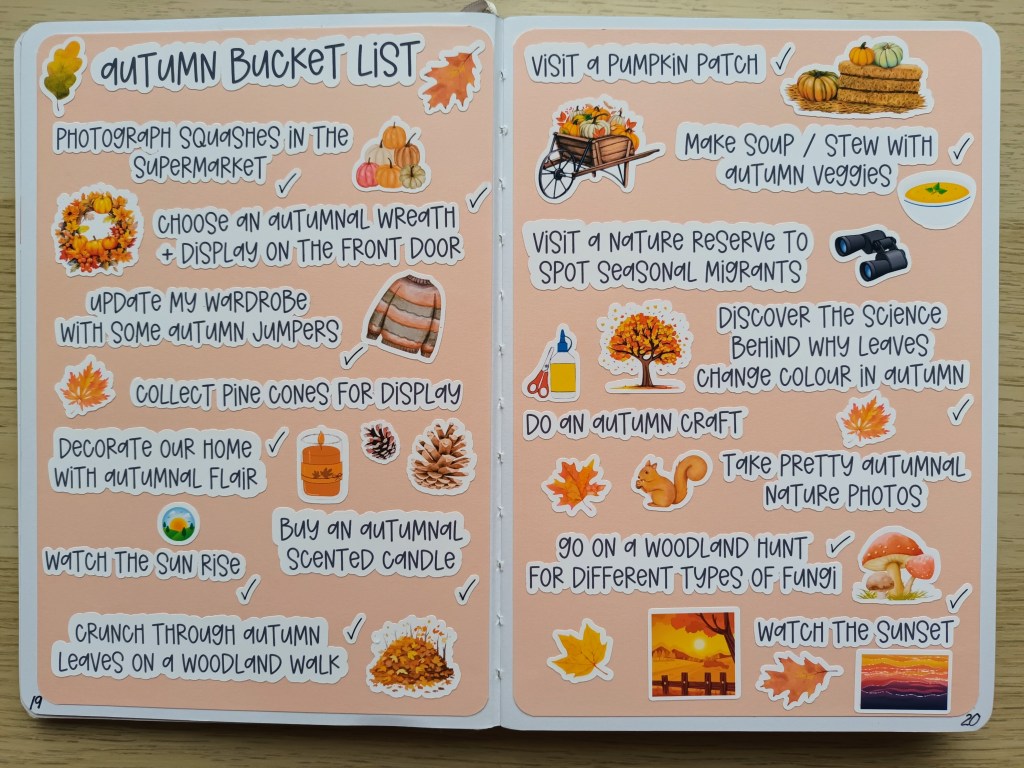
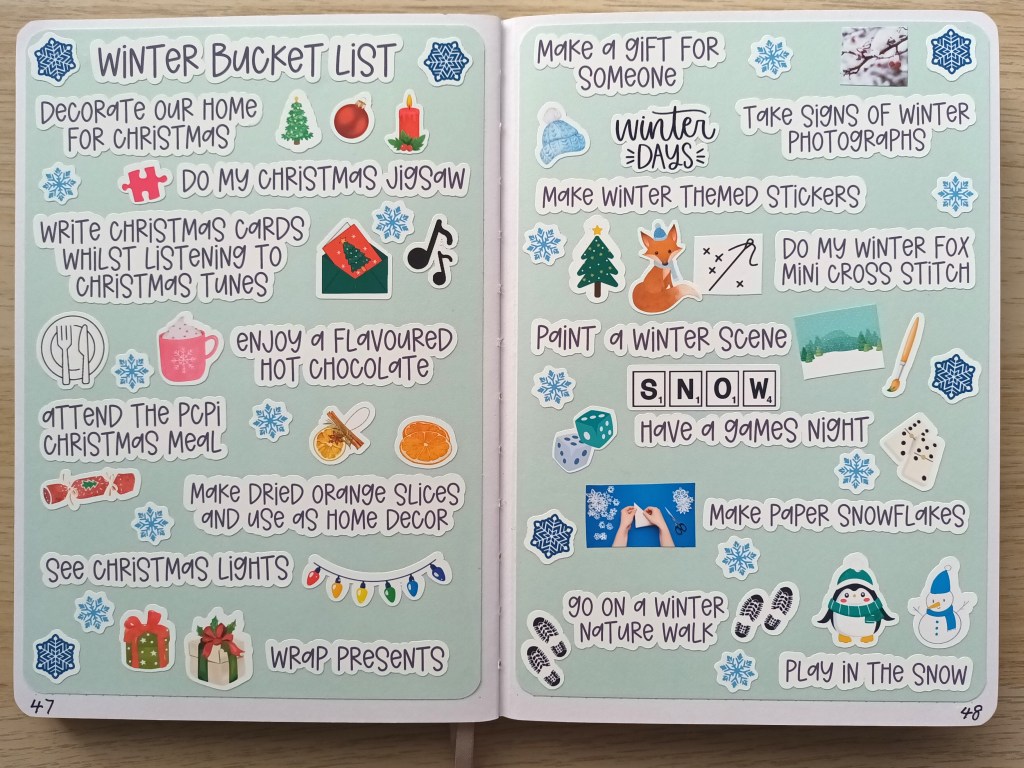
Photo credit: Laura Jones for Keeping It Creative

Final words…

Creating a bucket list for the season is a wonderful way to plan in some interesting, fun and different activities for the coming months. I also enjoyed making stickers to go with the items on my list but if you prefer, you could have a go at drawing and colouring in some little pictures instead.

Let me know a couple of items that you want to add to your list for Spring 2024. I’m looking forward to hearing your ideas and hope you thoroughly enjoy creating some new memories.

Posted in art, bullet journal, Bullet journaling, creativity, lifestyle, Planning and journaling, watercolour painting

Setting up my Bullet Journal for January 2024: Watercolour winter scene and snowflakes theme

Happy New Year everyone! I hope you’re all having a good 2024 so far. I’m very late sharing my bullet journal spreads for this month for several reasons – one, we were away for Christmas and so I didn’t get out my paints until NYE, and two, the print and cut hack for making stickers using the Cricut Joy doesn’t work anymore and so I’ve resorted to purchasing the Cricut Xtra which is due to arrive today, the 4th January, with a view to creating some text stickers for my spreads.

Anyway, I hope you like the theme and the watercolour bits and pieces which I had great fun creating. On to the pages…

Front cover

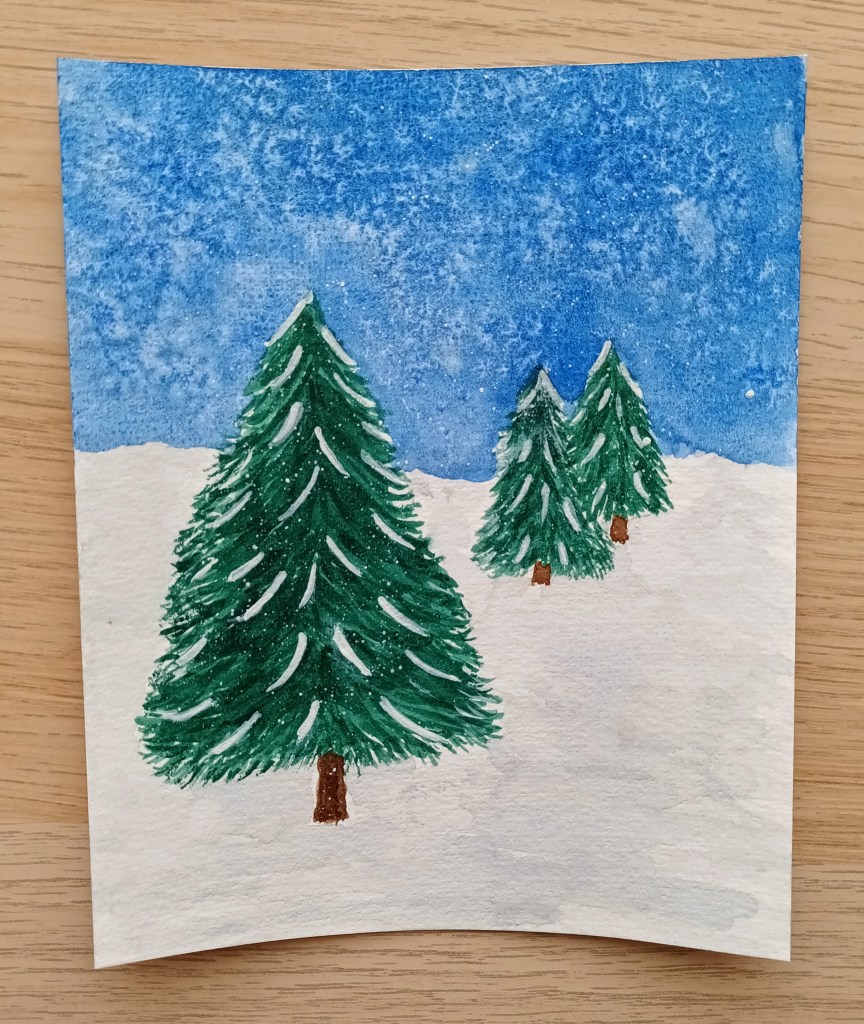
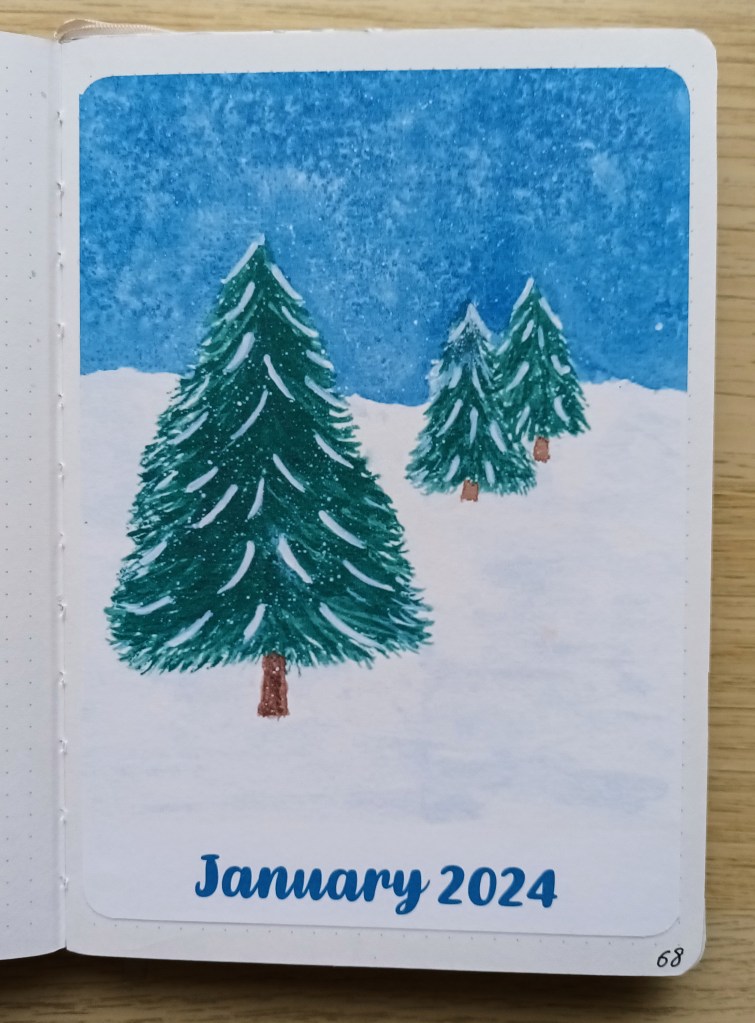
Having chosen the theme, I did a bit of Googling, looking for winter scene watercolour painting and I found this gorgeous design on a blog post from way back in 2014. This inspired my front cover but I changed the colours up a bit. The trees were painted first using Intense Green (AKA phthalo green) mixed with a small amount of Payne’s Grey and Vandyke brown and a tiny bit of grey. When that was completely dry, I created the snowy ground using very watered down grey. Then, after drying, I mixed a range of blues for the sky. Whilst still wet, I used coarse salt sprinkles to create the snowy effect. Finally, I used white gouache for the snow on the trees and then paint flicks to give the idea of falling snow.

Photo credit: Laura Jones for Keeping It Creative

The original watercolour was then scanned in using my printer and I pasted it into an MS Publisher A5 page and added the January 2024 title. The colours never look the same as the original, but I’m still happy with how it turned out.

Photo credit: Laura Jones for Keeping It Creative

The calendar

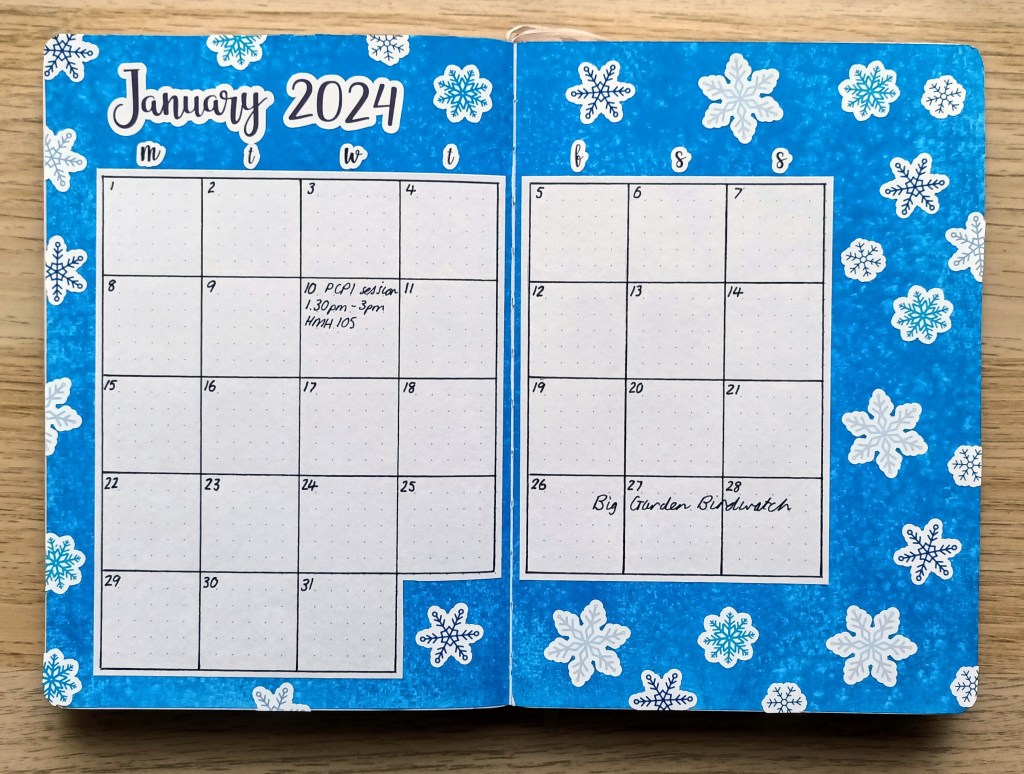
My husband and I had a go at creating a blue background with salt sprinkles on New Years Eve! We enjoyed experimenting, and it was a great, relaxing activity to do in the evening and helped us to stay awake to see in the new year. Again, the piece was scanned in and this time, it was used to cover the whole page. I then cut out the calendar shape using some dot grid paper which I then positioned in a location on the pages which was close to where it would have been if I could see the dot grid. The titles were created using Cricut Design Space and printed when my machine eventually arrived!

When I’d finished it, I felt like something was missing so I used Design Space again to make lots of snowflake stickers in different sizes. I’ve done a snowflake theme in January previously, but this one looks very different so I don’t feel like I’m repeating designs.

Photo credit: Laura Jones for Keeping It Creative

Finances spread

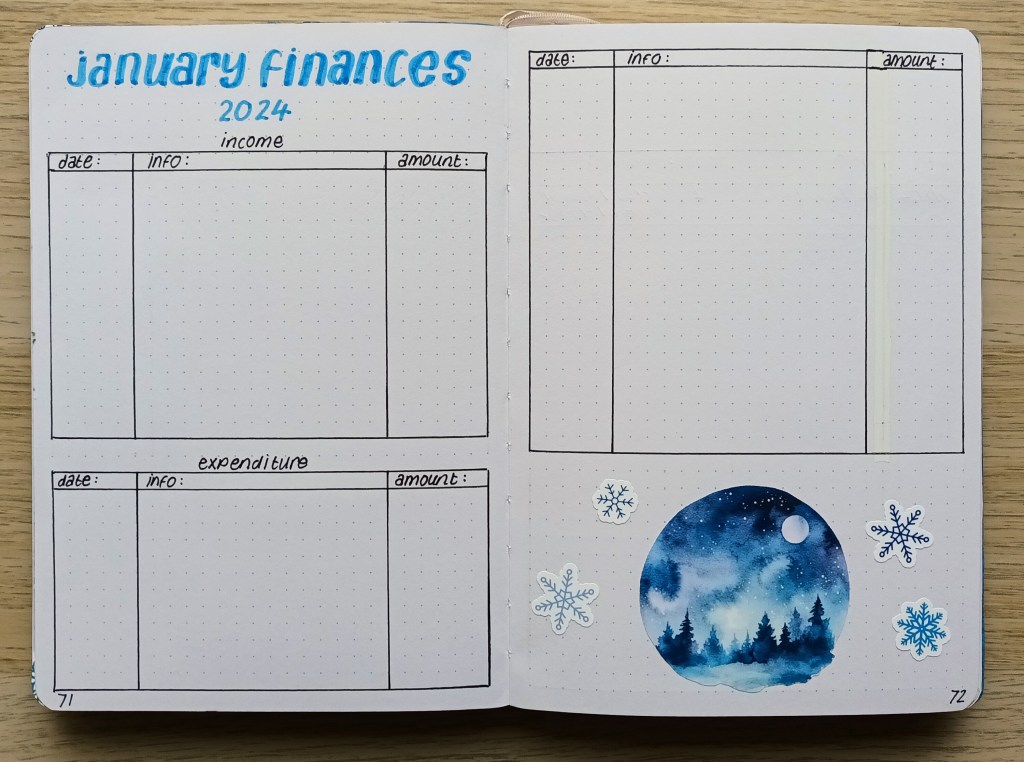
My finances record is still working really well so I’ve kept to the same layout but changed the decor to go with my theme for January. I love the little watercolour scene I found on Design Space to make into a sticker!

Photo credit: Laura Jones for Keeping It Creative

TV watched record

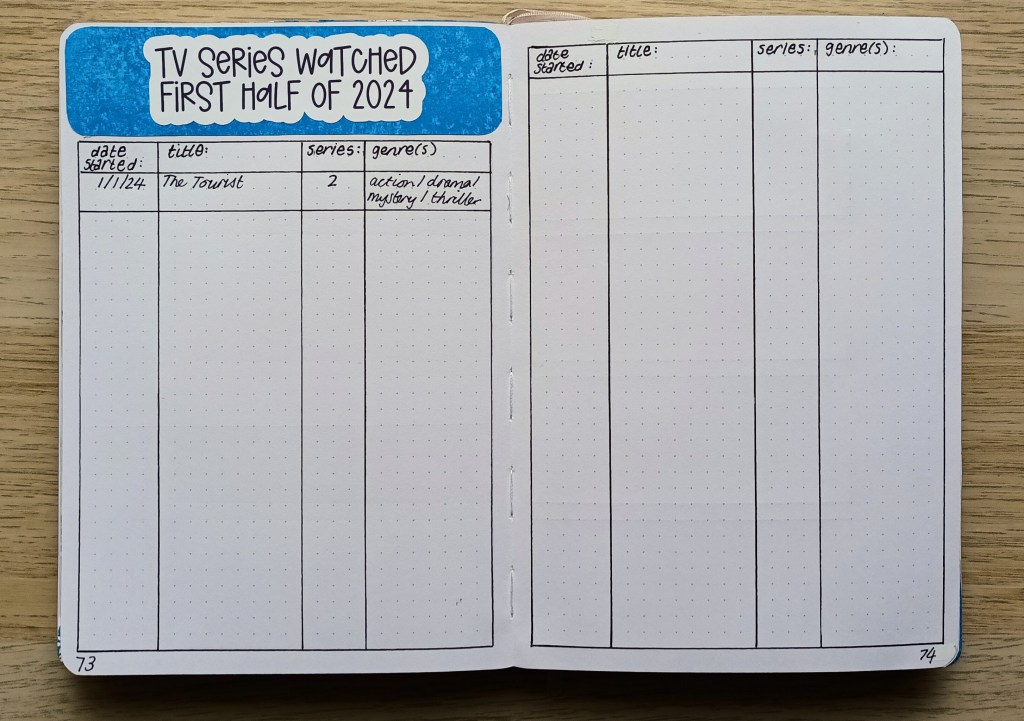
I create one of these every quarter or so to record the series that I’ve watched on TV. This time, I’ve added a date column so I can see, at a glance, when we started watching each series. There’s already some great stuff on TV for January and we’re loving the black comedy / drama of season 2 of The Tourist. The genres are taken from IMDB.
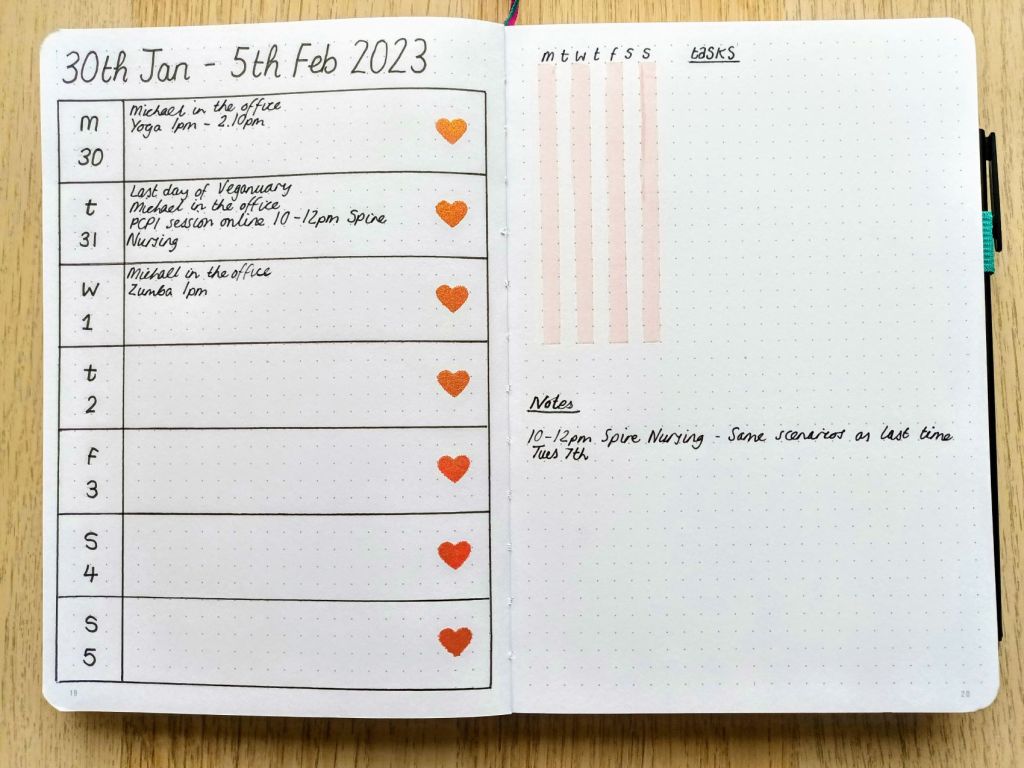
Photo credit: Laura Jones for Keeping It Creative

Weekly Plans

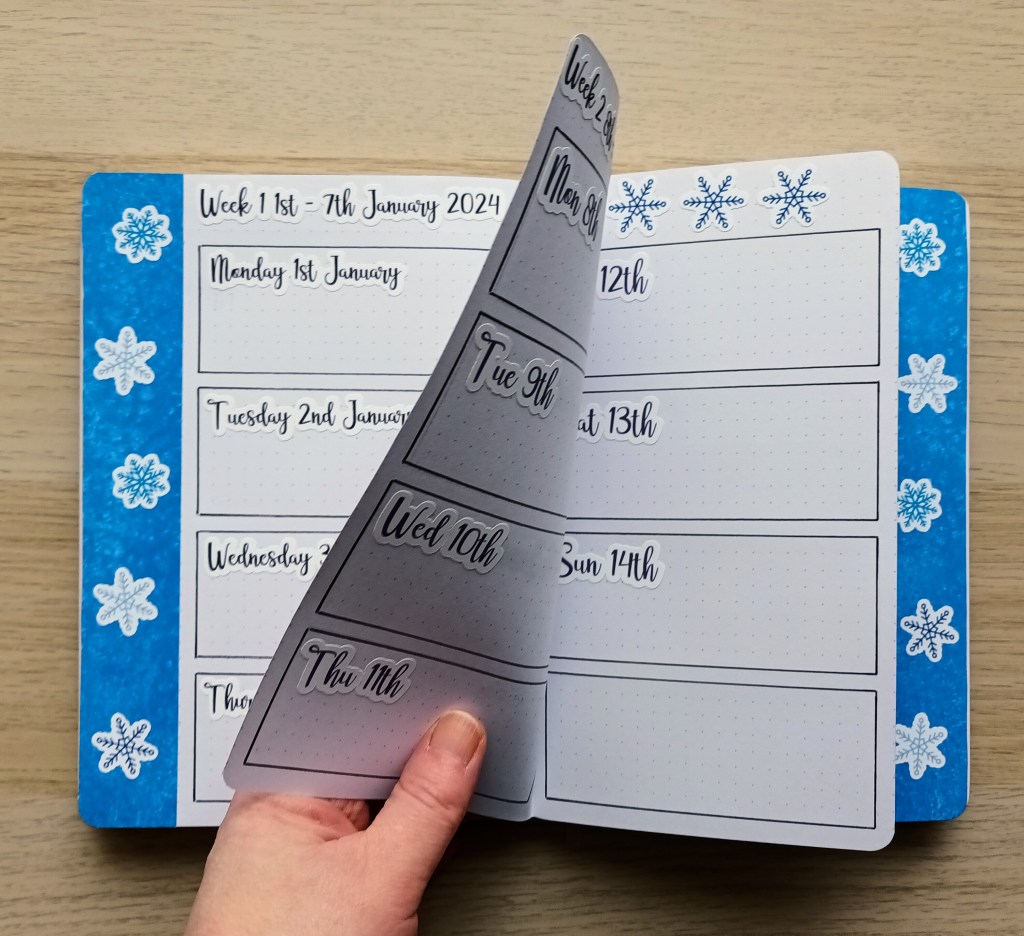
I went for another Dutch door layout this month and used a second print out of my watercolour background to create page borders to either side. I couldn’t resist adding some more snowflake stickers.

Photo credit: Laura Jones for Keeping It Creative

Veganuary meal planning

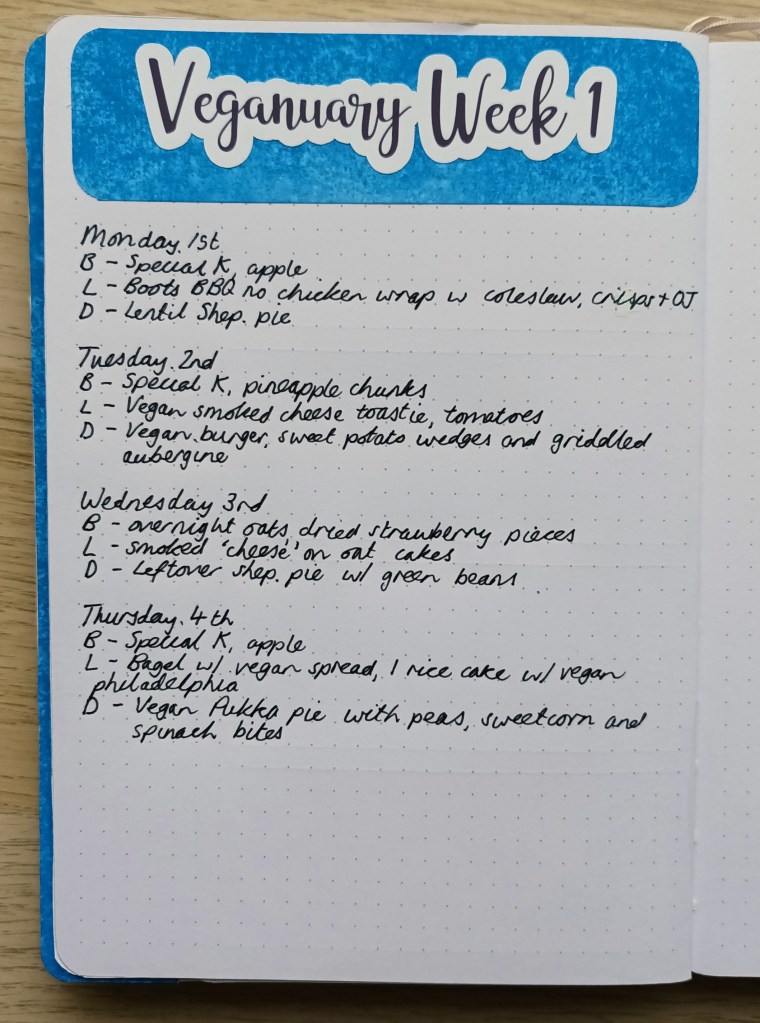
My husband and I have been doing Veganuary, where you go vegan for the month of January for quite a few years now. We try to create a meal plan each week as this helps when we go shopping. We also try to do more homemade meals which are packed with nutritious veggies.
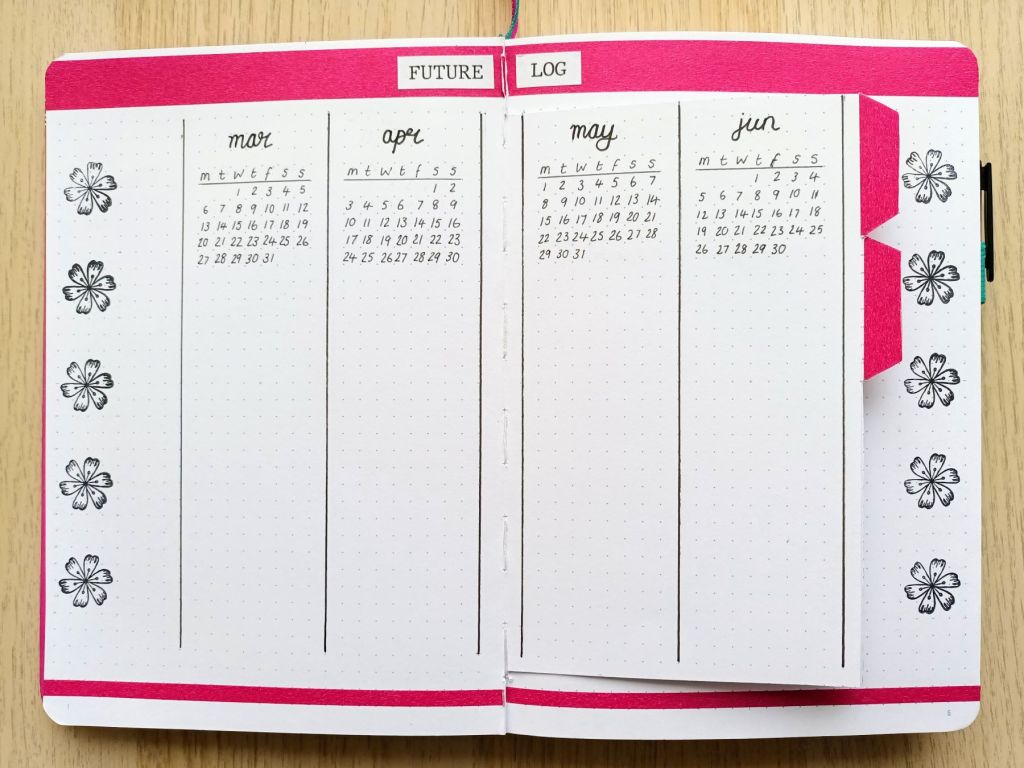
Photo credit: Laura Jones for Keeping It Creative

Final words…

I hope you’ve enjoyed looking at my spreads for this month. At the moment, January is proving to be more wet than snowy and our little garden is looking a bit soggy and flooded. I must say, I love pretty winter scenes with snow and sparkling frost but it’s not so much fun trying to drive in such conditions so I have mixed feelings about the weather at this time of year.

Wishing you a fantastic 2024,

Posted in art, bullet journal, Bullet journaling, creativity, lifestyle, memory keeping, Planning and journaling, watercolour painting

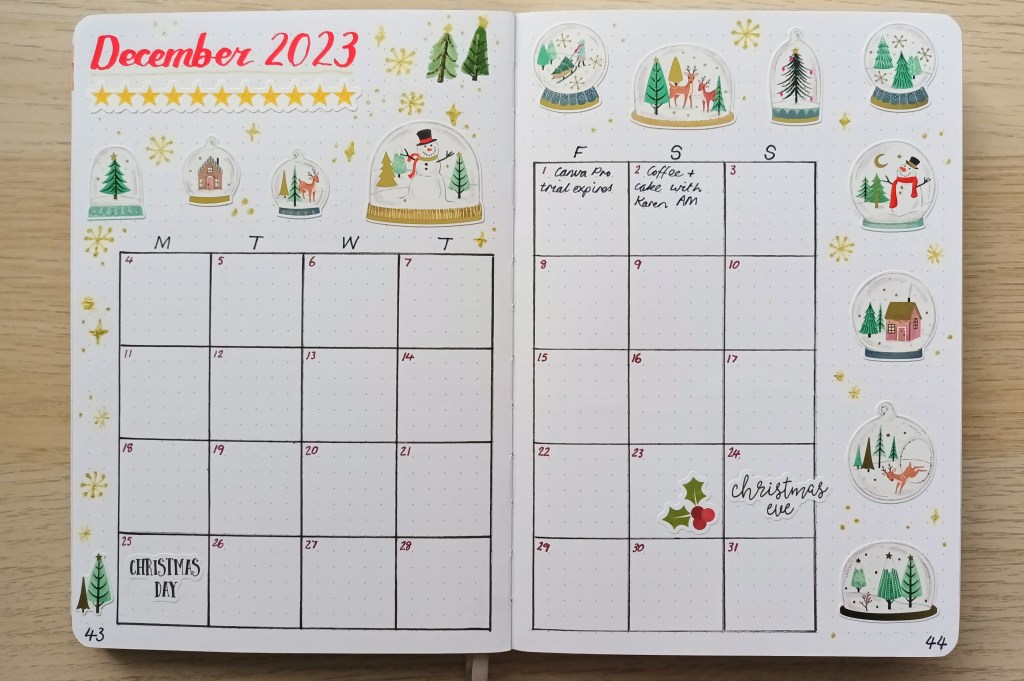
Setting up my Bullet Journal for December 2023: Christmas, snow globes and decorative glass domes theme

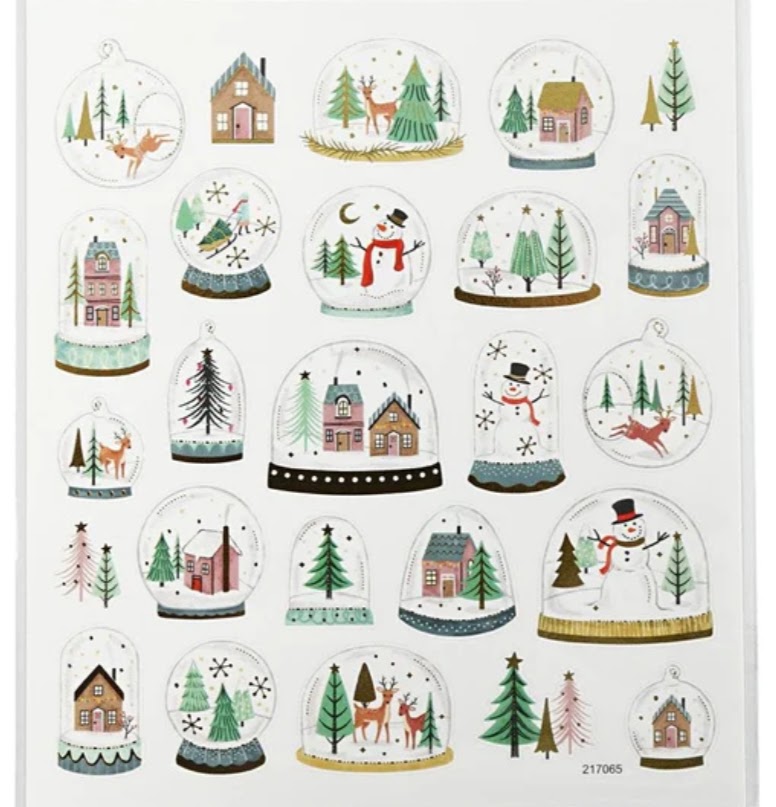
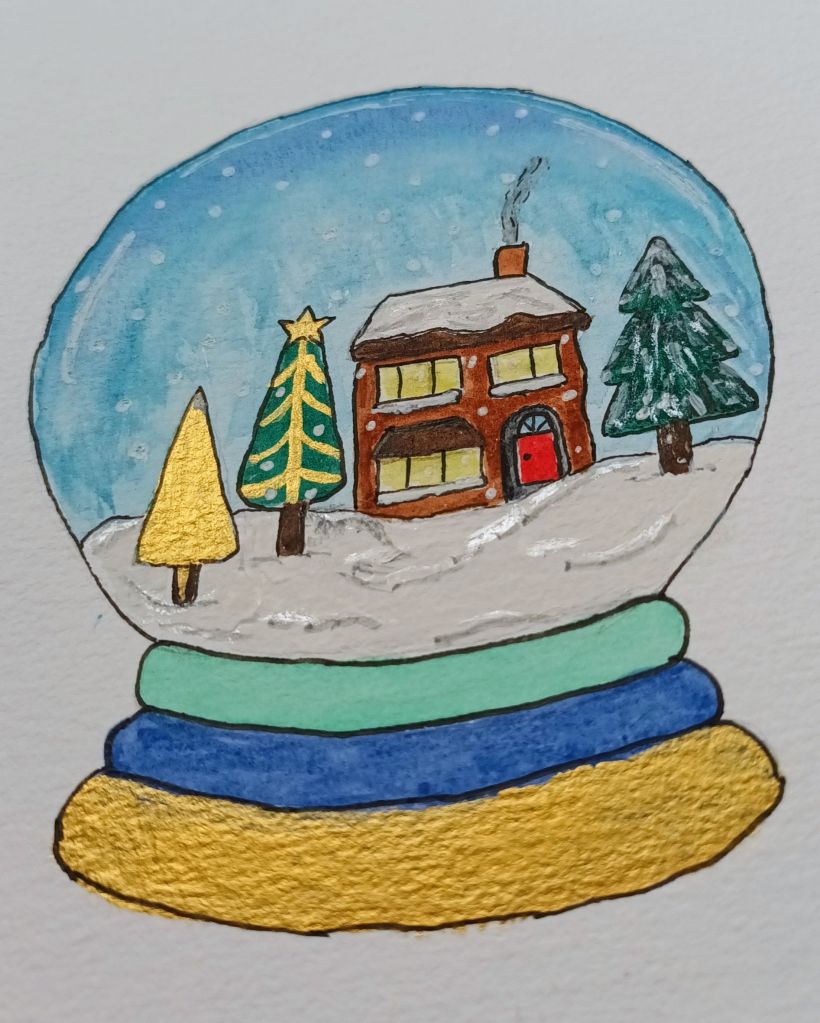
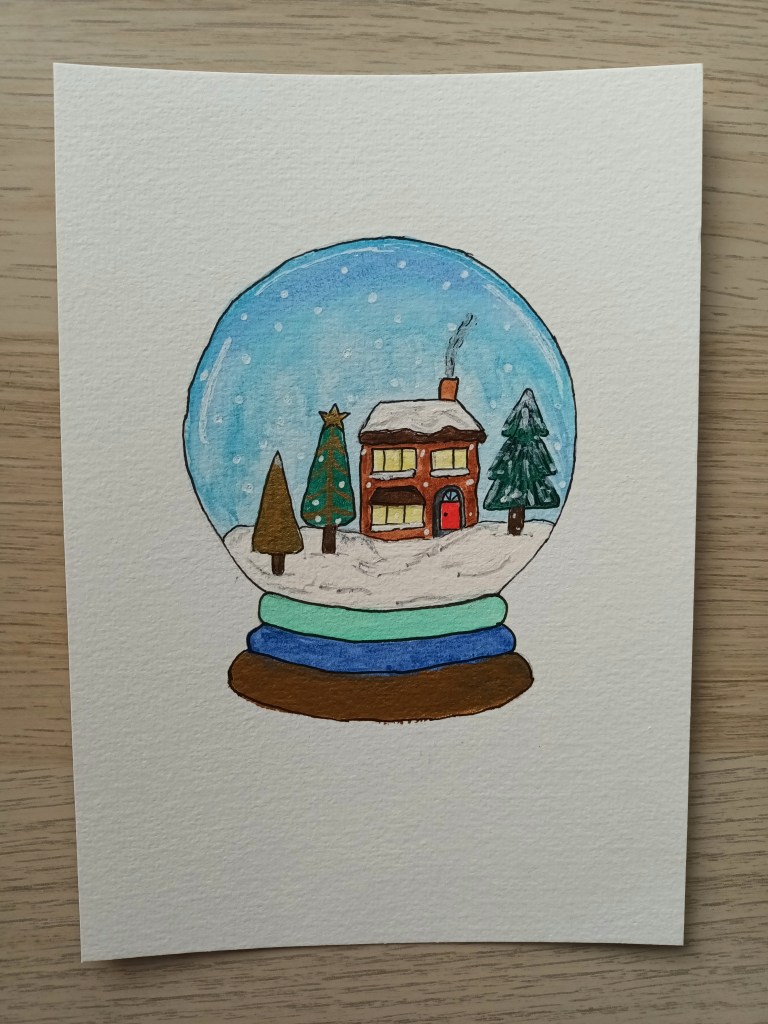
This month’s theme contains a mixture of elements related to Christmas and winter. Whilst visiting the haberdashery and craft selection at Boyes Department store, I came across some sweet sets of seasonal stickers. This snow globe and glass jar themed pack really caught my eye so I treated myself to a sheet (despite it being no spend November!). I decided to use the stickers for my calendar page and my first weekly but I wanted a large image for my cover so I’ve had a go at creating a watercolour snowy scene in a snow globe to scan, print and glue in which is in a similar style to the stickers. After that, for the remainder of the month, I’m going to be using general Christmassy stickers made using images from Canva Pro. I hope you enjoy looking at my spreads for December and I would love to hear what theme my fellow bullet journallers have chosen for the month.

Photo credit: Laura Jones for Keeping It Creative blog

The front cover

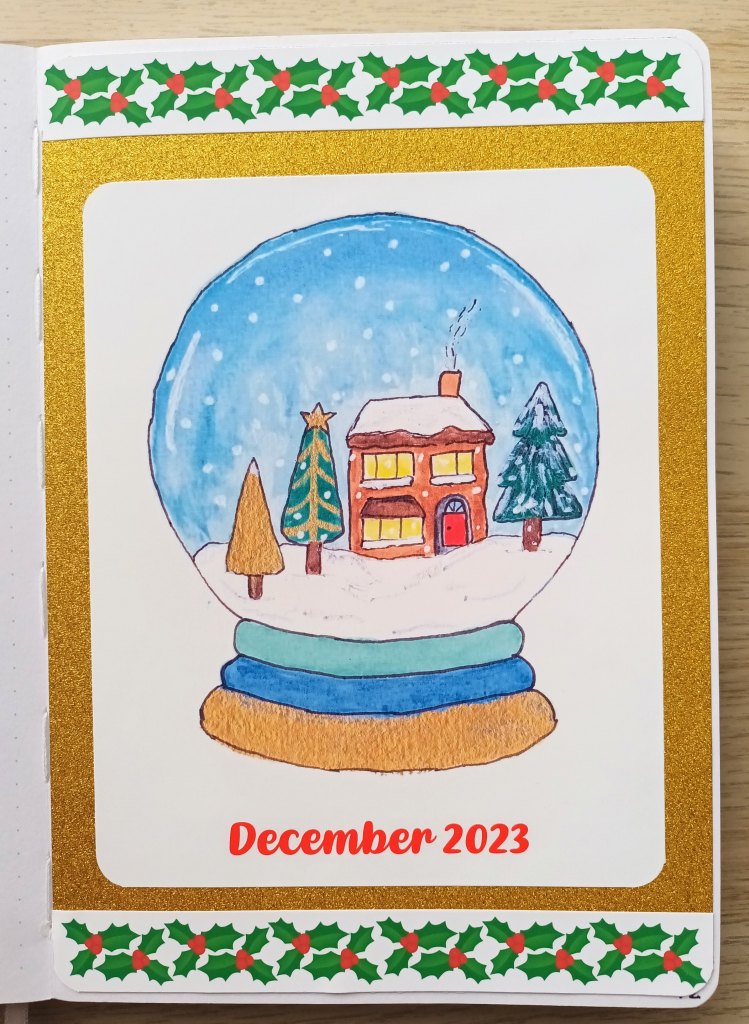
The front cover image was painted on watercolour paper using my Winsor & Newton tubes, plus some gold and silver from my Finetec palette. Unfortunately the gold and silver don’t show up very well in the scanned image so I used some sparkly gold paper as a background with the addition of some holly leaf and berry borders at the top and bottom. I was debating having a go at painting over the top of the sticker paper with the gold and silver paints but I’m worried it won’t turn out as well as the original or it might end up getting spoilt.

Photo Credit: Laura Jones for Keeping It Creative Blog

Monthly calendar

This page came together really quickly and I think it looks really eye-catching. Along with the stickers, I added some sparkles using a gold glitter Uniball Signo and a strip of glittery stars to separate the December 2023 title and fill in the gap underneath. I used a Pigma Micron PN pen in a very dark red to number the boxes in the calendar. I love how the month finishes on a Sunday so that the calendar for January will go neatly across the top of the page in my next spreads!

Photo credit: Laura Jones for Keeping It Creative Blog

Finances

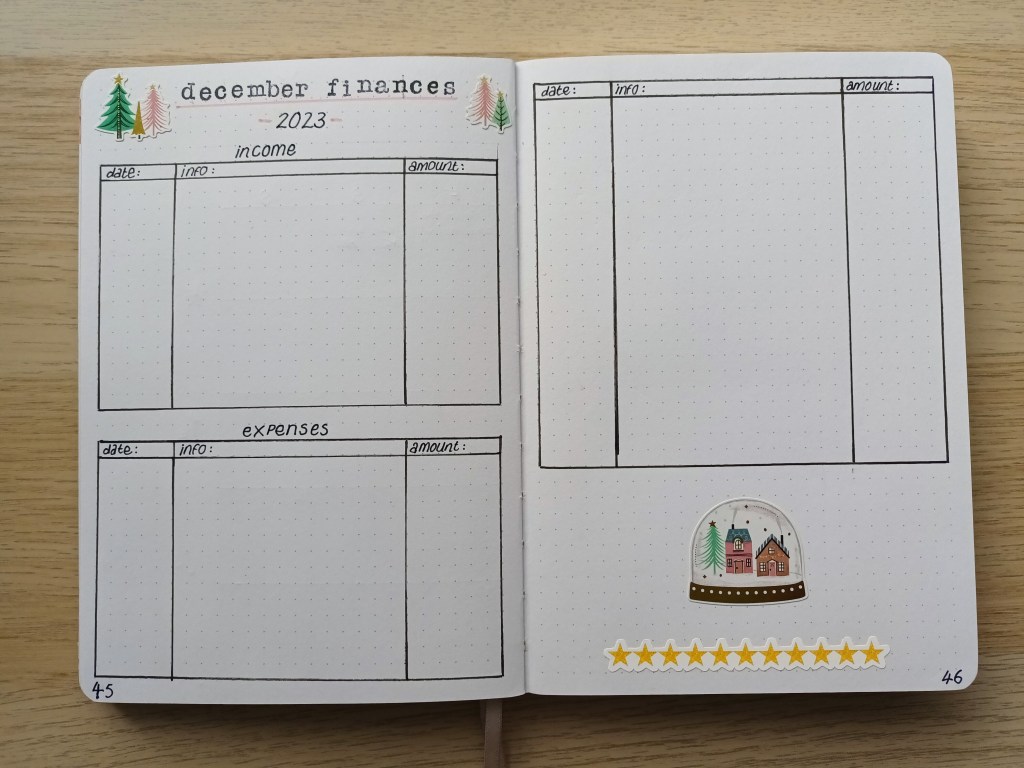
The set of stickers had a few separate groups of trees so I’ve used these to decorate my title for my finances spread. I’ve also used one of the larger snow globes and another strip of glitter stars to finish the bottom of the page.

Photo Credit: Laura Jones for Keeping It Creative blog

Winter Bucket List

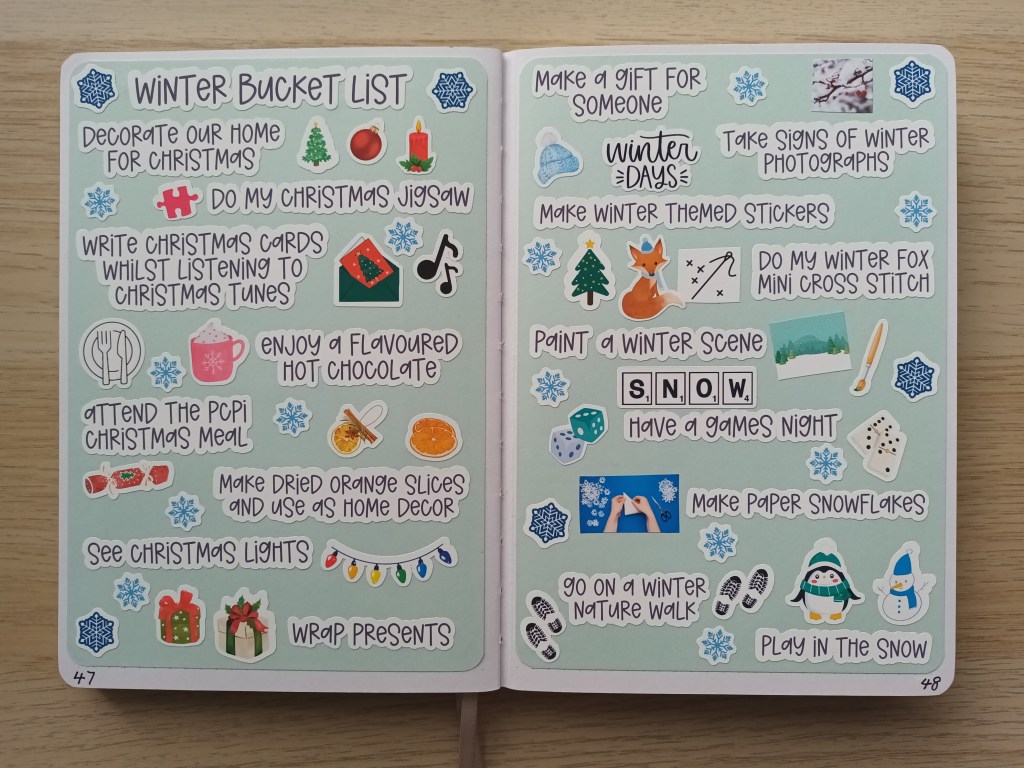
In my previous post, I shared how I was going to create another bucket list for winter as I thoroughly enjoyed creating the autumn one and journalling about the process. I’ve included the actual list in my bullet journal but, like last time, I’ll be making a wide TN journal book to go in my Carpe Diem Traveler’s Notebook to record what I did for each item on the list. This will be instead of doing December Daily as it means I can work on it from the beginning of December to the end of February 2024.

Photo Credit: Laura Jones for Keeping It Creative blog

Winter Aesthetic Inspiration Board

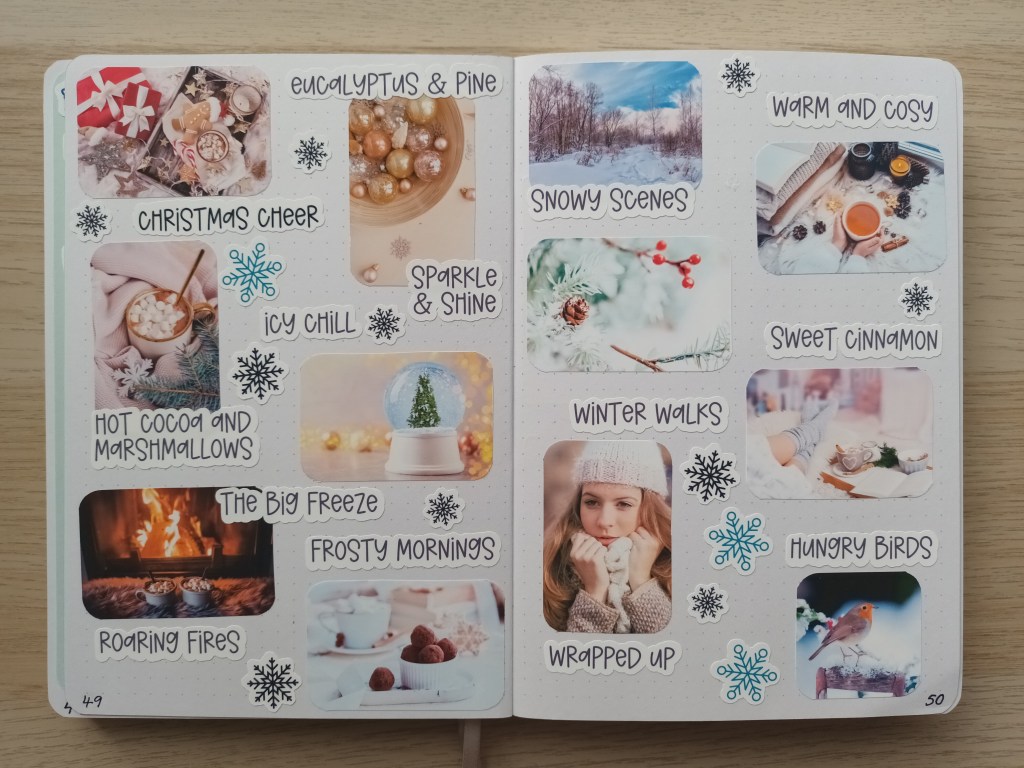
Again, I created one of these for Autumn and had great fun setting it up, using photographs from Canva Pro and phrases created using Cricut Design Studio. This one looks just as good I think and was well worth the time and effort involved. I wanted to add some more snowflakes in different shades but I’m having problems with cutting small items using my Cricut Joy so I’ll have to add them at a later date.

Photo credit: Laura Jones for Keeping It Creative blog

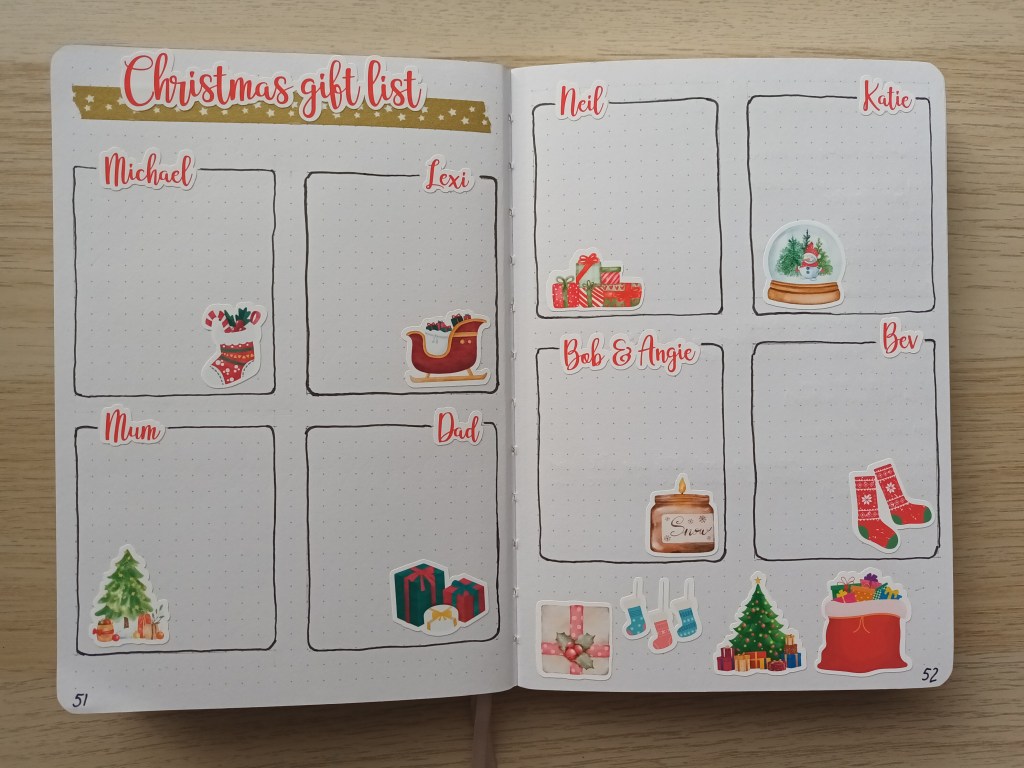
Christmas Gift List

The first of many Christmas related spreads that I hope to get done this month. This is a space to record gift ideas, purchases and expenditure for family and friends. All of the stickers were created in Cricut Design Space and made using my Cricut Joy.

Photo credit: Laura Jones for Keeping It Creative blog

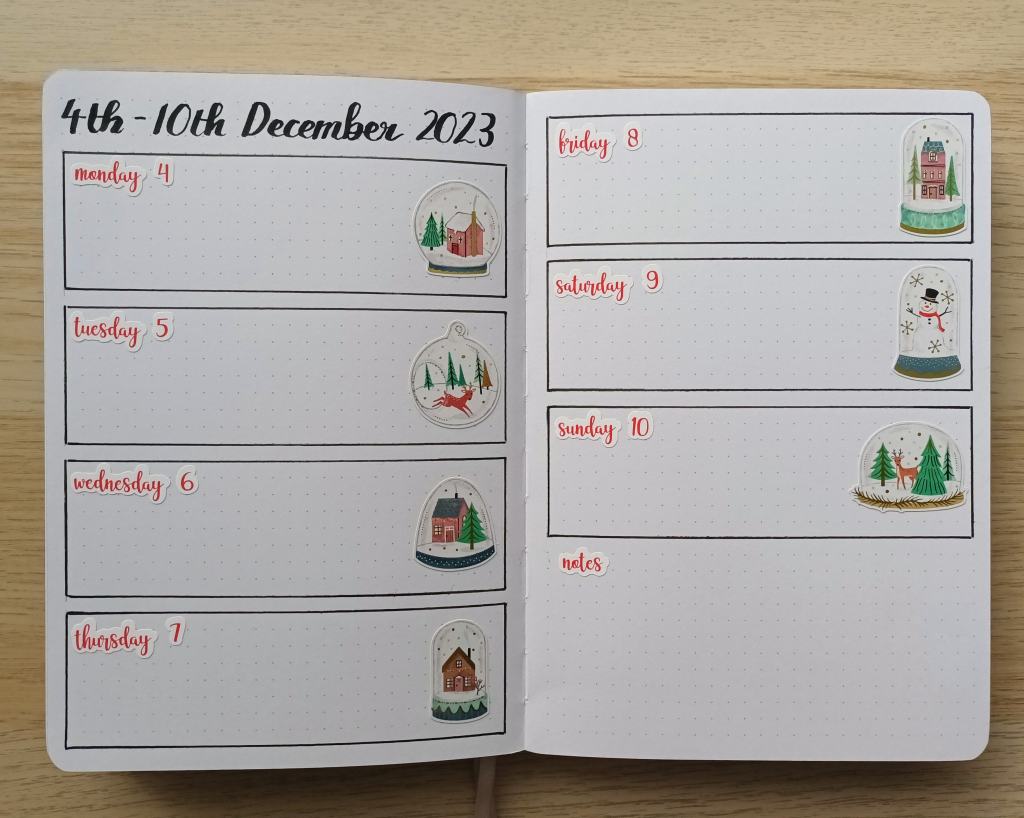
Weekly Spread One

I’ve been changing my weekly spreads each week according to how much work I have on at the university but I’ve decided to create a two page spread for the first week of December because I was eager to leave room for some stickeration! I’ll probably do the same for the remaining weeks because I’ve got a big stash of general Christmas themed stickers in a mini envelope on my craft desk.

Photo credit: Laura Jones for Keeping It Creative blog

Final words…

I hope you’ve enjoyed seeing my December BuJo spreads for 2023. I’ve seen some lovely set ups on YouTube already but I look forward to seeing many more. I know many people use digital planners nowadays but I love setting mine up in my notebook each month and you can’t beat being able to flick through the pages to keep organised.

Wishing you all a happy and stress free December and an enjoyable time with your family during the holidays.

Posted in art, bullet journal, Bullet journaling, creativity, Planning and journaling, stamping

Setting up my bullet journal for September 2023: Arts and crafts theme. Plus tips on using stamps and ink.

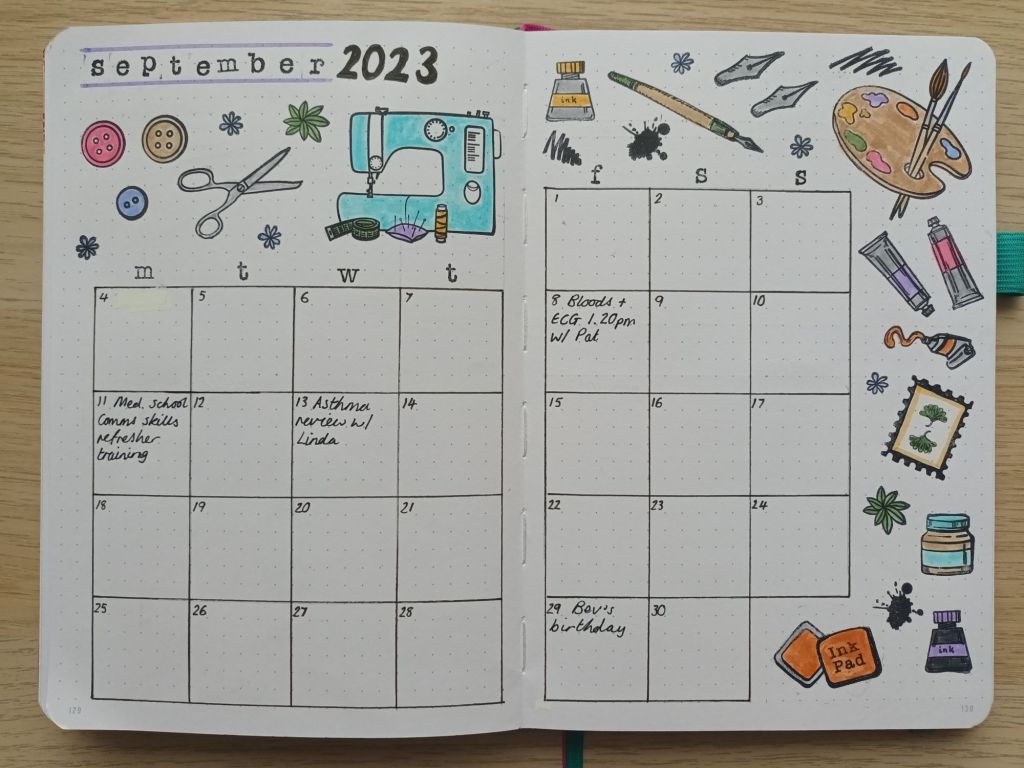
This month, I debated doing an autumnal theme using my own stickers. However, I’m yet to give sticker making a go on my Cricut Joy so I’m going to save this idea until October. For September, I decided to create my pages using a range of stamps from a set I got with a craft magazine a few years ago. The images feature a range of crafting tools, many of which I use myself when I’m journalling. This is the first time I’ve used stamps in my bullet journal and I’m really pleased with how my spreads turned out. Today, as well as showing my September set up, I thought I’d also share some tips on using ink stamps effectively.

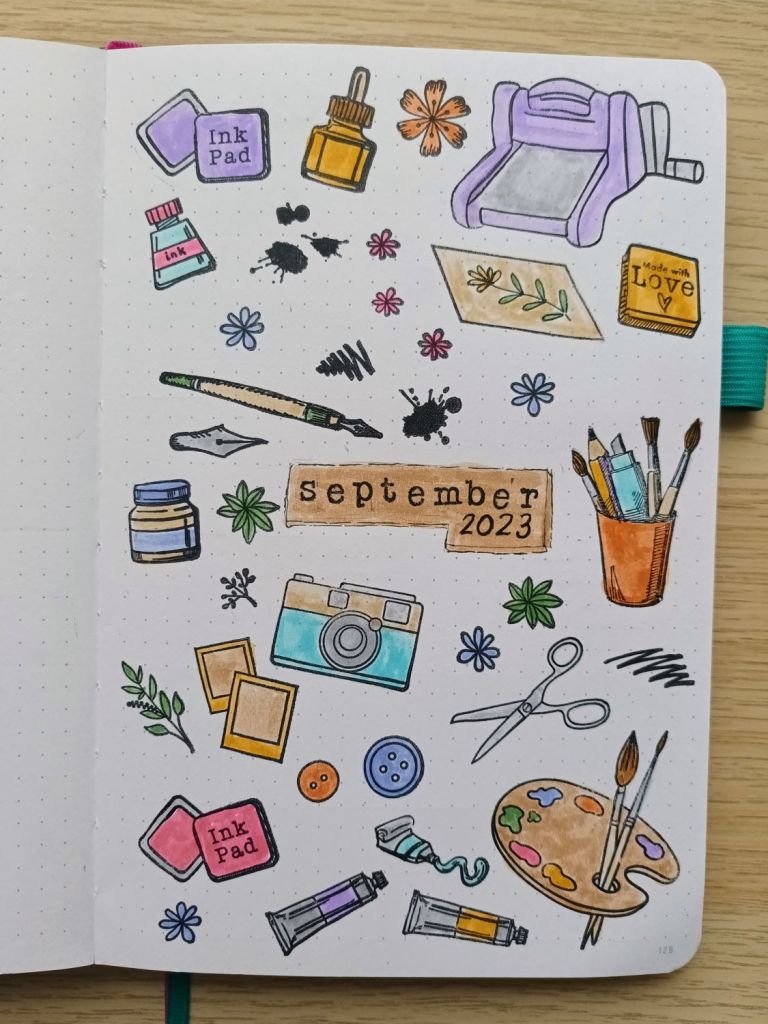
Front cover

I started my cover page by stamping September in the centre using typewriter style alphabet rubber stamps from Hobbycraft, and then adding the year underneath. I then took the larger of the stamps and added the images in pre-determined spaces. After this, I filled in with the smaller stamps. I used StazOn black ink throughout as I’ve found that this produces crisp images and doesn’t soak into the page. Following the drying time, I coloured in using the brush tip of some of my Tombow Dual Tips and also added a box around the month.

Photo credit: Laura Jones for Keeping It Creative

Calendar pages

This is my usual calendar set up for the month with the grid drawn out using a 0.3 Pigma Micron and a 0.05 for the numbers. Again, I planned where to put the larger stamps and them filled in the gaps with smaller images.

Photo credit: Laura Jones for Keeping It Creative

September finances record

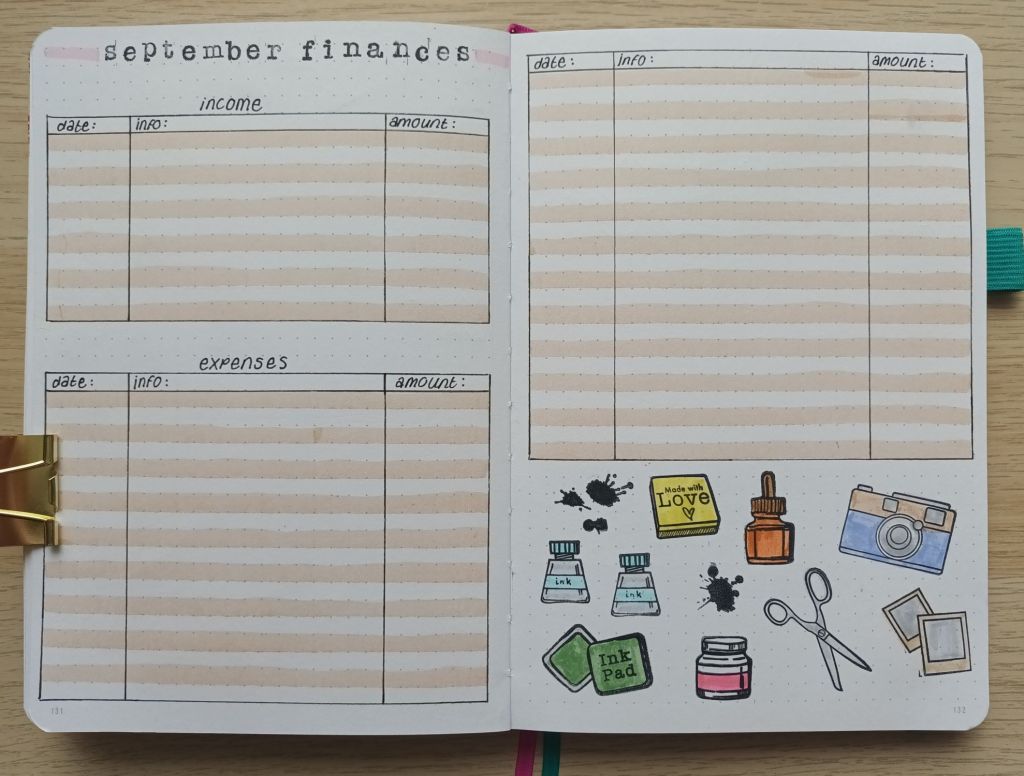
Again, this is my usual finances record of my income and outgoings with some decoration using the same stamps set.

Photo credit: Laura Jones for Keeping It Creative

Weekly plan for the first week

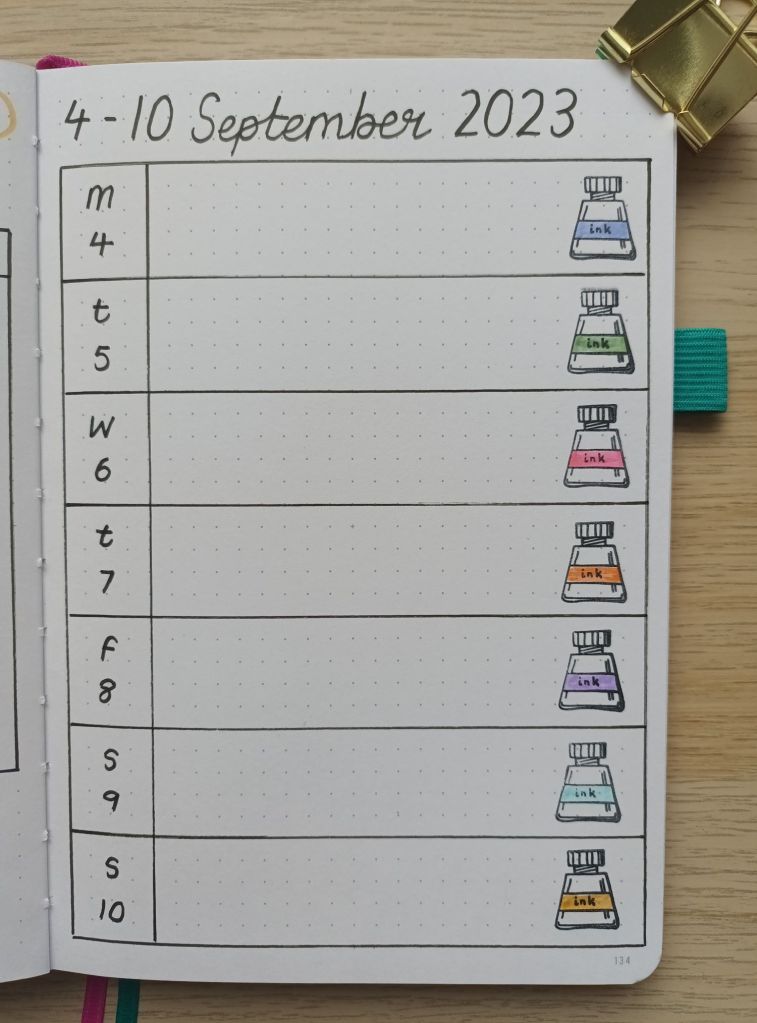
As I have quite a few appointments, a training session and hopefully some university sessions next month, I will be creating a weekly plan as well as my usual rolling to do list. I’ve got the first one ready and will make the others as and when I need them.

Photo credit: Laura Jones for Keeping It Creative

Covering up a big mistake

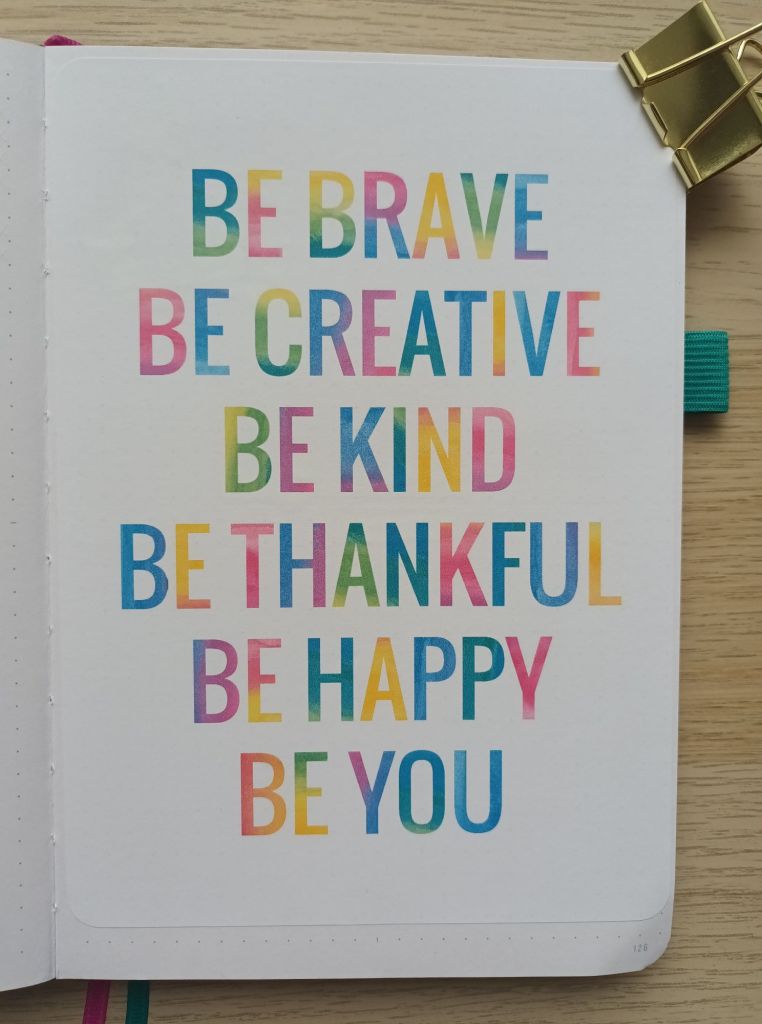
Sometimes, even when you’ve spent a while planning a page, an ink stamp print messes up completely and can’t really be fixed. When this happens I like to use my correction mouse to cover over the printing and then find something pretty to cover the page. I found this positive message as a free download and resized it to A5. I then printed it on sticker paper and stuck it in.

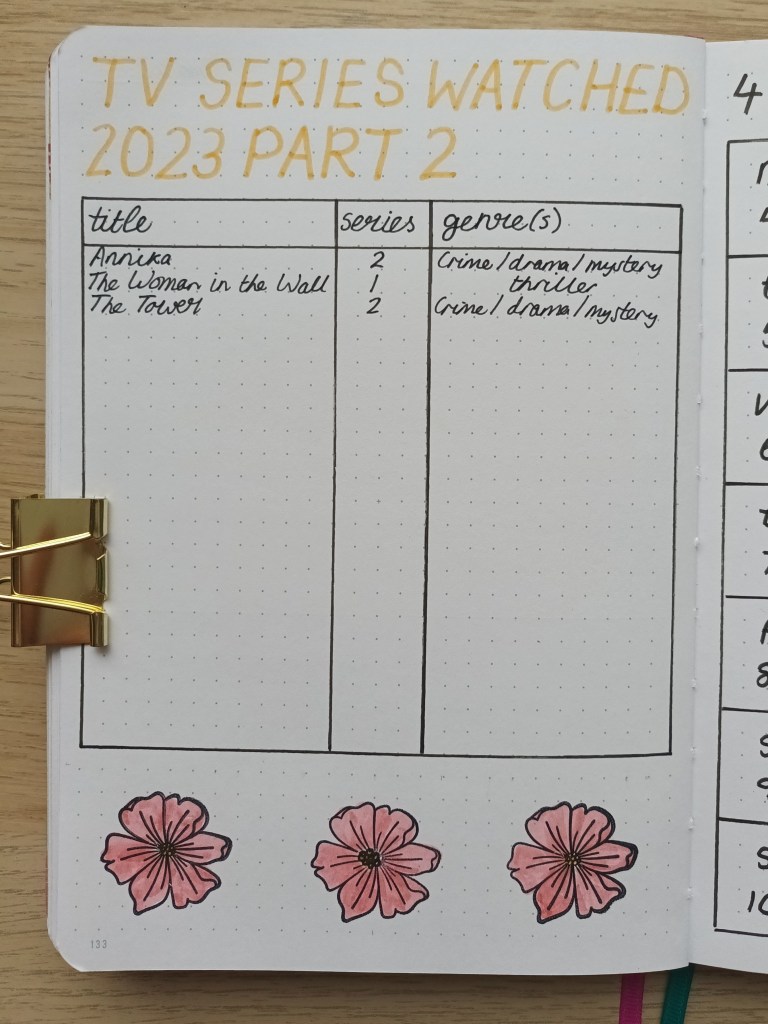
TV series watched record

I’ve just completed my first TV tracker so I made a new one for the rest of the year. Not only does this serve as a reminder of what we’ve watched, it’s also good for TV series recommendations to give to others. As this is not part of my September pages, I chose a pretty floral stamp to finish things off and then coloured the images using a dusky rose colour Tombow.

Photo credit: Laura Jones for Keeping It Creative

Tips for using ink stamps in your Bullet Journal

Stamps are a great way to quickly decorate your bullet journal pages but they take a little getting used to. Here’s some beginner friendly tips to help you get the most out of your stamping experience:

  • choose good quality ink I love the StazOn ink, and although it’s more expensive, you get what you pay for and this one prints beautifully creating a thin and crisp image.
  • dress appropriately Stamps can be quite messy and it’s easy to get ink everywhere. I recommend putting on an old top before you start. I have several tops and pairs of leggings which I wear whilst doing any form of crafting and there are various marks and cuts on them
  • allow drying time When you print, the ink sits on the page and so takes a while to dry. This means you need to allow time for it to dry. If you don’t, you may smudge your images and make a mess of your page.
  • make sure your BuJo has thick paper If you don’t want bleed through or ghosting, I recommend only using stamps in BuJos with thicker GSM paper. My current notebook is 160 GSM and is the perfect thickness
  • test and practise Before I use the stamps, I always test them out on scrap paper. This gives you the chance to see if there are any areas of the image which tend to not print properly and need a little more pressure. Testing them is also a good opportunity to practise and refine your stamping skills
  • plan your page and stamp placement Spend some time planning out your page and where you want to put your stamps before you ink them up. Visualising your finished page before you start is the best way to create a spread you love.
  • ensure the whole of your stamp is covered in ink Getting your stamp fully inked but not too covered takes some practise, but after a while, you will become more confident in doing this. This is another reason why I love the black StazOn ink because the pad is firm which means you don’t end up over-coating your stamp.
  • place and lift your stamp carefully Again, this takes practise but you want to ensure the stamping block presses on evenly and that you remove the block slowly and precisely.
  • fill in any unstamped bits If there are small areas which didn’t quite print properly, use a thin fineliner to draw them in (make sure you wait for the ink to dry first!). Always make sure your pen is waterproof if you plan on colouring in the images. I use a Pigma Micron in a 0.1.
  • use water based pens to colour in I use Tombows to colour in my images. Again, it’s best to practise as you may find that some smudge the ink. For example, despite being water-based Zebra Mildliners are notorious for smearing.
  • clean your stamps Always take the time to clean your stamps and place them back on the storage sheet. This means that they won’t get lost and you have an image guide for each stamp
  • cover up Don’t forget to place the lid firmly on your ink to prevent it drying out.

Final words…

Thank you for taking the time to look at and read about my pages for September – I would love to know what you think of them. If you’re keen to try out ink stamping, I hope my beginner tips prove to be useful. If you have any more questions about stamping, drop them in the comments and I will try to answer them as best I can.

Wishing you all a lovely September,

Posted in art, bullet journal, Bullet journaling, creativity, Gouache painting, Planning and journaling

Setting up my Bullet Journal for February 2023: Valentine’s Love Heart theme

January seems to have flown by and we’re now into February. I’ve only just got my spreads for the month finished as I’ve been busy setting up my new STM notebook and have also had quite a few sessions at the university this year so far. I did a hearts theme before (back in Feb 2021) and I enjoyed using my watercolours to mixing various shades of red and pink so I thought I’d give it another go but this time I used gouache for a more opaque finish. The design for the front cover was inspired by a Caroline Gardner mirror compact that I got for Christmas which features heart outlines.

My pretty compact mirror from Caroline Gardner

The front cover

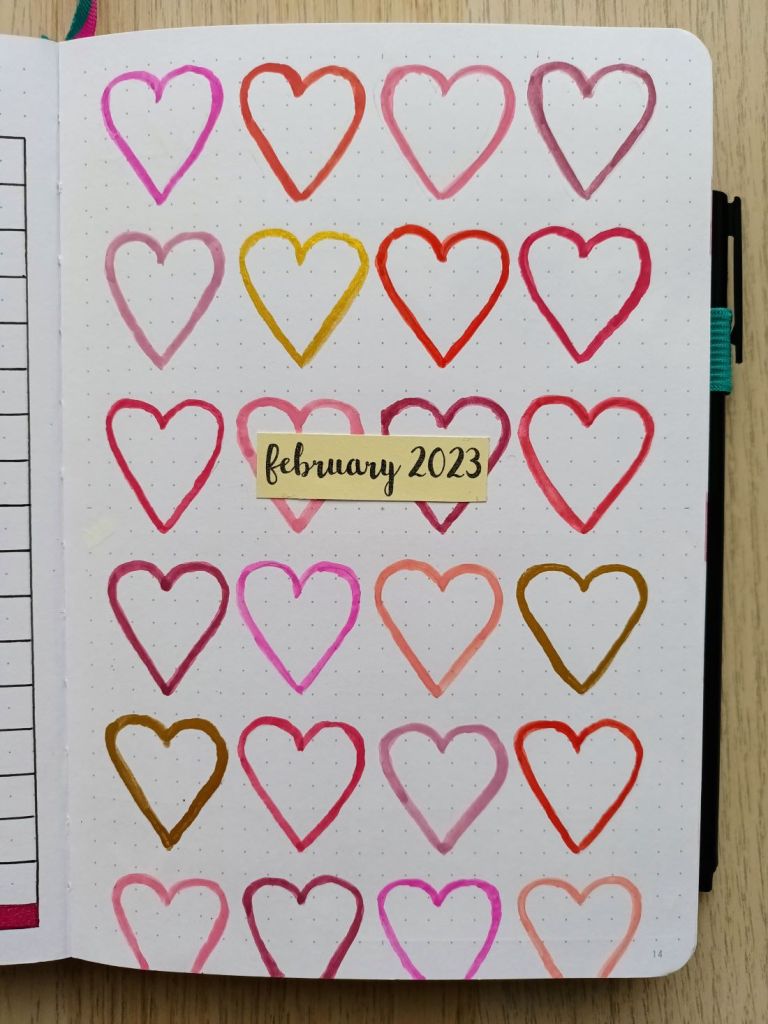
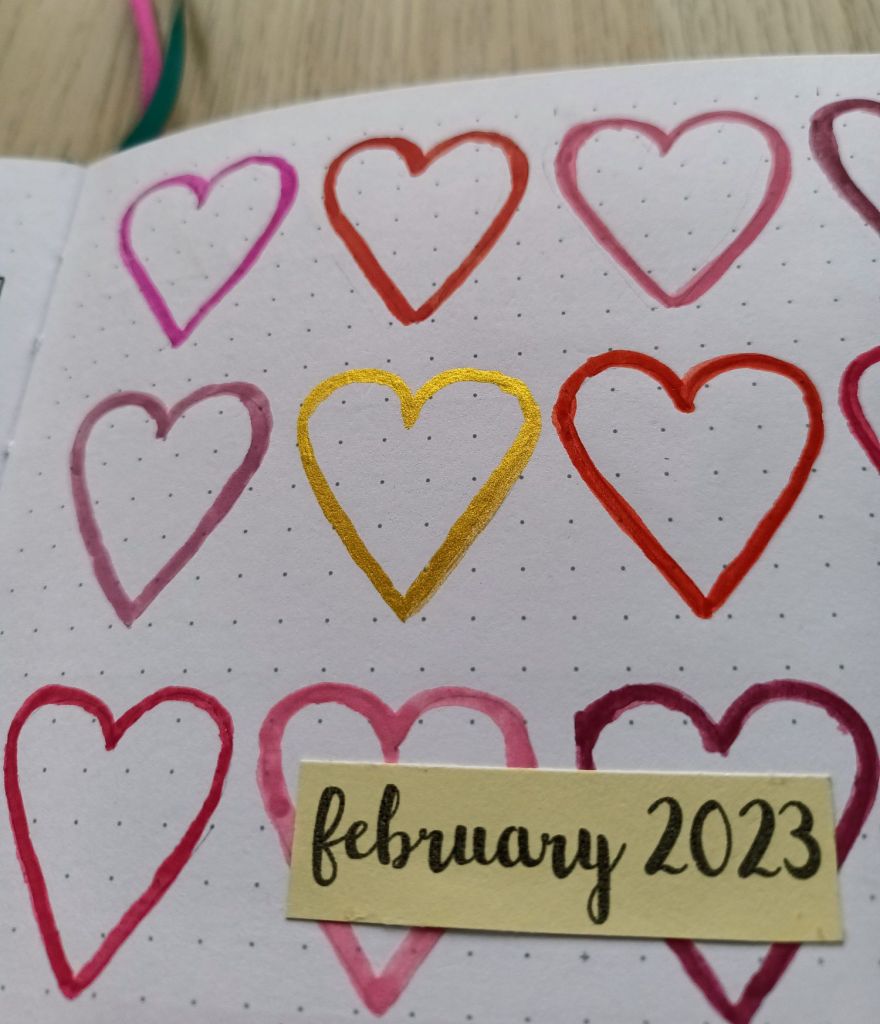
After practicing painting heart shapes in the back of my old bullet journal, I created a template and lightly sketched the outlines with a pencil. I then mixed a shade of pink and then used a number 2 round brush to paint a small number of hearts. I repeated the process with various reds and pinks and also added 3 gold hearts using my Finetec metallic watercolour paints. After leaving the paint to dry thoroughly, I created a small cream label for the month and the year using a gorgeous brush letter font which I recently downloaded called Northern Lights Script.

Photo credit: Laura Jones for Keeping It Creative

Calendar page

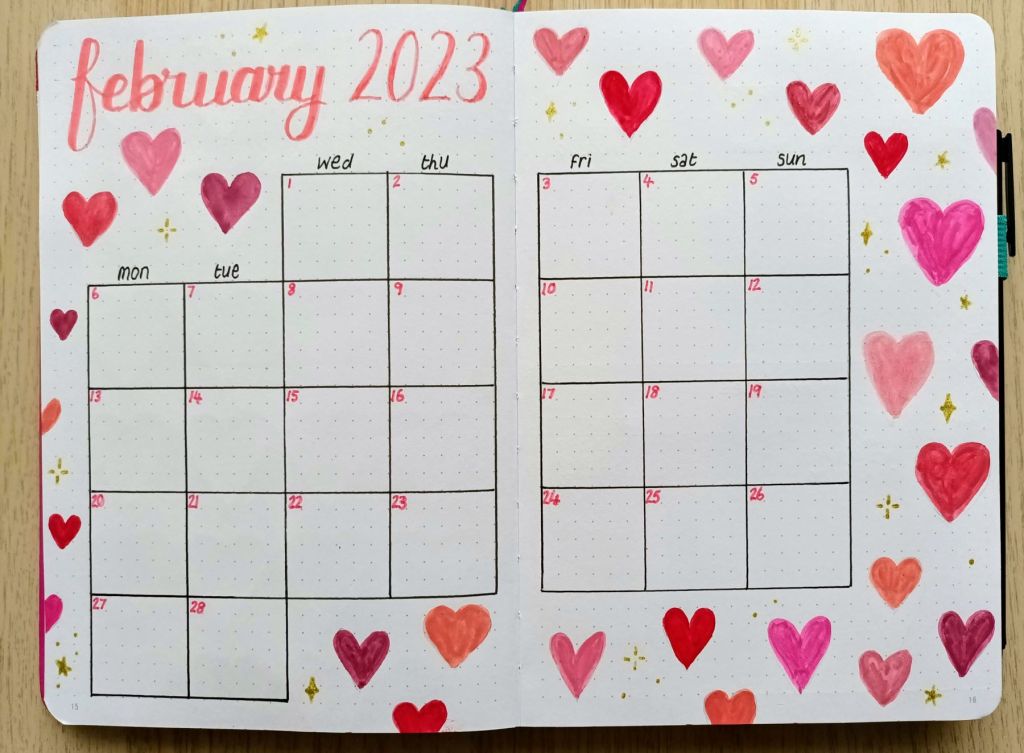
For the month on two pages calendar, I mixed similar colours and painted a range of filled hearts in different sizes. This time I used a size 0 round brush as the shapes were smaller. This time I very lightly hand sketched the heart shapes with a 2H pencil. When I’d finished, I realised that I hadn’t done any gold hearts so I decided to add some sparkle using a Uniball Signo gold gel pen creating dots, stars and curved diamond shapes.

Photo credit: Laura Jones for Keeping It Creative

Finances

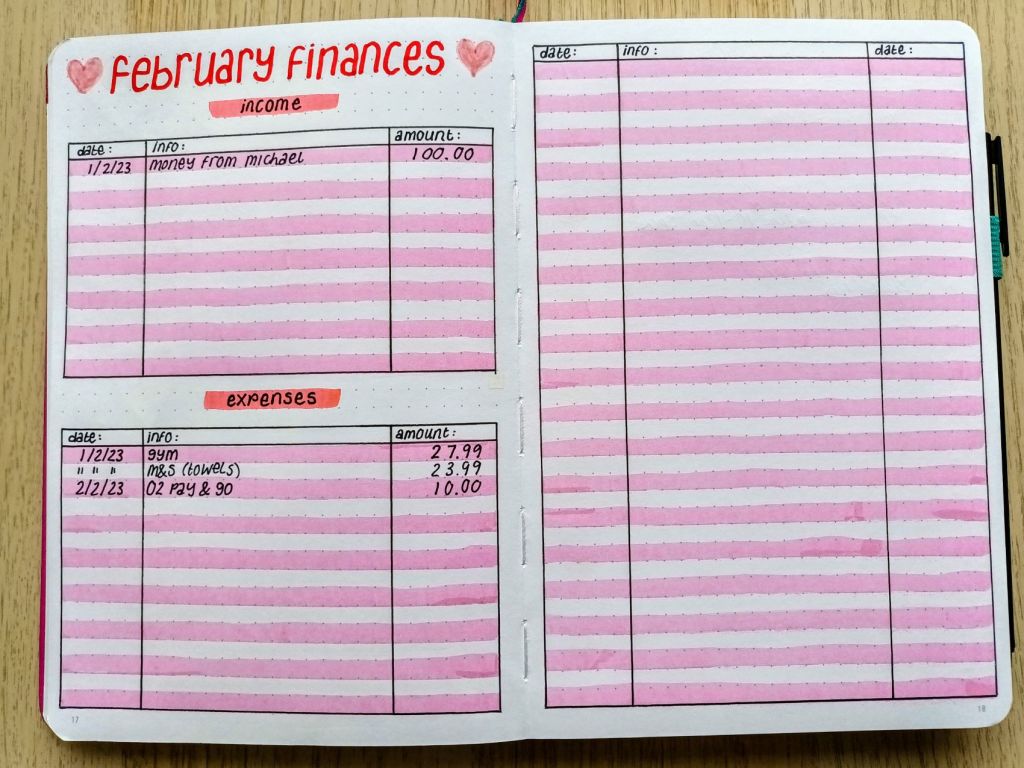
I’ve been enjoying using this format of financial tracker for a while now and I just change up the colours each month.

Photo credit: Laura Jones for Keeping It Creative

Weekly plan and rolling weekly

This is the first time I’ve done a week-on-one-page spread but now I do a rolling task list for the week I don’t need as much room as I’m only recording events, gym sessions and days out. The hearts for each day were inked using a heart outline (made using a punch), a gorgeous red/gold ink and a mini finger sponge. You can’t really see the iridescence in the photo but it looks really pretty when the hearts catch the light.

Photo credit: Laura Jones for Keeping It Creative

My future log for my new Bullet Journal

I created my future log for 12 months, starting in March 2023 and I’m really pleased with how simple and effective it is so I thought I would share here. It makes use of a Dutch door set up and I added little tabs for ease of use. Using a Dutch Door means that you create one title which can be seen from a number of pages.

Photo credit: Laura Jones for Keeping It Creative

Final words…

I’m really pleased with how my pages turned out and I hope you like them too. Doing some painting in your bullet journal is a super relaxing and mindful activity which I really enjoy. As long as your pages are a good weight and you don’t use too much water or add too many layers of paint there should be no bleed through or page wrinkling.

Wishing you all a wonderful February,