Posted in art, bullet journal, Bullet journaling, creativity, Planning and journaling, stamping

Setting up my bullet journal for September 2023: Arts and crafts theme. Plus tips on using stamps and ink.

This month, I debated doing an autumnal theme using my own stickers. However, I’m yet to give sticker making a go on my Cricut Joy so I’m going to save this idea until October. For September, I decided to create my pages using a range of stamps from a set I got with a craft magazine a few years ago. The images feature a range of crafting tools, many of which I use myself when I’m journalling. This is the first time I’ve used stamps in my bullet journal and I’m really pleased with how my spreads turned out. Today, as well as showing my September set up, I thought I’d also share some tips on using ink stamps effectively.

Front cover

I started my cover page by stamping September in the centre using typewriter style alphabet rubber stamps from Hobbycraft, and then adding the year underneath. I then took the larger of the stamps and added the images in pre-determined spaces. After this, I filled in with the smaller stamps. I used StazOn black ink throughout as I’ve found that this produces crisp images and doesn’t soak into the page. Following the drying time, I coloured in using the brush tip of some of my Tombow Dual Tips and also added a box around the month.
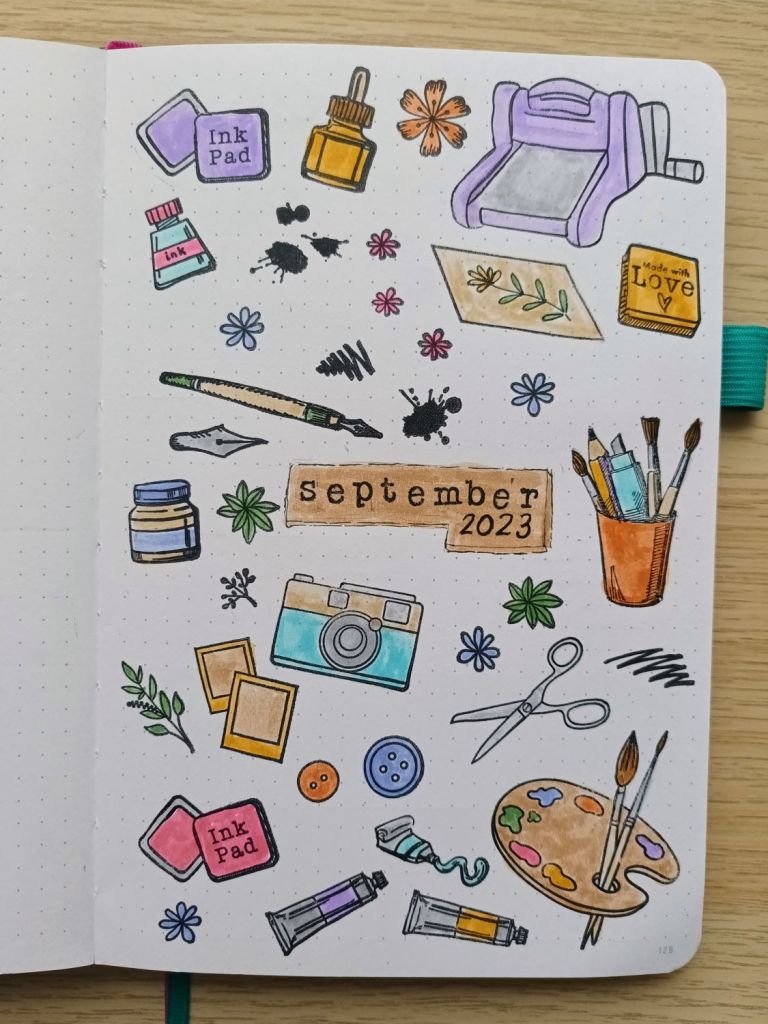
Photo credit: Laura Jones for Keeping It Creative

Calendar pages

This is my usual calendar set up for the month with the grid drawn out using a 0.3 Pigma Micron and a 0.05 for the numbers. Again, I planned where to put the larger stamps and them filled in the gaps with smaller images.
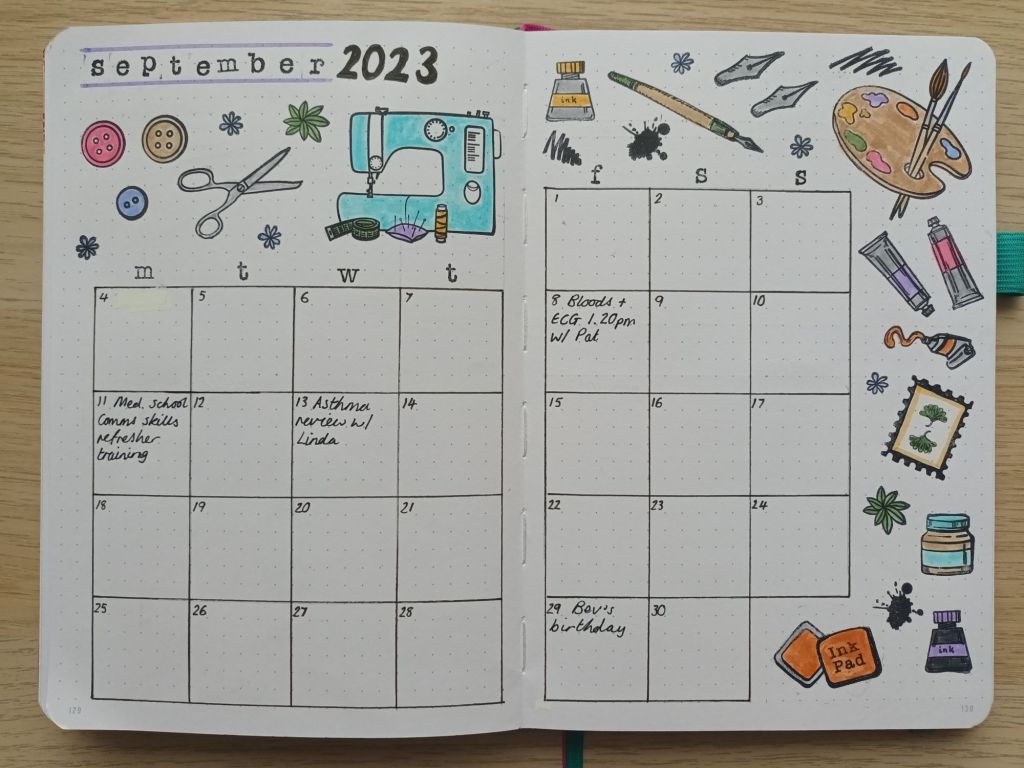
Photo credit: Laura Jones for Keeping It Creative

September finances record

Again, this is my usual finances record of my income and outgoings with some decoration using the same stamps set.
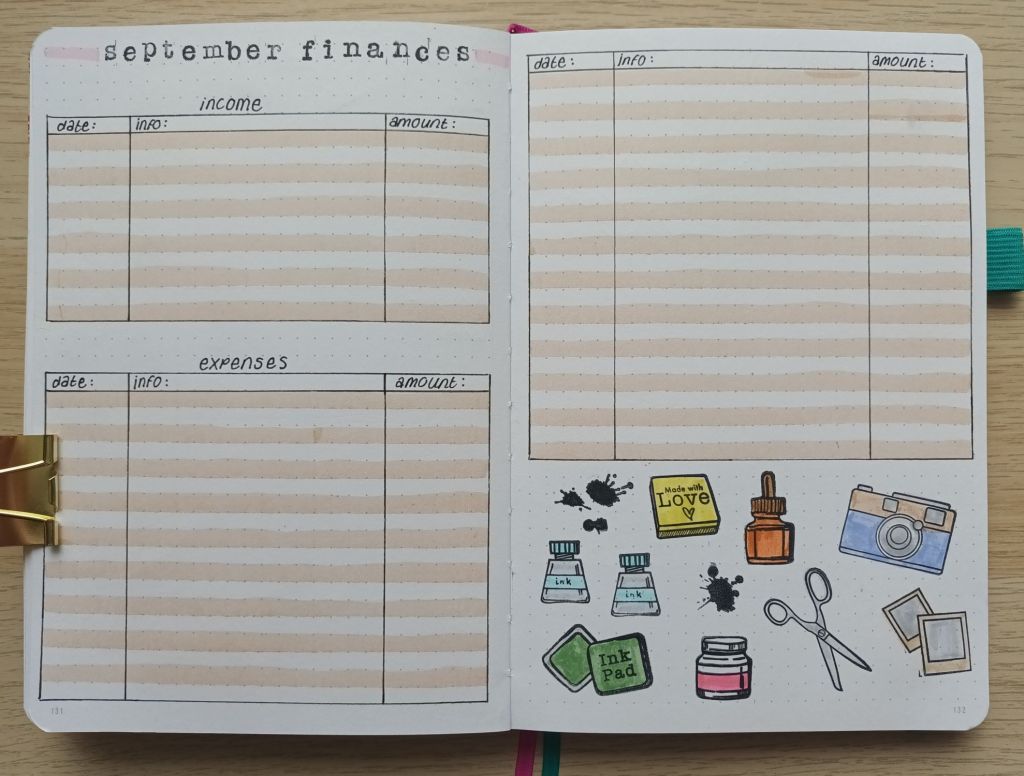
Photo credit: Laura Jones for Keeping It Creative

Weekly plan for the first week

As I have quite a few appointments, a training session and hopefully some university sessions next month, I will be creating a weekly plan as well as my usual rolling to do list. I’ve got the first one ready and will make the others as and when I need them.
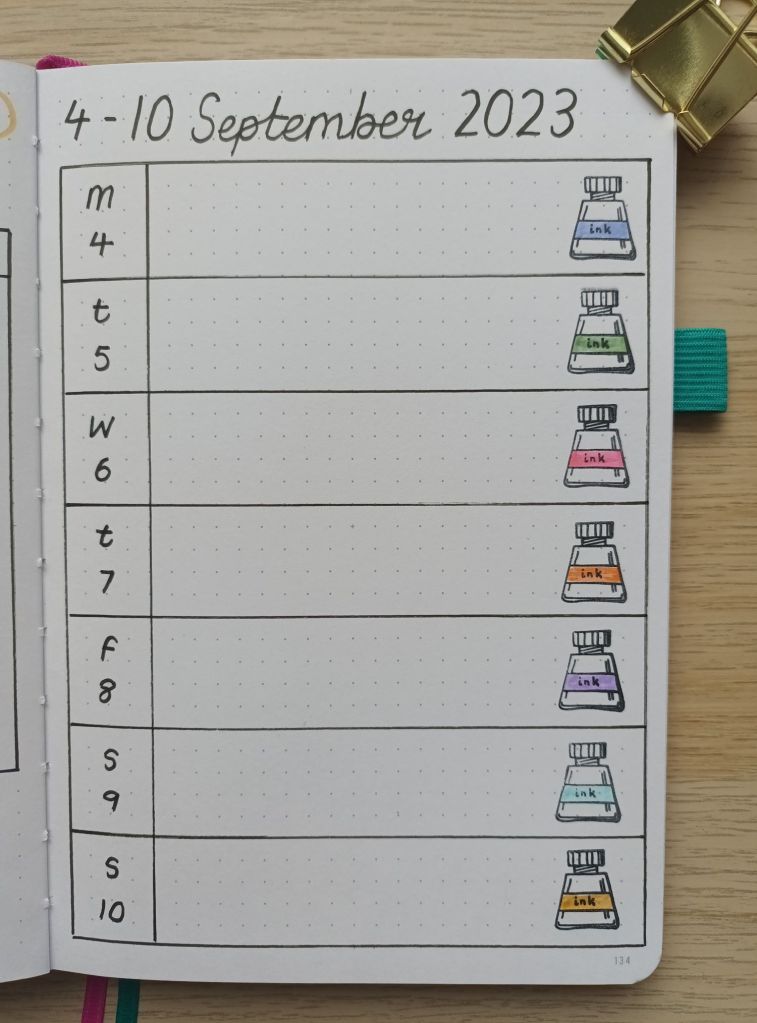
Photo credit: Laura Jones for Keeping It Creative

Covering up a big mistake

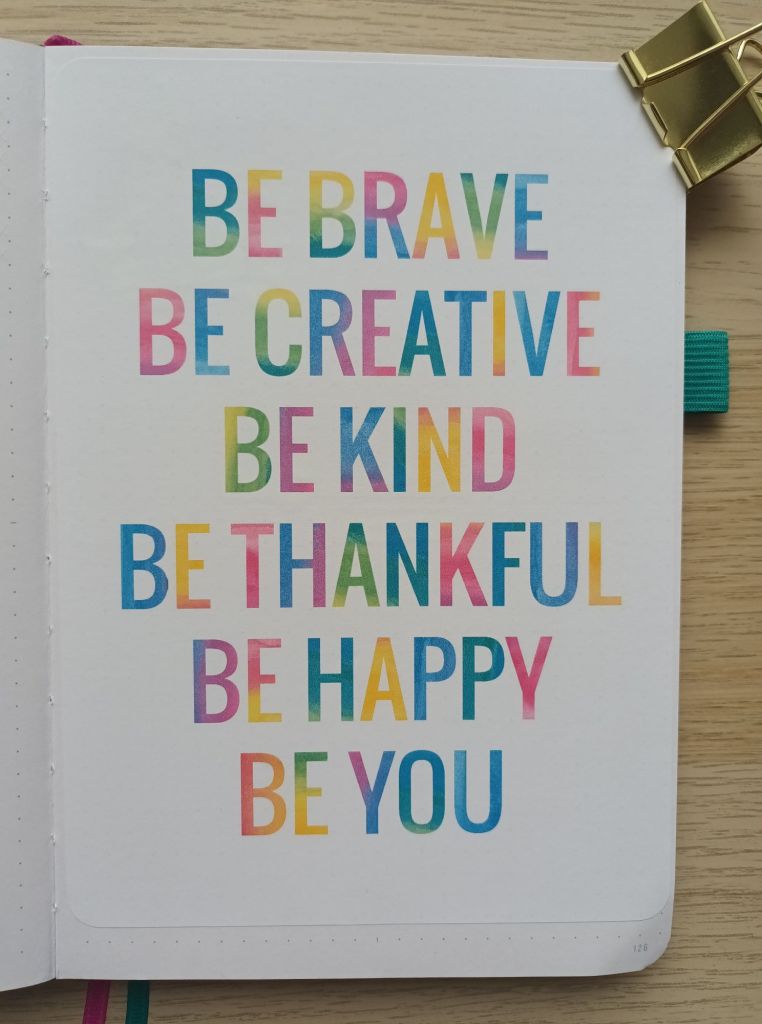
Sometimes, even when you’ve spent a while planning a page, an ink stamp print messes up completely and can’t really be fixed. When this happens I like to use my correction mouse to cover over the printing and then find something pretty to cover the page. I found this positive message as a free download and resized it to A5. I then printed it on sticker paper and stuck it in.
TV series watched record

I’ve just completed my first TV tracker so I made a new one for the rest of the year. Not only does this serve as a reminder of what we’ve watched, it’s also good for TV series recommendations to give to others. As this is not part of my September pages, I chose a pretty floral stamp to finish things off and then coloured the images using a dusky rose colour Tombow.
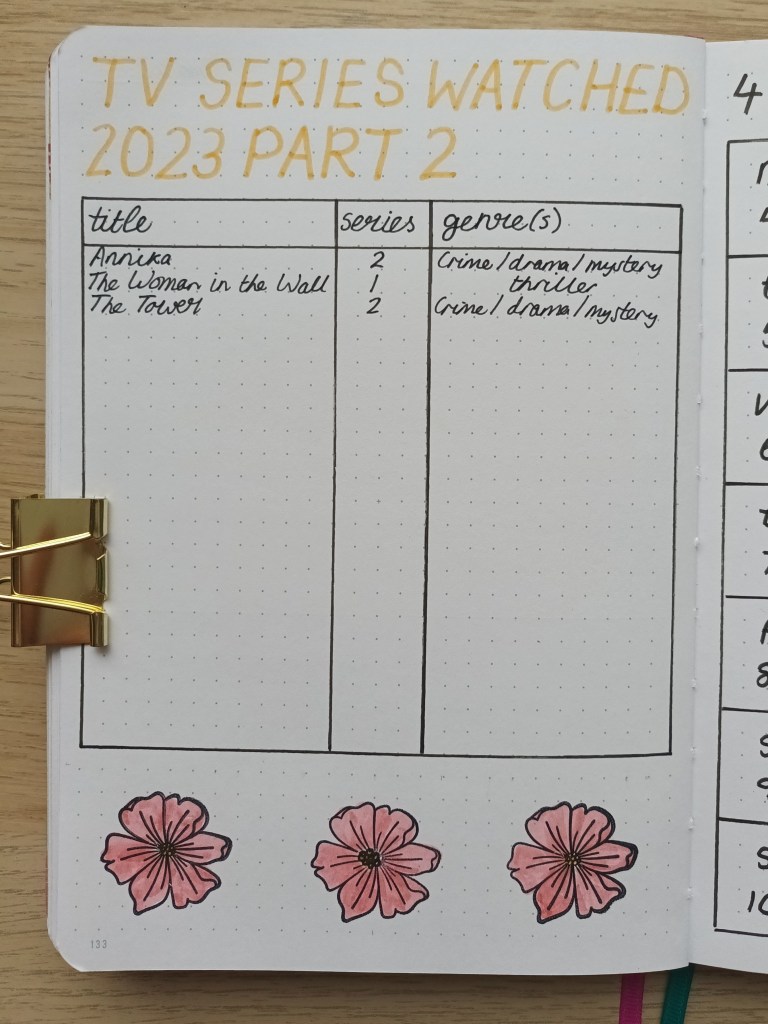
Photo credit: Laura Jones for Keeping It Creative

Tips for using ink stamps in your Bullet Journal

Stamps are a great way to quickly decorate your bullet journal pages but they take a little getting used to. Here’s some beginner friendly tips to help you get the most out of your stamping experience:

  • choose good quality ink I love the StazOn ink, and although it’s more expensive, you get what you pay for and this one prints beautifully creating a thin and crisp image.
  • dress appropriately Stamps can be quite messy and it’s easy to get ink everywhere. I recommend putting on an old top before you start. I have several tops and pairs of leggings which I wear whilst doing any form of crafting and there are various marks and cuts on them
  • allow drying time When you print, the ink sits on the page and so takes a while to dry. This means you need to allow time for it to dry. If you don’t, you may smudge your images and make a mess of your page.
  • make sure your BuJo has thick paper If you don’t want bleed through or ghosting, I recommend only using stamps in BuJos with thicker GSM paper. My current notebook is 160 GSM and is the perfect thickness
  • test and practise Before I use the stamps, I always test them out on scrap paper. This gives you the chance to see if there are any areas of the image which tend to not print properly and need a little more pressure. Testing them is also a good opportunity to practise and refine your stamping skills
  • plan your page and stamp placement Spend some time planning out your page and where you want to put your stamps before you ink them up. Visualising your finished page before you start is the best way to create a spread you love.
  • ensure the whole of your stamp is covered in ink Getting your stamp fully inked but not too covered takes some practise, but after a while, you will become more confident in doing this. This is another reason why I love the black StazOn ink because the pad is firm which means you don’t end up over-coating your stamp.
  • place and lift your stamp carefully Again, this takes practise but you want to ensure the stamping block presses on evenly and that you remove the block slowly and precisely.
  • fill in any unstamped bits If there are small areas which didn’t quite print properly, use a thin fineliner to draw them in (make sure you wait for the ink to dry first!). Always make sure your pen is waterproof if you plan on colouring in the images. I use a Pigma Micron in a 0.1.
  • use water based pens to colour in I use Tombows to colour in my images. Again, it’s best to practise as you may find that some smudge the ink. For example, despite being water-based Zebra Mildliners are notorious for smearing.
  • clean your stamps Always take the time to clean your stamps and place them back on the storage sheet. This means that they won’t get lost and you have an image guide for each stamp
  • cover up Don’t forget to place the lid firmly on your ink to prevent it drying out.

Final words…

Thank you for taking the time to look at and read about my pages for September – I would love to know what you think of them. If you’re keen to try out ink stamping, I hope my beginner tips prove to be useful. If you have any more questions about stamping, drop them in the comments and I will try to answer them as best I can.

Wishing you all a lovely September,

Posted in crafting, creativity, lifestyle

My new crafting tool – the Cricut Joy: first impressions and trying beginner projects

Photo credit: Laura Jones for Keeping It Creative

I’d been wanting a cutting machine for ages and always spent time looking at them during each visit to Hobbycraft. However, both the cutter itself and the materials seemed very expensive and I wondered whether it would become extremely costly. I primarily wanted to use it for making customised stickers to go in my bullet journal and to create die cuts, shapes and stencils for my traveler’s notebook journalling and figured that I could do this instead of buying things online.

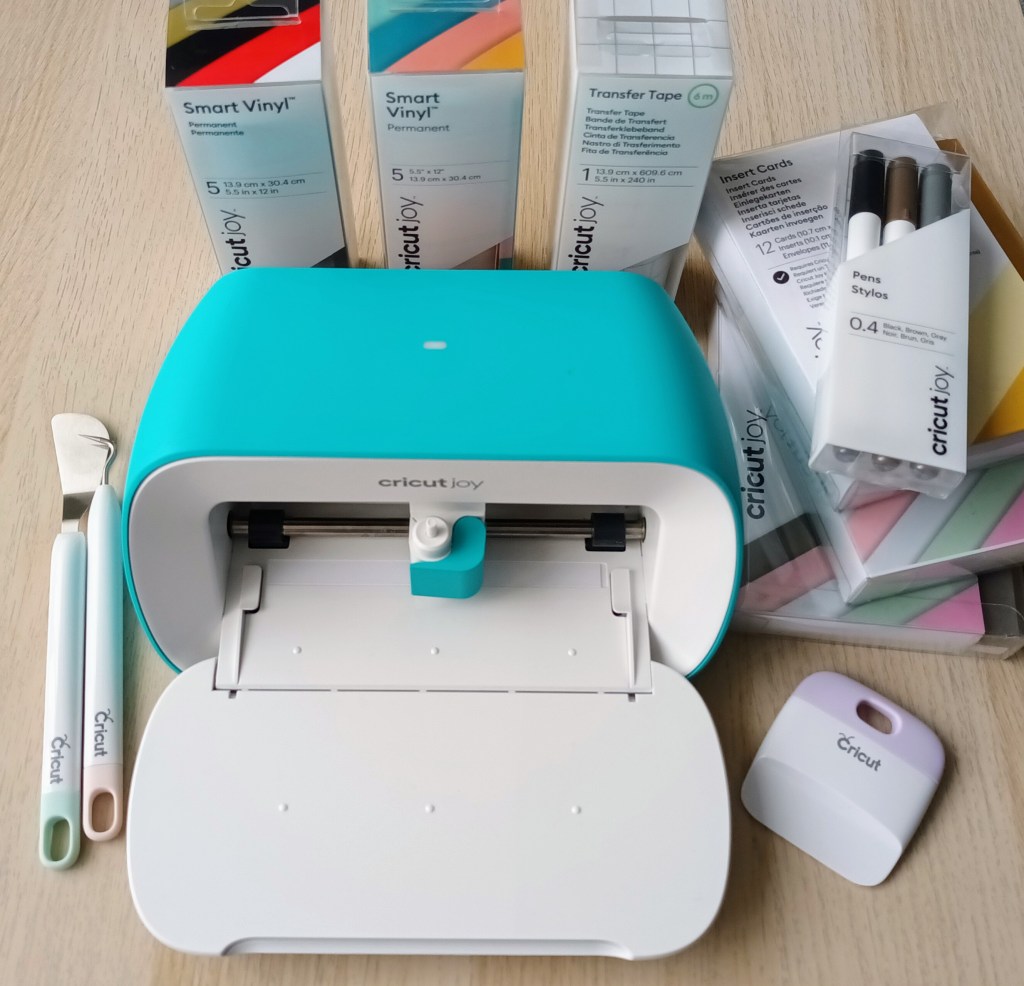
When my husband asked me what I would like for my birthday, I mentioned the Cricut Joy and the starter kit I’d seen online. Again, we talked about cost but I decided I really wanted to get one so we searched for the best deal and my husband made the purchase. I set my machine up just over a week ago and I absolutely love it. I’ve also become somewhat addicted to watching YouTube videos showing beginner friendly projects too!

Today, I thought I’d share my initial impressions of my Cricut Joy and what I’ve learnt so far. I’ve already bought a few more items from Amazon – two more insert card sets, a longer standard grip mat and I put my £5 off at Hobbycraft birthday voucher towards a tool set (spatula and scraping tool) which I feel is an essential having done a few projects. I also bought another set of 5 permanent vinyl pieces which is known as the ‘Beachside Sampler’ and contains tulip pink, mint, teal, coral and tangerine colours. 

What is the Cricut Joy?

The Cricut Joy is a small cutting, drawing and writing machine that can be used to create a range of personalised items such as greetings cards, labels, decals, stickers, iron on designs for fabric, paper flowers and much more. You can work with a range of materials including cardstock, smart vinyl, paper, infusible ink, faux leather and faux suede, adhesive backed paper, iron on vinyl and foil. 

First impressions

The Cricut Joy is the first cutting machine I’ve owned and was the cheapest and smallest option so I felt it was a good one for me to try as a beginner. The Joy itself is super compact and so it doesn’t take up much storage space in my craft room which is a big bonus for me. It’s also fairly light (although heavier than I thought it would be for its size) and portable, so would be good for crafting on the go.

The machine itself comes with the cord, power pack and plug. You also get a welcome envelope which includes a weblink for setting up your Joy and downloading Design Space. The package also contains one standard grip cutting mat, a sample of vinyl and a piece of deluxe paper, plus one 0.4 black pen which can be used in place of the cutting blade. The instructions are very straightforward and easy to follow and I was good to go after just a few minutes and I’d created a vinyl label and a speech bubble message with the card . I was pleased that I chose the starter kit as it included a set of insert cards (plus the mat required for cutting them), a weeding tool for removing bits of paper from the cut work, a set of 5 permanent smart vinyl pieces, some transfer tape for easier aligning of designs on your products and a small set of three 0.4 pens for use in the machine. Without buying the extra bits and pieces you wouldn’t really be ready to do any projects with your new toy unless you used cardstock you already had! 

The Cricut Joy connects to your computer, tablet or phone using bluetooth and everything is done through the Cricut Design Space app. There are no buttons on the machine and as soon as you plug the Joy in the light comes on to show it’s ready to use. Having downloaded the Design Space App, I spent a few minutes looking through a range of different designs, fonts and projects. I learnt pretty quickly that if you want to make good use of your machine and use a range of designs, font and even 3D projects, you really need Cricut Access which is free for the first month and then costs £7.49 a month or £71.88 a year until cancelled. You can purchase designs separately which would be best for a light user but as I intend to use my machine regularly, I’ve opted to pay monthly.

Making insert cards

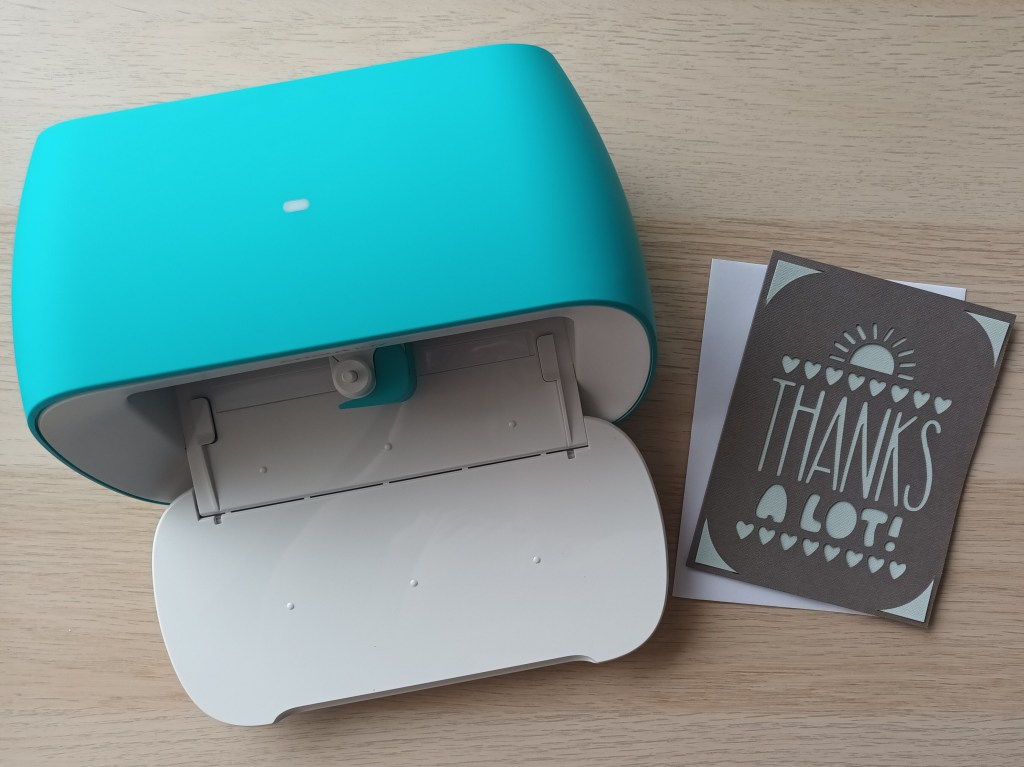
Making cards is super easy and there are so many designs to choose from. The first one I made was a thank you card for my husband in which I wrote about how much I loved both of my birthdat presents – The Cricut Joy and a simple DIY bat detector for use in our back garden where we see a small number of the cute, little creatures collecting moths at dusk.

Photo credit: Laura Jones for Keeping It Creative

I also made my friend a birthday card using the cream set with matte gold inserts. Unfortunately, it was a last minute thing and I forgot to take a photograph of the finished project.

Personalising my water bottles

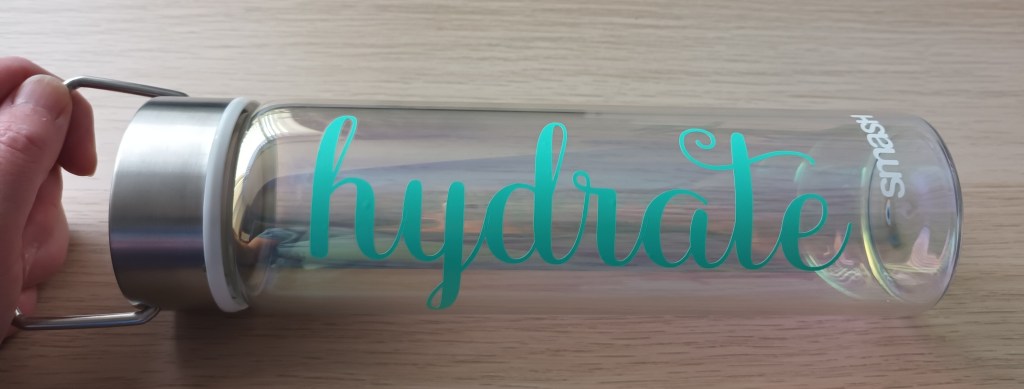
I thought a good, beginner friendly vinyl project would be to personalise the water bottles I have for the gym and on my craft room desk. I decided to put my name on my gym bottle and then add the word hydrate on my glass container. Unfortunately, when I examined them both, the plastic one had a small crack in it (probably from rolling off the passenger seat in my car) and some of the iridescent effect on the glass one had worn off so I ended up replacing them (yet more expense but I wanted them to look good when I’d finished them.

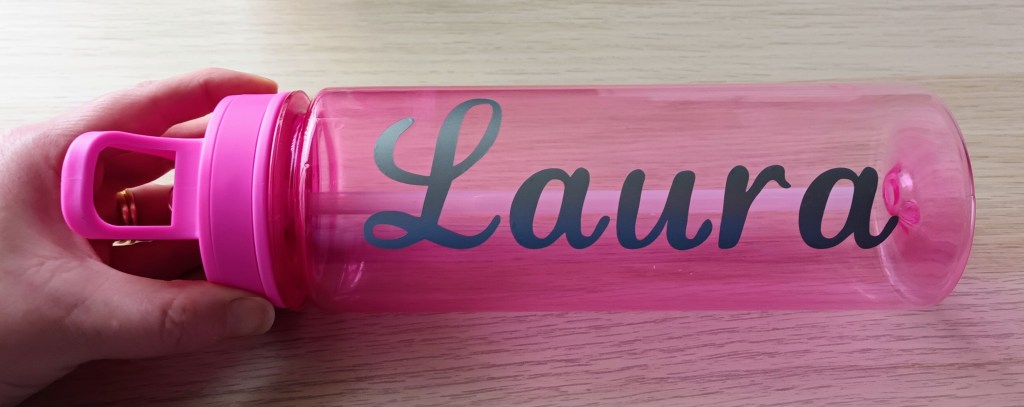
I chose a simple font for my name and decided upon silver vinyl. The Cricut Ioy was quick to cut the text out and my weeding tool was useful for removing the middle from the a letters.

Photo credit: Laura Jones for Keeping It Creative

For my glass bottle, I chose a lovely peachy colour vinyl and a cursive font. However, you’ll notice that the finished item has mint vinyl on it, and that’s because the peachy vinyl got torn when I was removing the excess where the thinner parts and flourishes were. I was really disappointed as I didn’t have enough material to try again, but I’ve learned that you need to be super careful when peeling away the surrounding vinyl. I also had issues with getting the word firmly stuck to the transfer tape and had to repeatedly go over bits of it with the scraper tool.

Photo credit: Laura Jones for Keeping It Creative

I’m thrilled with how they both turned out, and I couldn’t wait to photograph them and share them both with you. I wonder if anyone will notice my personalised gym water bottle when I go to Pilates tomorrow?

Creating stickers i.e. what I mainly wanted my cutting machine for  

At the beginning of today’s post, I mentioned that one of my main reasons for wanting a cutting machine was so that I could make stickers for my BuJo and travellers notebook journals. However, I’ve since discovered that the Cricut Joy does not support print and cut like the larger cutting machines do. There are quite a few videos on YouTube which share a hack for it but it looks like quite a lengthy process so I wanted to wait until I had more time and had become more familiar with the design software. I’ll probably share another post when I’ve got to grips with what you have to do.

Final words…

I hope today’s post has been useful for anyone who is tempted to buy a cutting machine for their crafting. Even if you’re not a craftaholic like me, hopefully you enjoyed seeing my designs. I’m really loving my Cricut Joy so far and exploring what it can do. I’m looking forward to trying out lots more projects and techniques in the near future.

Posted in bullet journal, Bullet journaling, creativity, lifestyle, Planning and journaling

Setting up my Bullet Journal for August 2023: ice cream and ice lollies theme

Today, as I write this blog post, I have the window in my craft room wide open and a large bottled of iced water on my desk to sip from. The weather has finally improved after days of rain, and the sun is peeping out from behind the clouds. I was beginning to think the summer was over but it appears to be back, for a brief time at least judging by the forecast! August is almost here and it is one of my favourite months as my niece and I share our birthdays on the 3rd (which coincides with factory shut down week so my husband can take some well earned time off from his office job), plus we celebrate our wedding anniversary (17 years on the 11th!). As we will be busy making the most of holiday time next week, I started working on my spreads super early, this time, choosing a seasonal theme of ice cream and ice lollies.

Cover page

Once I had decided on the theme, I spent some time searching Google for pictures of bullet journal spreads that others had shared, doodles of ice creams and lollies, plus photos of some of my childhood favourites and different types of cones. I then printed off lots of examples for inspiration for my spreads.

For the cover, I opted for some brush lettering in the centre of the page with just a simple hello August. I wasn’t happy with my first attempt, so I practised on my pad of dot grid paper then cut out the title when I was happy with it. The slim border around the cut out is created using mint green ink on a finger sponge dauber which I lightly pressed all around the edge. One the lettering was sorted, I then penciled in a range of ice creams and ice lollies before using a 0.2 Pigma Micron to outline and a 0.05 to create the cross hatching for the cones. Finally, I used Tombows and Mildliners in pastel colours to complete the doodles.

Photo credit: Laura Jones for Keeping It Creative

Calendar page

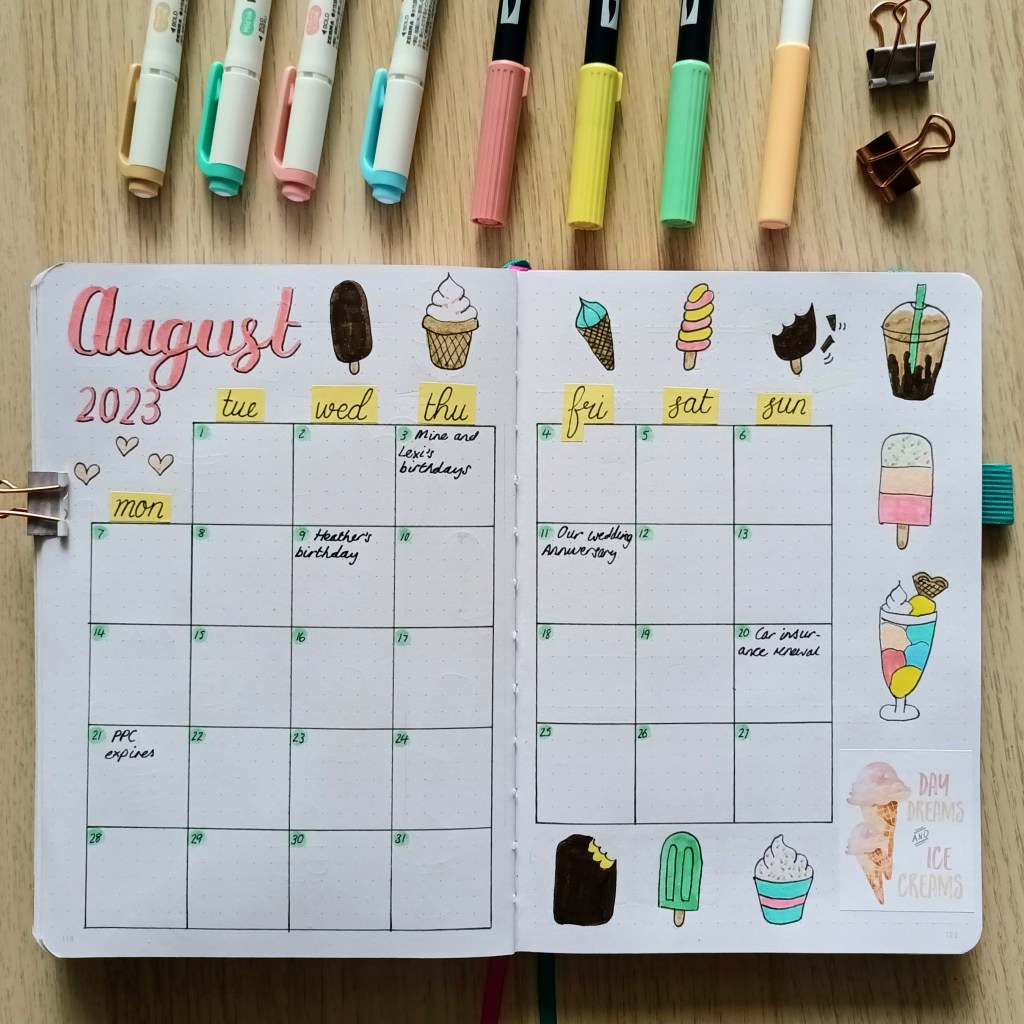
The calendar pages features my usual 6×6 grid spaces boxes with a pop of colour for the dates. I enjoyed creating the doodles for these pages and I’m pleased with how they turned out. I messed up once so I covered the mistake with a sticker I created using a Google image.

Photo credit: Laura Jones for Keeping It Creative

Finances and habits pages

Although the beginning of August is likely to be expensive for our joint finances, I’m hoping to keep my personal spending relatively low so I’ve made my outgoings table even shorter than last month. This left a big space at the bottom of the page, so I filled it with some habit trackers. Recently, I’ve started going to bed really late and by the time I’ve read my Kindle for a bit, it’s gone midnight. Because of this, I’ve been sleeping in and not getting as much done with my day. So as not to put too much pressure on myself, I’ve set myself the target of being up by 8.30am for August which will still be a bit of a challenge but hopefully doable. The rest of the habits I want to instill are related to my goals for 2023.

Photo credit: Laura Jones for Keeping It Creative

Final words…

That’s all of the pages I’ve created for August so far and when I draw up my weekly plans, I will probably keep them fairly minimal. I hope you’ve enjoyed seeing my designs and I look forward to seeing other creations and theme ideas as they are shared.

Wishing you all a fun-filled August with lots of opportunities to create happy memories,

Posted in art, bullet journal, Bullet journaling, creativity, Planning and journaling

Setting up my BuJo for July 2023: Summer holidays theme

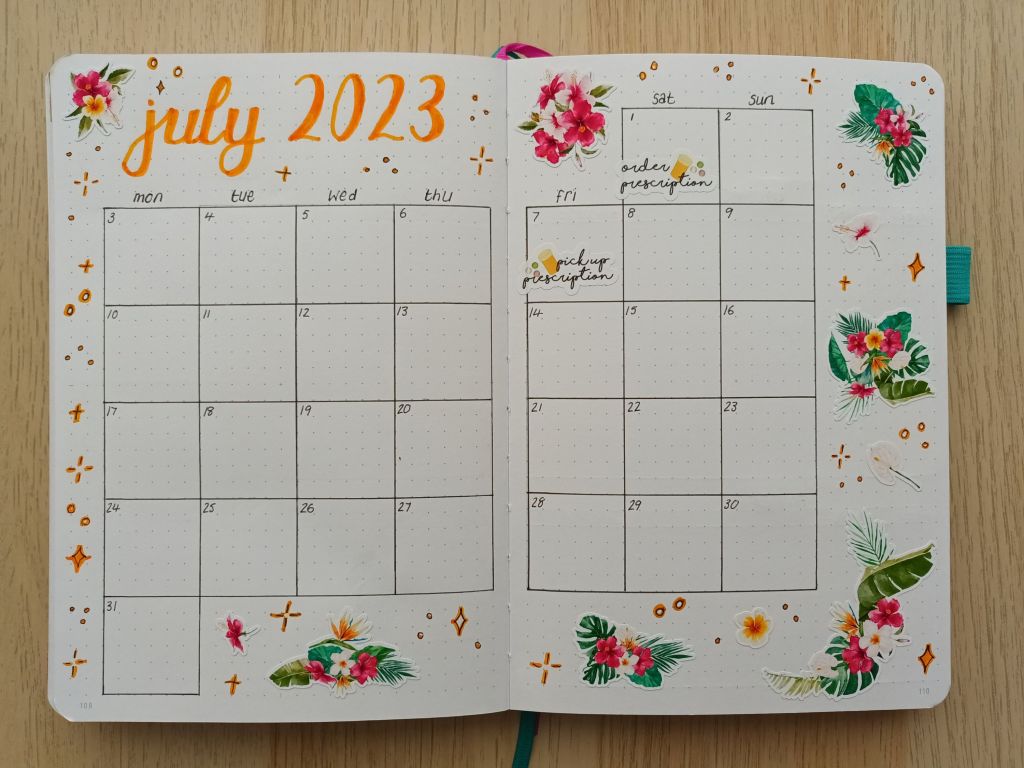
This month in my bullet journal, I’ve cheated with the décor again and bought a couple of sets of stickers to make things quick, easy and colourful. I was so impressed with the quality of the gardening themed set, that I chose to purchase from the same shop LunarLucie on Etsy. I ordered in plenty of time so that they arrived before we headed off to Norfolk on holiday. I managed to create the cover spread which I shared on Instagram but the calendar and financial pages had to wait until we returned which is why I’m only getting around to sharing them today.

Front cover page

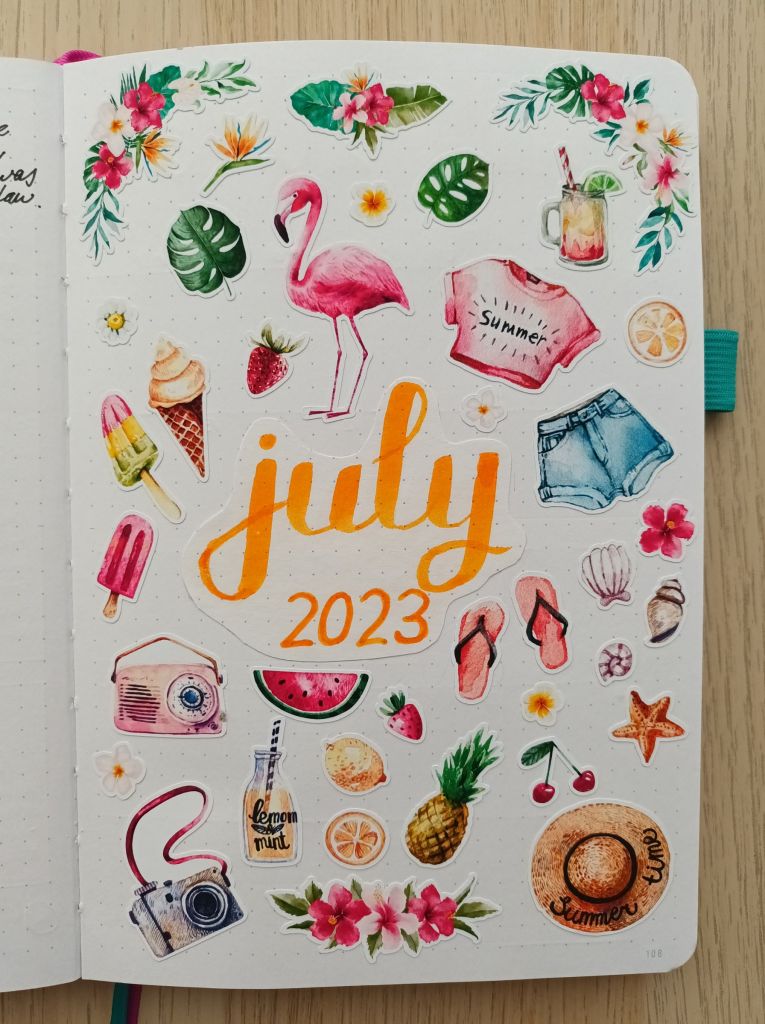
The style of this month’s cover is very similar to the one from June but I used all of the stickers from the tropical summer holiday sheet and a few from a tropical flowers set which complemented the others beautifully. The designs are so lovely and I’m really pleased with how the page turned out. I wasn’t happy with my lettering so I used some dotted grid paper to practise, then cut it out to stick in the centre.

Photo credit: Laura Jones for Keeping It Creative

Calendar page

I had plenty of tropical flower stickers left so use these to decorate and then filled in the spaces with sparkles.

Photo credit: Laura Jones for Keeping It Creative

Finances

I want this month to be a low spend one so I made my expenses section shorter. This left me with room to add a few financial affirmations in the space at the bottom.

Photo credit: Laura Jones for Keeping It Creative

Final words…

I hope you’ve enjoyed looking at my spreads for this month. I haven’t drawn up any weekly spreads yet but they’ll be pretty minimal in terms of decoration. I might just create a running task list as the only events on my calendar for this week are my usual exercise classes.

Wishing you all a lovely and fun-filled July,

Posted in bullet journal, Bullet journaling, creativity, gardening, Planning and journaling

Setting up my Bullet Journal for June 2023: Gardening theme

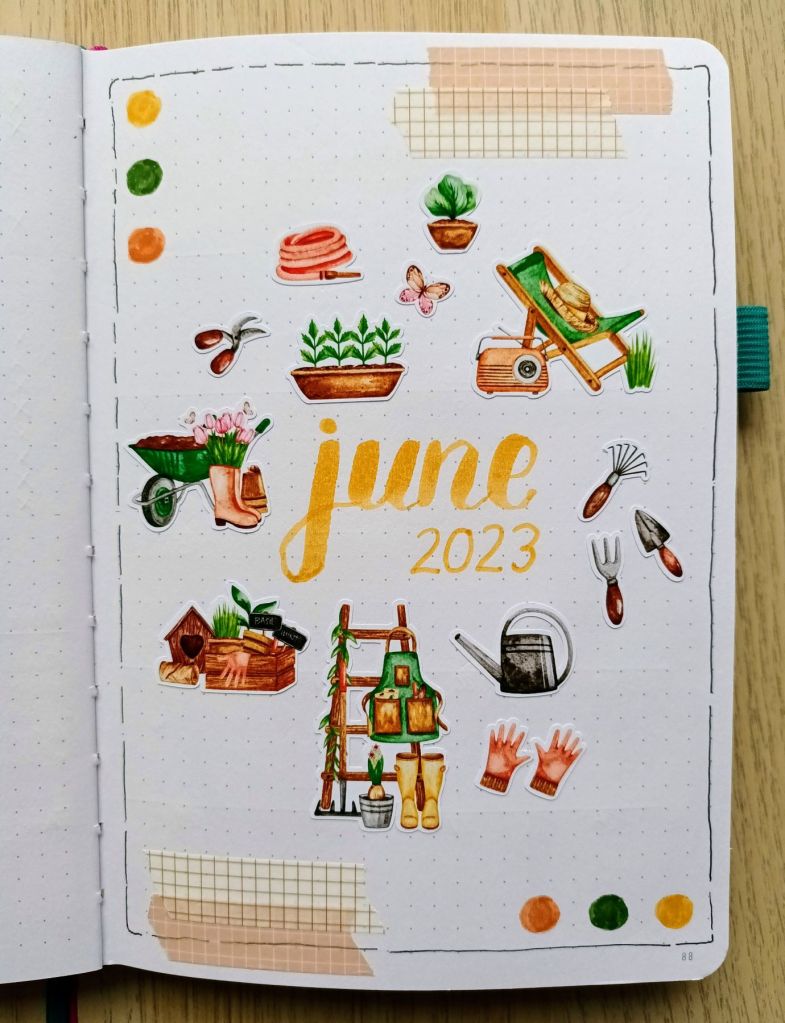
At the moment, my husband and I are busy working on our garden to get it looking neat, tidy and full of colour for the summer. I’ve recently started keeping a gardening journal which includes before photos of the front and back gardens, lists of jobs for the weekend, planting plans and records of seeds set and plants added to the borders. I wanted my theme for June to be bright and cheerful, with easy to set up pages so I decided to order some deco stickers from Etsy for the month. So far, I’ve picked out one sheet of watercolour garden related images and have used them to decorate the cover page and my calendar. I also used some icon stickers for my first weekly spread and will decide if I want to order further stickers to decorate or if I want to do some basic sketches for the rest of the weeks.

If you’re looking to create decorative but quick pages for your bullet journal, stickers and washi can be great options but obviously do incur an extra cost. They’re also great choices if you’re not keen on drawing or need to save time. You can literally type your chosen theme into Etsy, filter to UK sellers only if you need the sticker sheets quickly, select a design sheet which suits your personal style, and then, as soon as they arrive you can get to work planning out where to put them in your spreads. I found that the most frustrating part was creating my grids and lettering and then having to wait for what felt like ages for delivery but the sheet was made to order so had a lead time of two weeks.

My front cover

I used one of my new Tombows in 991 to add the title to the centre of the page and then created a loose border using a 0.4 pigma micron pen. I then added stickers around the title and placed washi plus some circles to fill in the spaces at the top and bottom.

Photo credit: Laura Jones for Keeping It Creative

Calendar pages

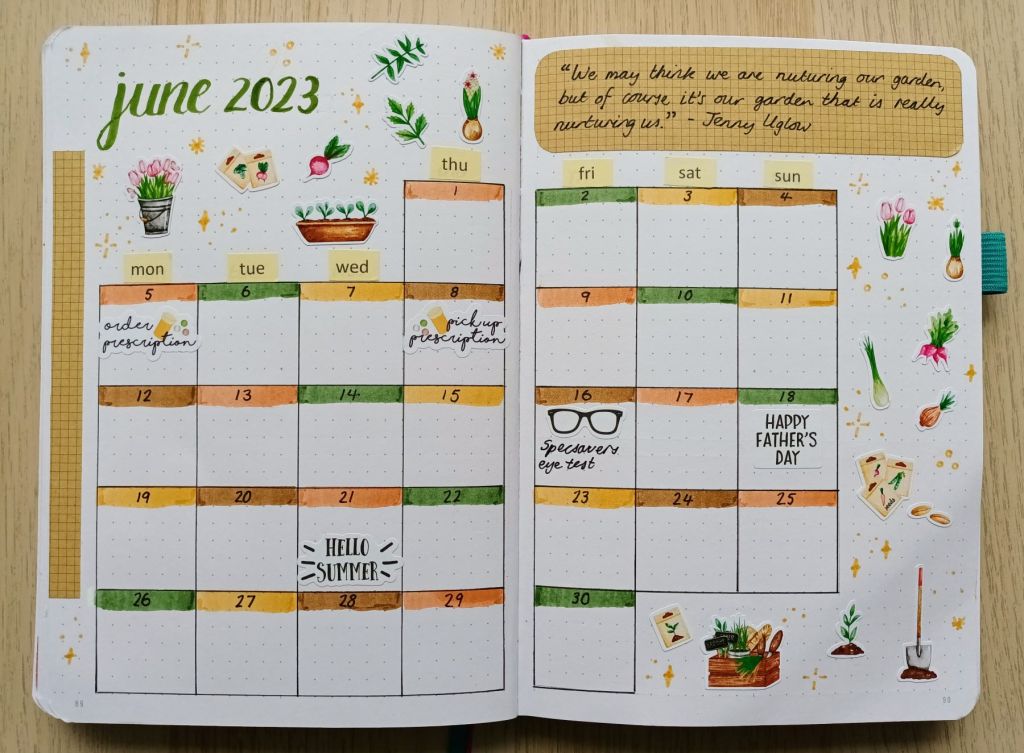
This is my usual 6×6 grid space calendar layout and I chose four Tombow Dual Tip pens which I tried to match to the stickers. I knew that the colours might not be exact as they can differ on your screen to IRL but I didn’t mind as long as they were close. As I was running short on stickers by the time I’d finished the cover page I added a quote on some kraft grid sticker paper and matched it with a strip on the edge and then used various sparkles to fill in the gaps.

Photo credit: Laura Jones for Keeping It Creative

Finances

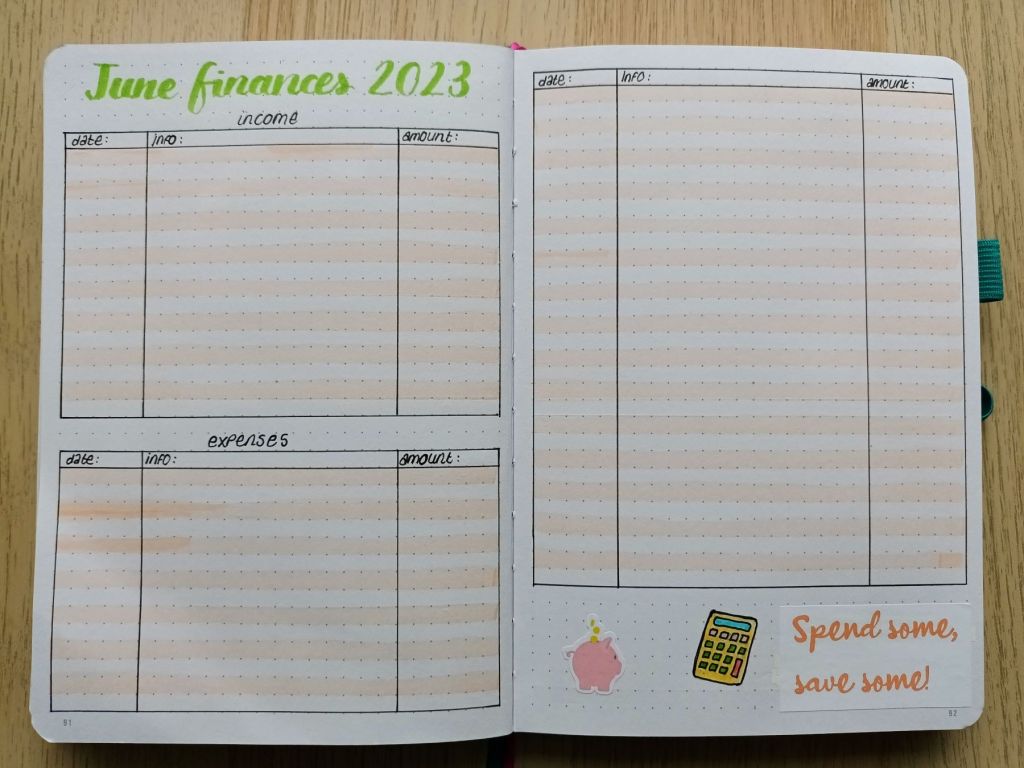
The layout of my finances spread works really well for me so I use the same design each month. There was a little space at the bottom to add a small amount of decoration using a piggy bank sticker from EllenBeeMakes on Etsy, a hand drawn little calculator and some words which I printed on sticker paper.

Photo credit: Laura Jones for Keeping It Creative

Weekly calendar and rolling weekly to do list

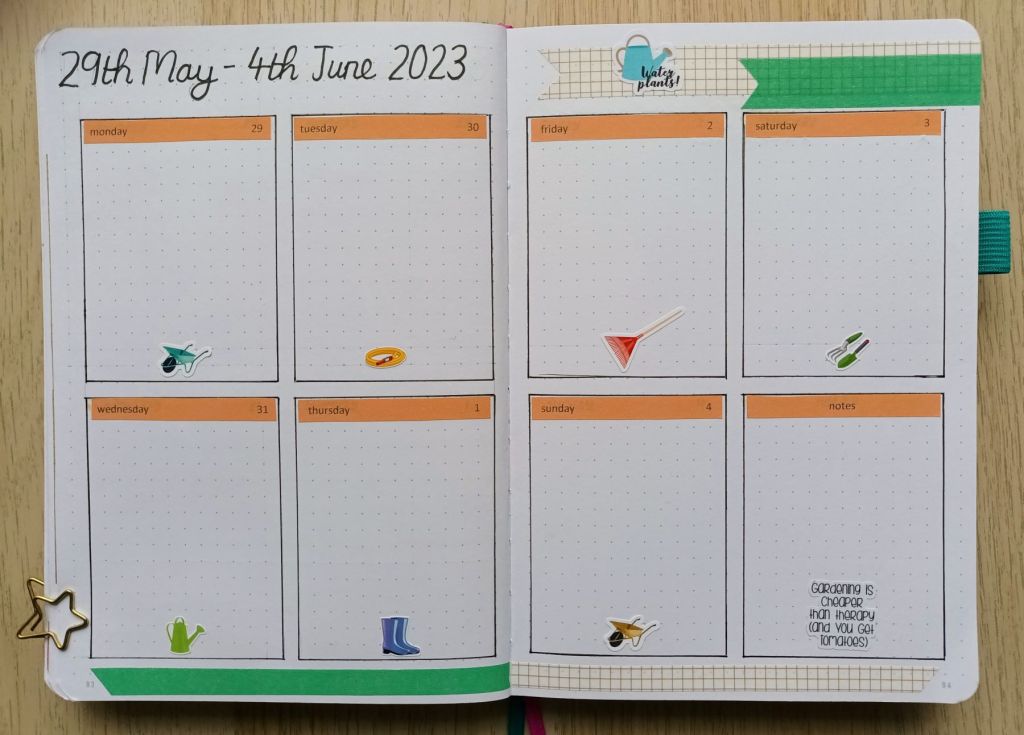
I decided to do a double page weekly for the first calendar page as I have quite a lot planned and needed more room to write. This means that my rolling weekly task list is over the page but I don’t mind flipping back and forth.

Photo credit: Laura Jones for Keeping It Creative

Final words…

I hope you’ve enjoyed looking at my spreads for the month of June. I don’t regularly use stickers to decorate my pages as it would be fairly costly but it is an effective way of setting up quickly and painlessly. I still managed to mess up a few times – once by smudging pen (the joys of being a leftie) and again by dripping cherries and berries squash on one of the pages (planning is thirsty work!) but my white Posca paint pen and some washi fixed those pretty well. Overall, I’m pleased with how everything turned out and I’m looking forward to using my pages.

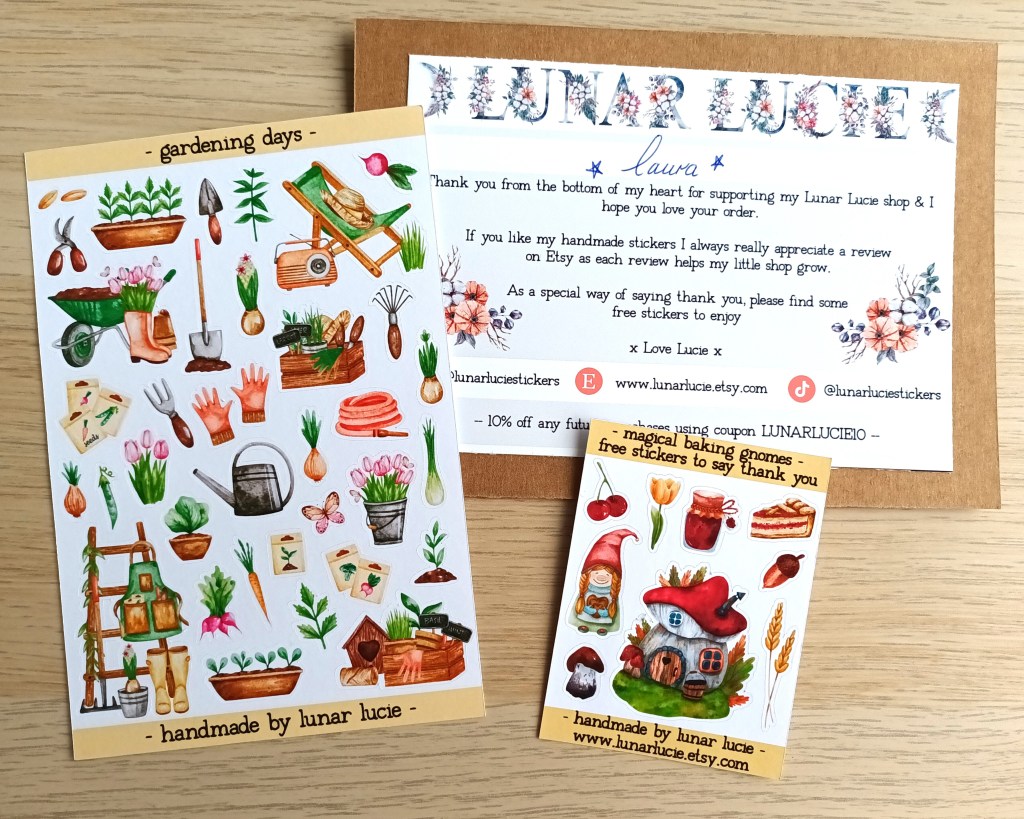
My lovely stickers which are now all used!

Wishing you a lovely June,