Posted in bullet journal, gardening, Planning and journaling

Useful gardening spread ideas for your bullet journal

As I was setting up my bullet journal spreads for June 2020, I decided that I would really like to begin to record key information about our garden including new plants, veggies we’re growing this year, plants which are thriving and which are not and why, plus sketches of our front and back spaces. I debated creating a separate garden journal but in the end I decided just to dedicate some pages each month within my planner so that everything about my life and our home and garden is all in one place. Before deciding on some layouts for my gardening spreads, I trawled Instagram, Pinterest and various websites for ideas. I found some really great spreads and took inspiration from them to set up my own.

I decided that over the next couple of months, I would like to create the following:

  • Jobs for each month – split into general tasks, flowering plant care, veggies and notes.
  • Information cards for new plants and our potted herbs
  • Photos of our actual plants in flower each month
  • Gardening quotes and motivationals
  • Wildlife spotted in the garden – with sketches
  • Plants to encourage wildlife
  • Birds in the garden – sketches and info
  • Aerial drawings of our different planting / garden areas

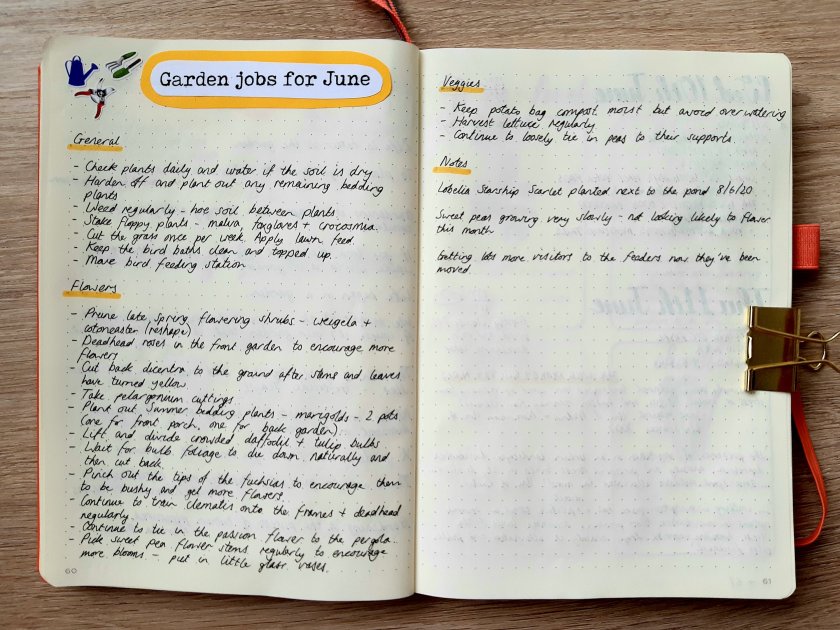
Garden tasks

There are lots of jobs for us to do in June but we’ve ticked off quite a few of them already. We certainly won’t be needing to water the garden or mow the lawn right now as it’s very wet out there because we’ve had rain showers for the last week or so. I intend to create one of these spreads each month using information collated from various websites.

I finished off the information cards for all of the plants that we’ve bought so far and also created some for our garden herbs. I’m hoping to get a few more different herbs soon so I’ve left some room for those on the spread too. The layout of these pages was inspired by the work of Emma at http://emusing-emma.blogspot.com who shared her houseplant information cards which she produced in her BuJo (direct link here). Make sure you check out her website if you love looking at ideas for your own bullet journal.
Information cards for different plants

I showed the beginnings of this type of spread in my June plans but I have since added some more drawings and information. I’ve also created some cards for the herbs we have in our containers. Again, my inspiration for these layouts was from Emma over at http://emusing-emma.blogspot.com/ The specific bullet journal spreads can be seen if you check out this link but I think all of her blog is well worth a look if you are like me and enjoy using a bullet journal and also love to get creative.

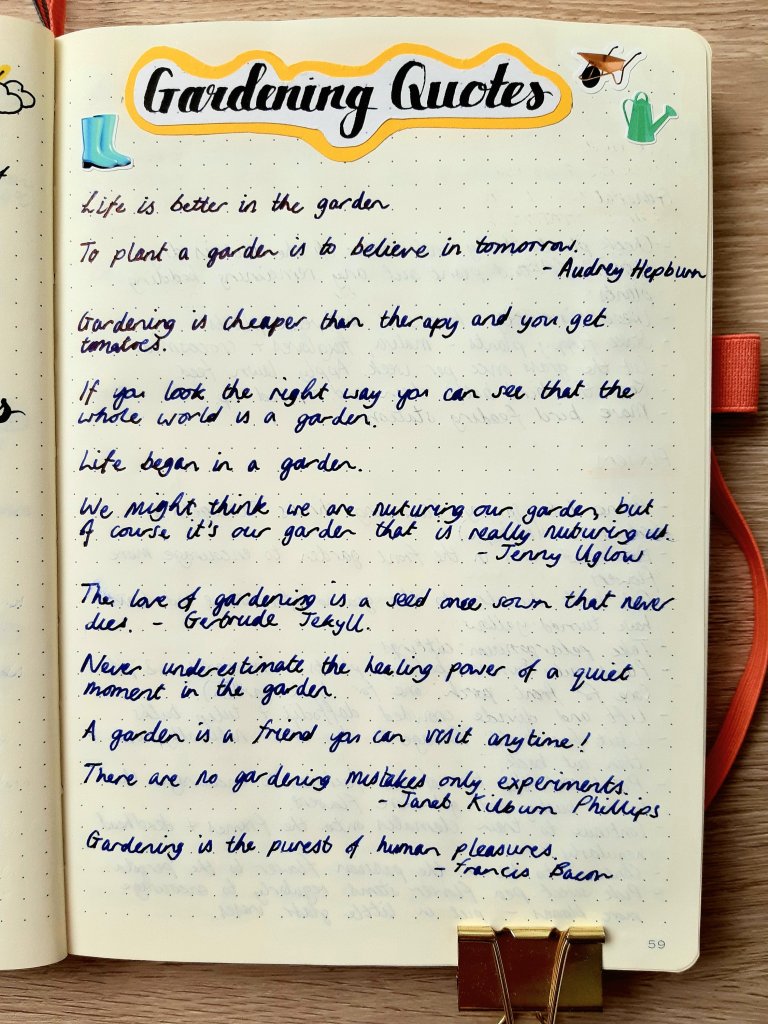
Garden related quotes and motivationals

I’ve recently written a blog post about the health benefits of gardening and the opportunity to practise mindfulness whilst you are spending time in your outdoor space. As part of the article, I included some quotes about gardening. I found some more quotes whilst I was perusing the internet so I decided to handwrite some of them in my BuJo. These were written with my lovely left handed Lamy fountain pen which flows beautifully!
Wildlife friendly planting

We’re really keen to encourage wildlife into our garden and already have a bird feeding station, two bird baths, a bug hotel which my husband made and a small pond. We also like to have lots of plants which attract bees and butterflies so I decided to create a spread of wildlife friendly shrubs and flowers. We have some of these already but I have red valerian on my wishlist for the front garden.

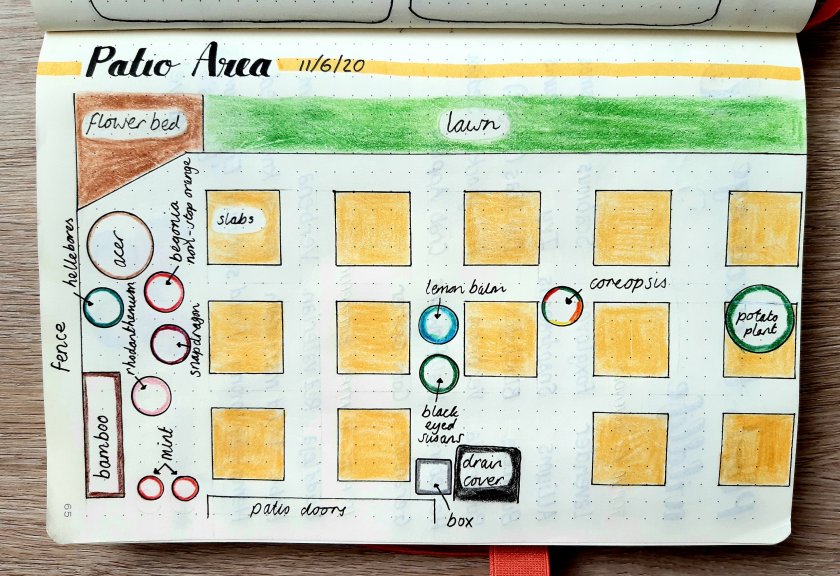
Bird’s Eye View’ of our garden areas

This is the first of my aerial view sketches of areas of our outside space. Just this one section took me a while to draw and add some colour and it’s not even to scale! I decided to use coloured pencils to shade around the outside of the shapes denoting our containers so that I could remember which of our pots we used for each of the plants. I’m going to aim to have all of my garden sections drawn out in my BuJo by the end of next month – let me know if you want to see the rest and I’ll do my best to take some decent photos when we have some brighter weather.
Wildlife spots

These pages are going to have little sketches of minibeasts which have been spotted in our garden and key information about them collected from a variety of sources. My spread is completely blank at the moment as I want to capture the bugs with my macro lens and at the moment, it’s too wet and drizzly to go out!

Birds in the garden

We get plenty of birds in our garden, particularly in the Springtime so I thought I’d create some pages in which to include sketches of our visitors and some information about them. I decided to do the actual drawings in my sketchbook and then transfer the pictures over to my bullet journal by scanning them on my scanner and then printing them off. This has lots of benefits – it means I can make several attempts at them if necessary, I can use decent quality drawing paper and I won’t end up getting pencil smudges in my BuJo. I’m yet to start my sketches yet but hope to be able to share some soon. As I’m typing a goldfinch has just landed on our sunflower seed feeder. It’s the first one I’ve actually seen visit our feeding station this year. We have two seed feeders containing niger seeds and a tiny seed mix specifically for finches and typically, it hasn’t gone for either of those – maybe collecting tiny seeds is too much effort in the pouring rain!

Do you keep a garden journal or do you just keep the little plant label information things from the pots like we’ve done previously? Have you got a dedicated notebook or do you prefer to produce spreads in your main planner? I would love to hear about the kinds of records you keep and if they’ve particularly helped you with your garden.

Happy gardening!

Posted in art, bullet journal, creativity, Planning and journaling

Setting up my bullet journal for June: Summer fruits theme

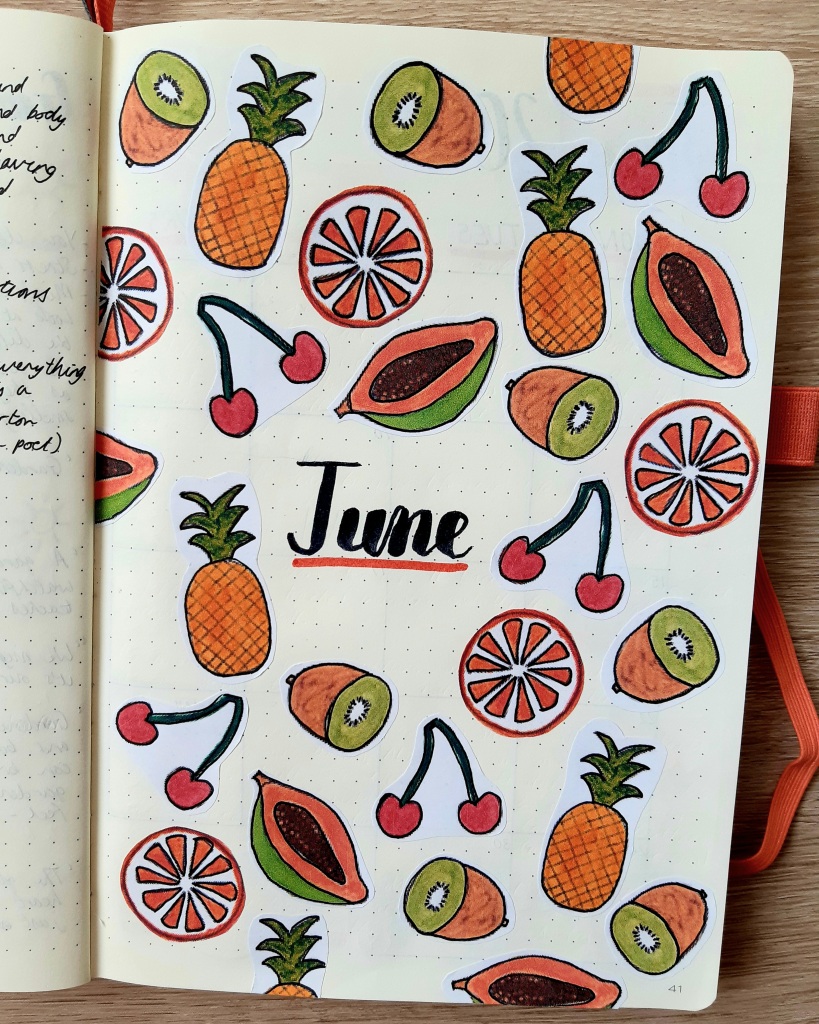
This month I’ve gone for a bright and colourful Summer fruits theme and have included my own little fruit watercolour paintings which I scanned in and worked on using Photoshop on my computer and then turned them in to little stickers. I’ve not totally got to grips with all of the different things you can do on this program but I followed a great little tutorial which I’ll share below.

For my front cover, I created five different fruits, namely papaya, orange, kiwi, cherries and pineapple. I started by sketching them with pencil and then when I was happy with how they looked, I went over the outline and some details using a 0.2 UniPin fineliner. I then mixed colours from my Daler Rowney travel set and used a tiny brush to paint them. Each one is less than 4cm so I really took my time to ensure accuracy and it was a great mindful watercolouring activity. After scanning the paintings, I edited the background to make it white and removed some minor blemishes. Check out this great tutorial on YouTube for how to do this.

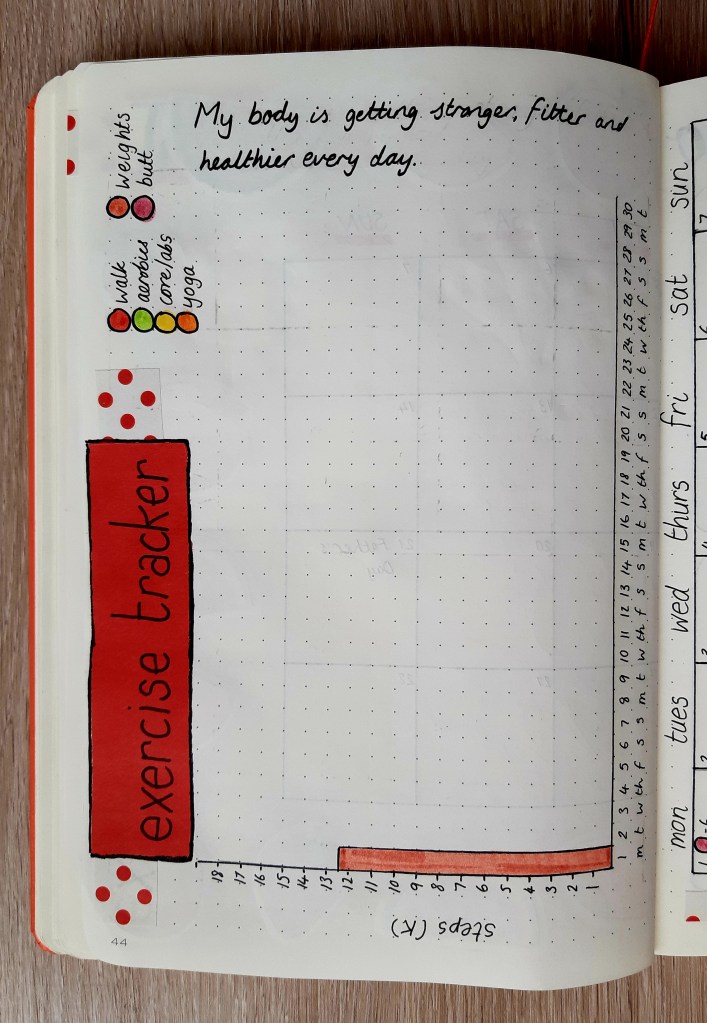
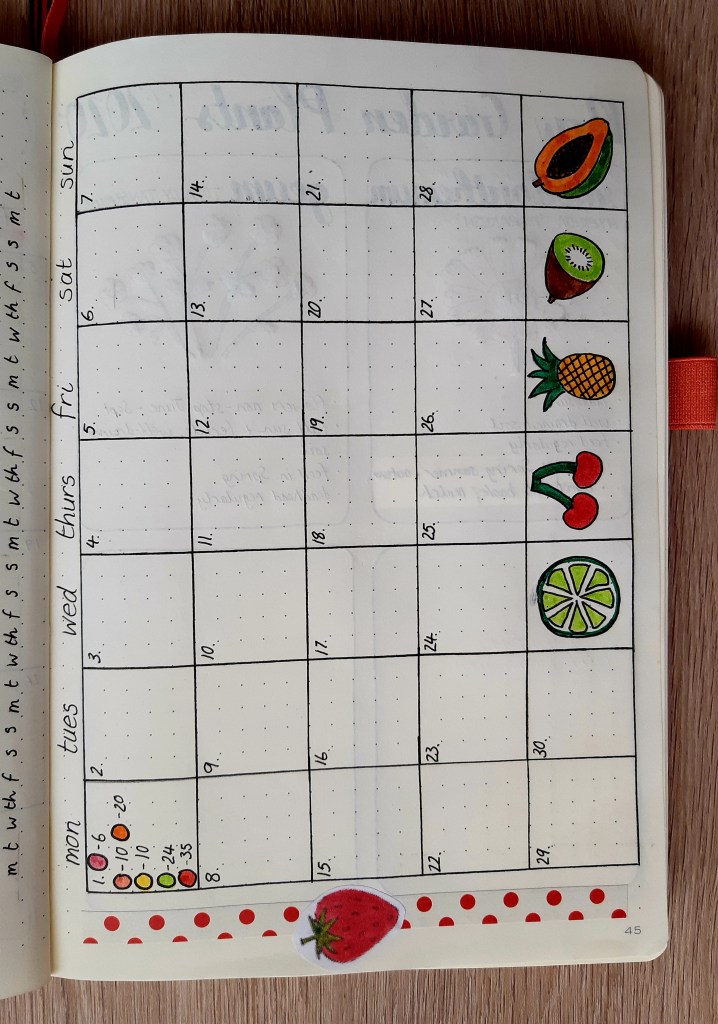
For my month at a glance I used the same kind of layout as usual with 6×6 dot boxes and again made my own stickers from some fruity artwork. I successfully covered up part of the date using some paper washi style stickers as I accidently wrote the beginning of the year as 200 instead of 2020. I did the spread late in the evening and think I was overly tired and that’s when I tend to make lots of mistakes. I also messed up on the next page too with is why I have a red paper background to the words ‘exercise tracker’.

As you can see, there’s a distinct lack of things happening in June due to the continuation of lockdown restrictions! My husband and I have started to go out to places but we tend to go on a whim rather than pre-planning.

I’m continuing to monitor my workouts in June and have just made a few small modifications and changed the colour scheme to fit with the Summer fruits theme. I’ve decided to make the steps tracker larger and have changed the scale on the graph to make it easier to fill in.

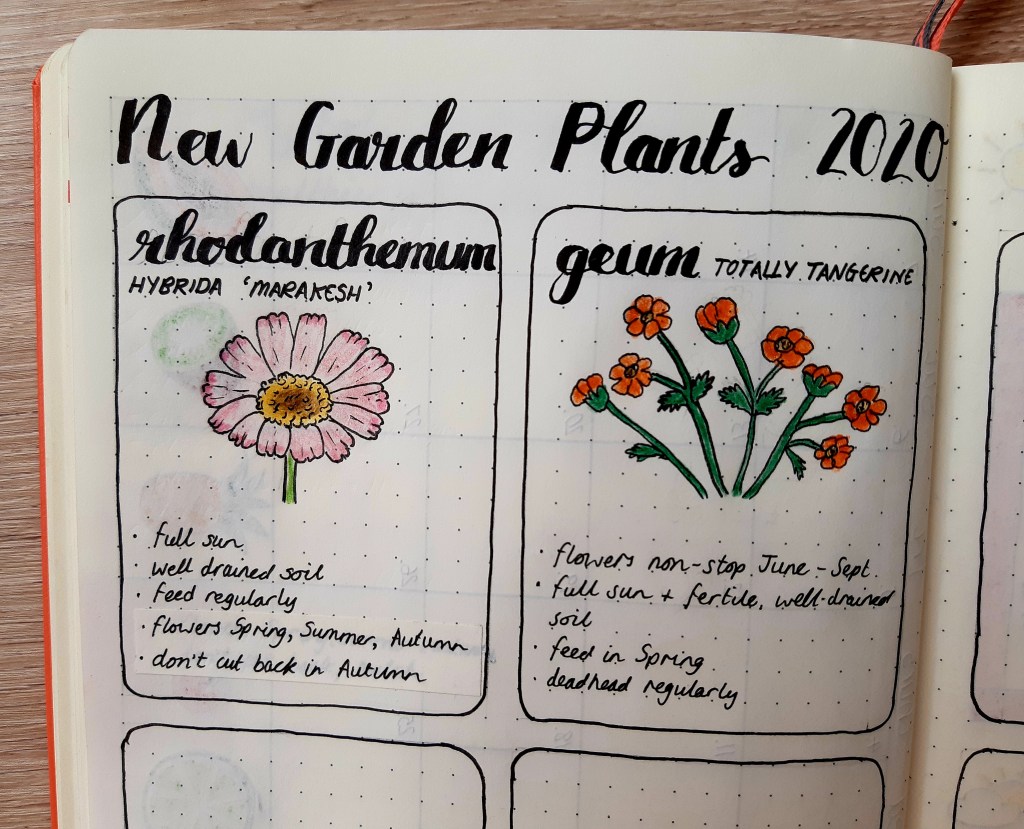
Finally, this month I’ve decided to make a record of the plants we’ve bought at the garden centre this year and include key information from each of the labels that came in the pots. I’ve also added a small drawing and coloured it in for each entry so that I’m also practising my drawing skills. The art work isn’t perfect but I’m getting better the more I give sketching a go. The layout of the spread is inspired by Emma at emusing-emma.blogspot.com who did something similar for her houseplants a few years ago in her bullet journal.

That’s all my spreads for this month. I have more plants to add to my record but won’t get them drawn until later on. If you would like to see more of my plant information, let me know and I’ll add them on to my BuJo set up for July.

Take care and stay safe everyone,

Posted in bullet journal, Bullet journaling, creativity, Planning and journaling

Bullet Journal Beginner (How I’m setting up my new planner system)

Bullet Journal Beginner

As many of you who follow me on social media know, I got a gorgeous Webster’s Pages TN in fuchsia for my last birthday and have been using my handmade inserts to design my own planner layouts. I also add my habit trackers, shopping lists and meal plans in there as well as a notes section at the back. As I hand stitch my notebooks, and use premium paper, I was finding that the maximum thickness I could make, without the booklet looking too bulky, was about 24 pages. So, as I needed a WO4P (week on four pages) I was getting through a lot (and I mean a lot!!!) of notebooks throughout the months and kept having to transfer key information from one to another. I also had about 5 other notebooks on the go all at the same time and, unsurprisingly, I was becoming a bit overwhelmed by my system. Don’t get me wrong – I love notebooks, the prettier the better, but I was craving a set up where everything was all in one place.

So, fast forward a few months, to when I ordered a gorgeous Scribbles That Matter notebook from Amazon and became obsessed with watching YouTube videos and their related blogs on BuJo systems. I also started searching out creative bullet journal peeps on Instagram to follow for inspiration (there are so many amazing set ups out there). My favourite and most informative YouTube channel and blog has to be Kara’s at Boho Berry and you’ll see why when you check it out.

My A5 Scribbles notebook is amazing. Here’s a list of its main features:

  • A bullet grid for all of your amazing layouts
  • A page to write your key, including any colour coding you might have decided to use.
  • 3 index pages
  • Page numbers so, with the index, you can find all of your collections easily
  • A space at the back for testing all of your pens (well, maybe not all of them, but the ones you intend to use!)
  • A fantastic pocket at the back for keeping stickers, receipts or whatever you want to keep with your planner / journal.
  • Two ribbon bookmarks (I’ve got mine marking my index and what will be my weekly page when May comes)

For my first bujo, I decided to keep it simple with some highlighting (using my fab new Mildliners – also from Amazon), some brush lettering (using my Tombow Fudenosuke hard for smaller text and Tombow Dual Tips for larger titles) and a few stickers (from Pebbles). I might also add some washi as the months go on (after all, I have plenty of it in my stash!).

Here’s my set up for May. It’s not perfect, but I’m pretty happy with the way it turned out.

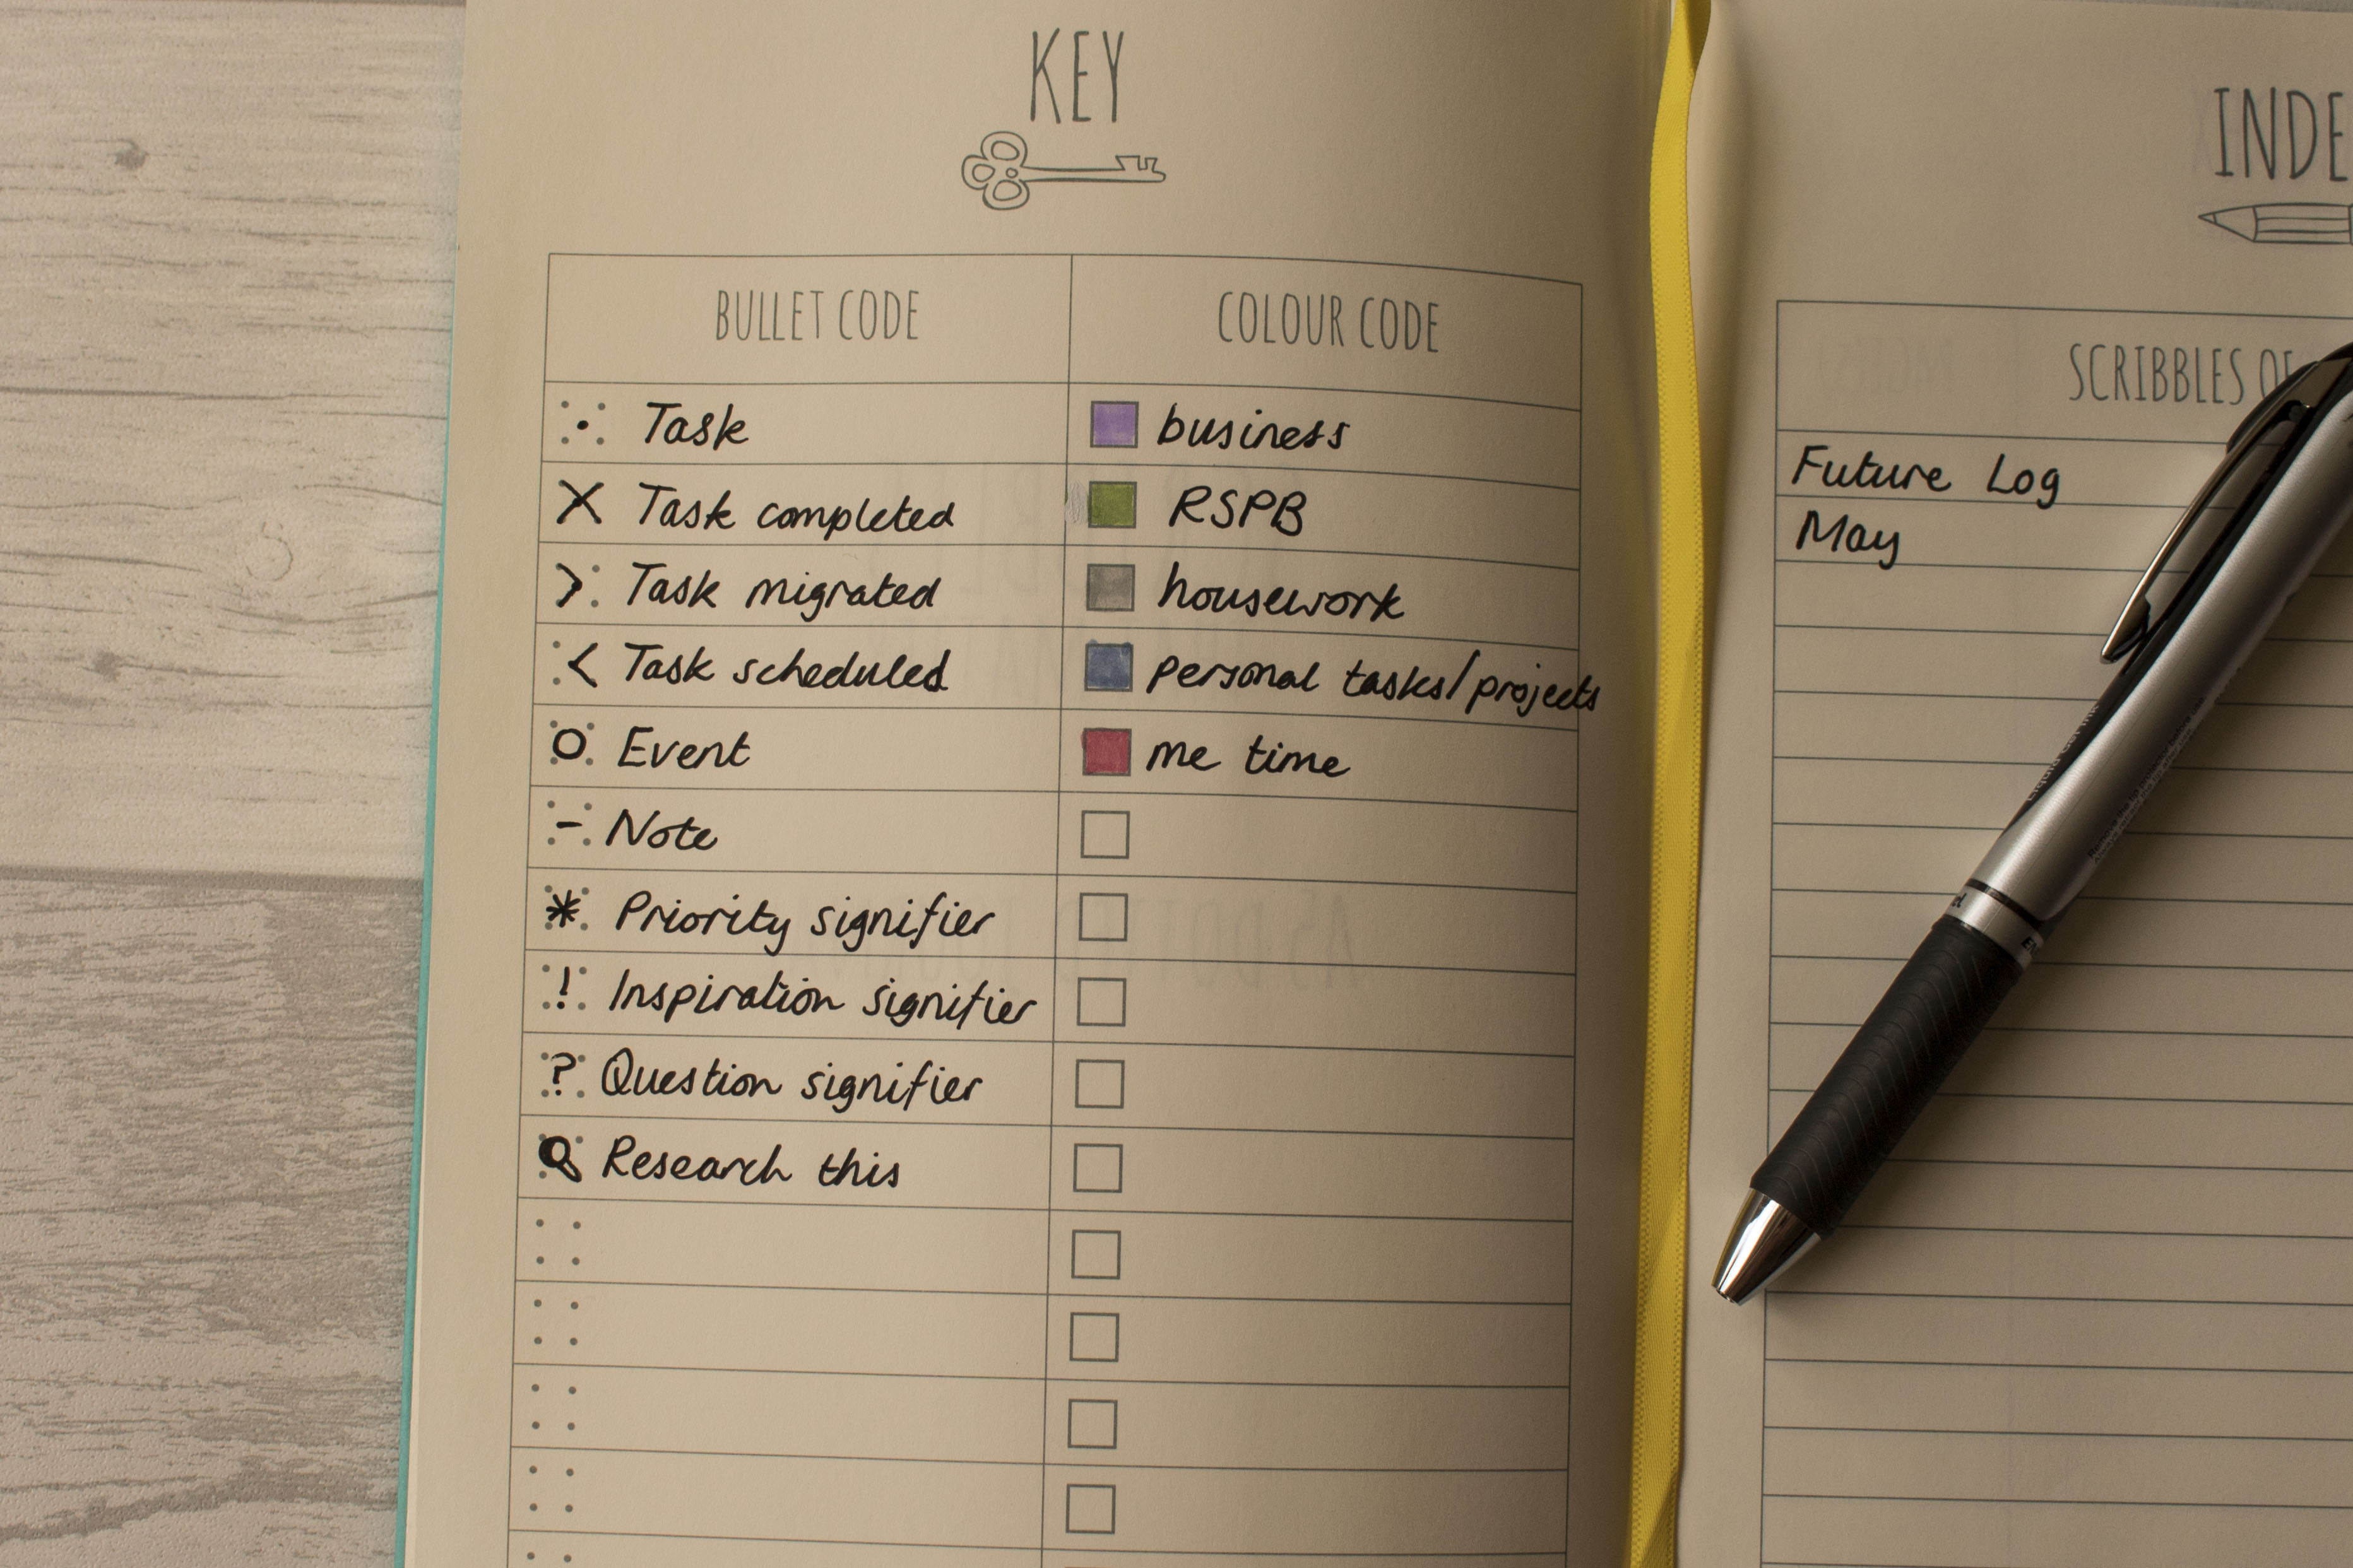
BujoKey
My key makes use of the original rapid logging bullets and signifiers invented by Ryder Carroll click here for more info. I’ve also added a little one of my own at the very end.

I started colour coding in my Traveler’s Notebook system a few months ago and loved how effective it was and how colourful it made my planner. I’ve stuck with the same 5 colours and I’m continuing to combine personal and business goals and tasks. As well as running my Etsy Shop I also volunteer for the RSPB once a fortnight by going into schools to deliver sessions to primary aged children with a focus on giving nature a home in the school grounds. I get bookings and have to keep in touch with my line manager regularly so I gave my tasks their own colour.

BuJoIndexPage
My index entries so far. Who knows how many pages May is going to take up, I’m on page 10 already!

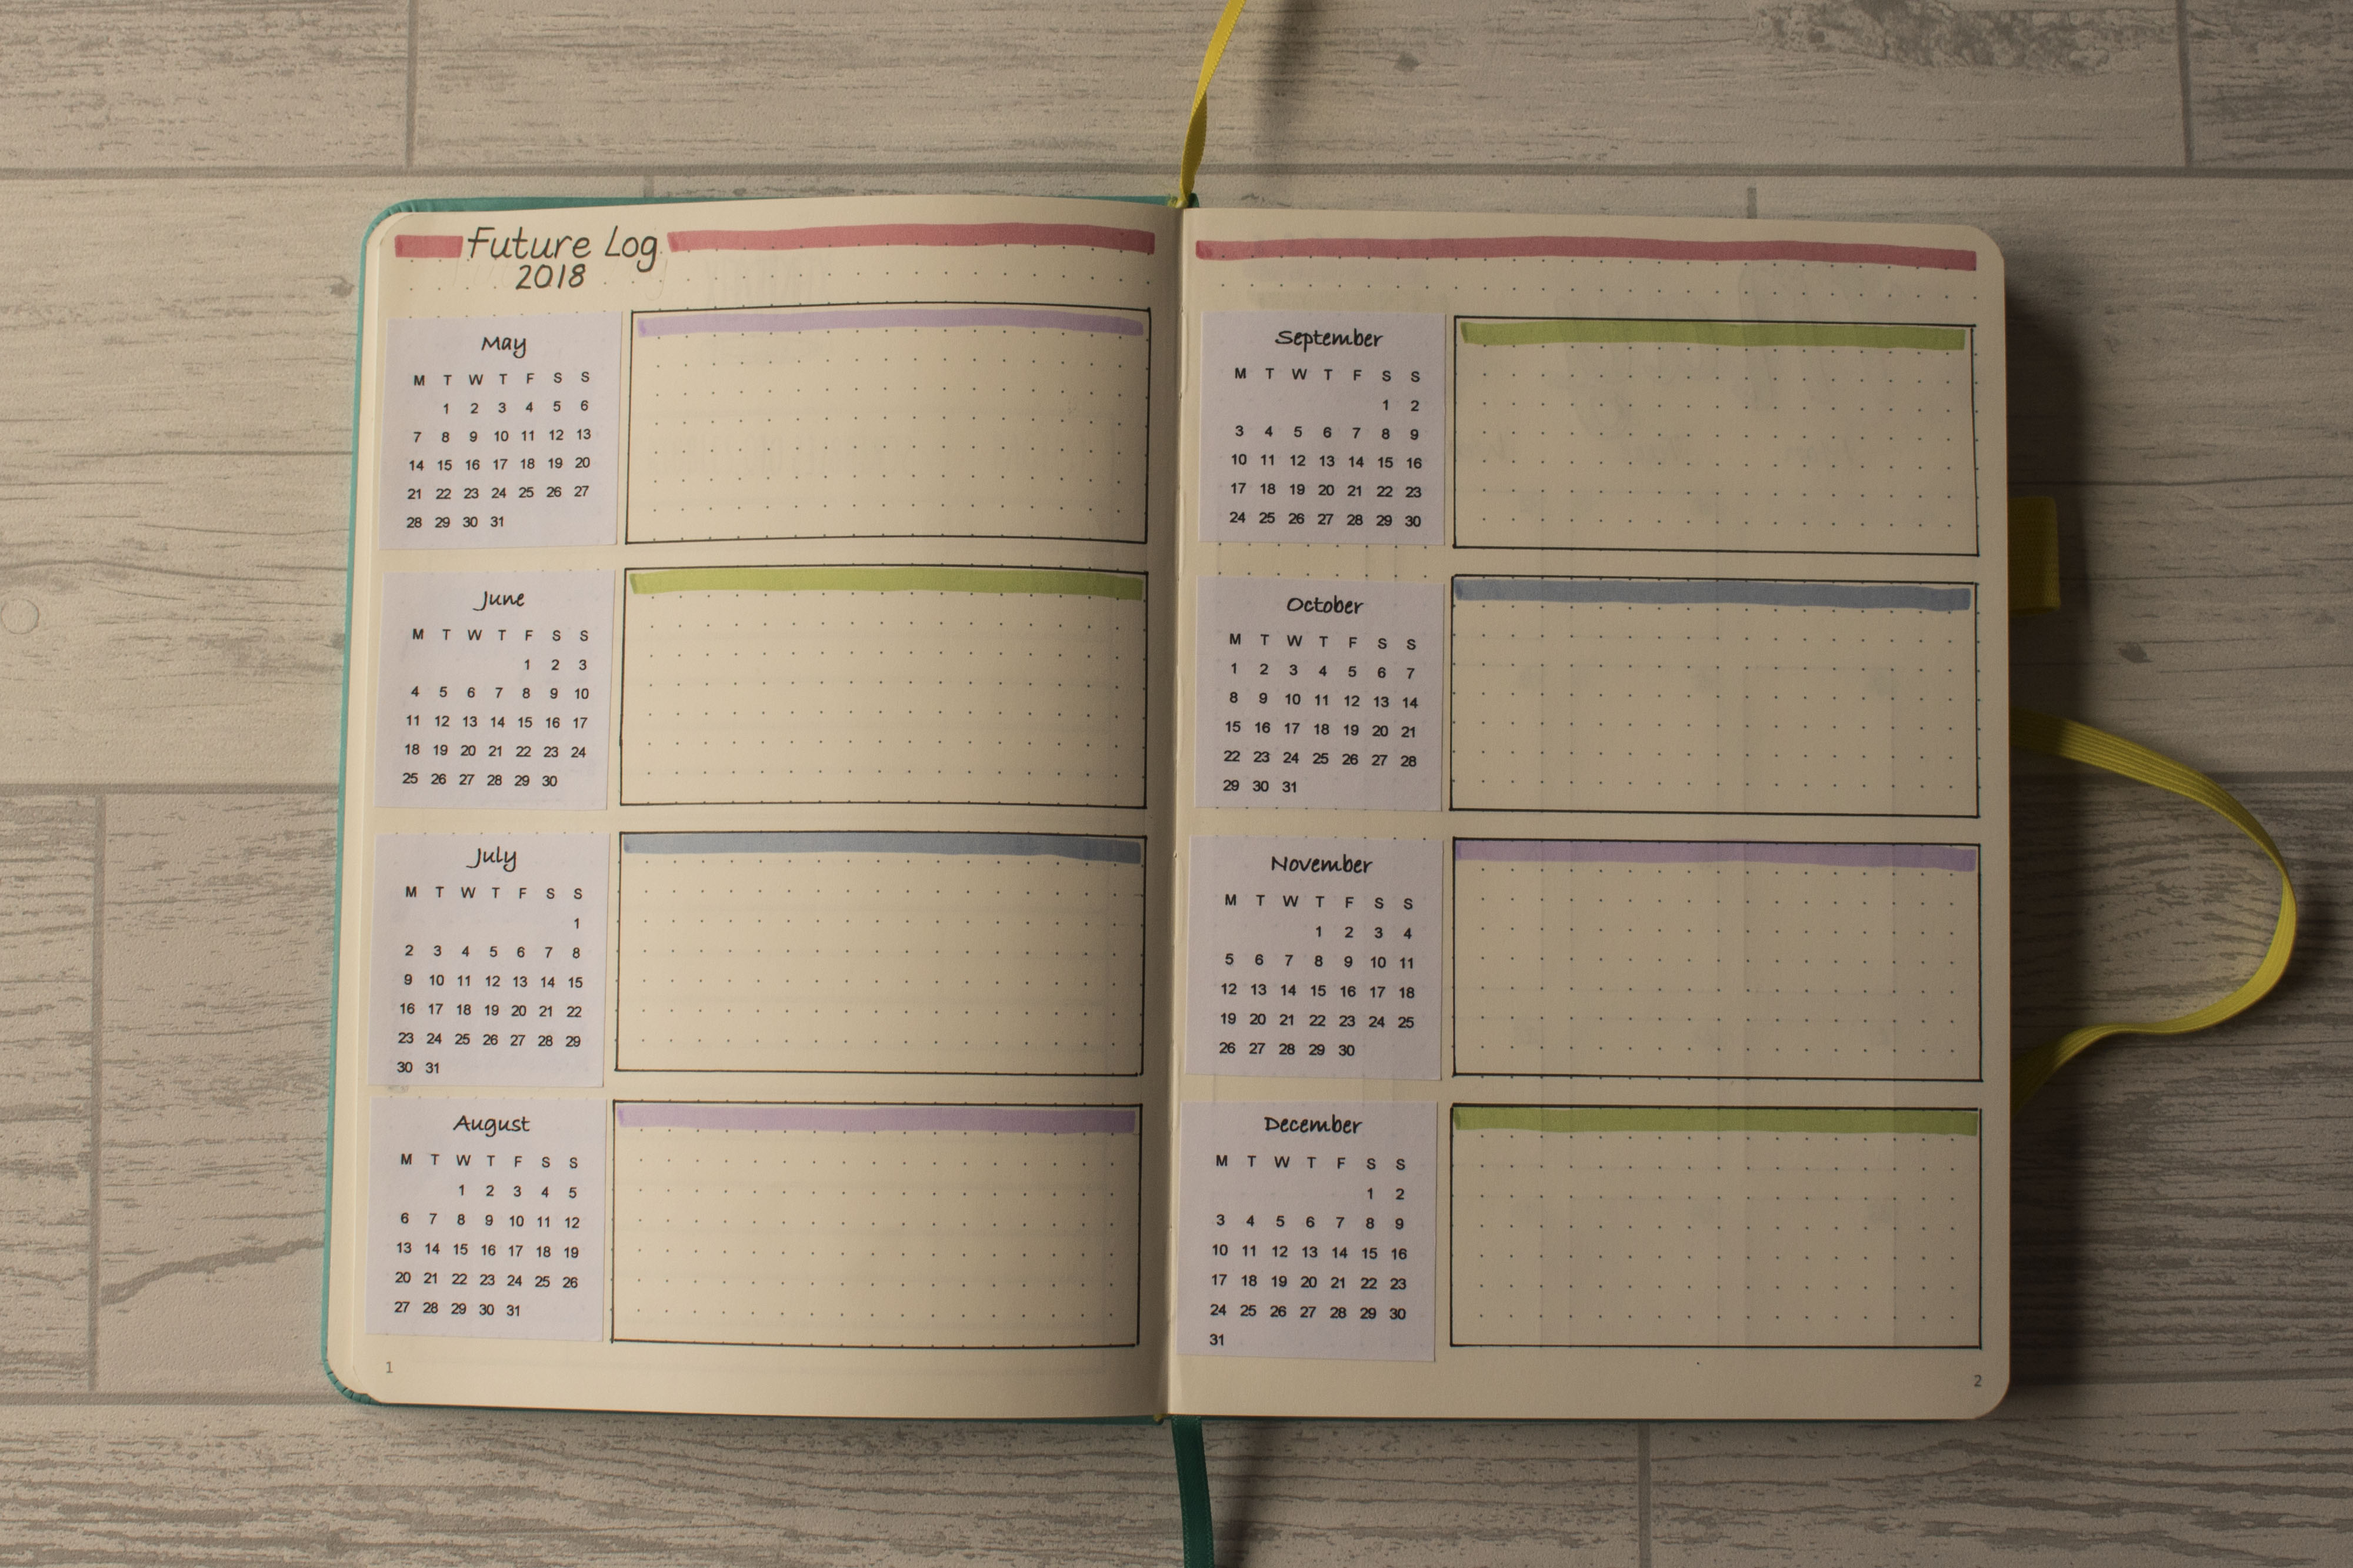
I hand wrote my calendars for my future log but I messed up with the numbering (and I didn’t use a Frixion pen!) so I had to create little stickers to cover up my mistake. For this, I worked on Microsoft Publisher, creating tables for each month for the rest of the year.

BuJoFutureLog
I used my Mildliners to add a pop of colour. I got my inspiration for this layout from a wonderful blog by Christina over at Christina77star

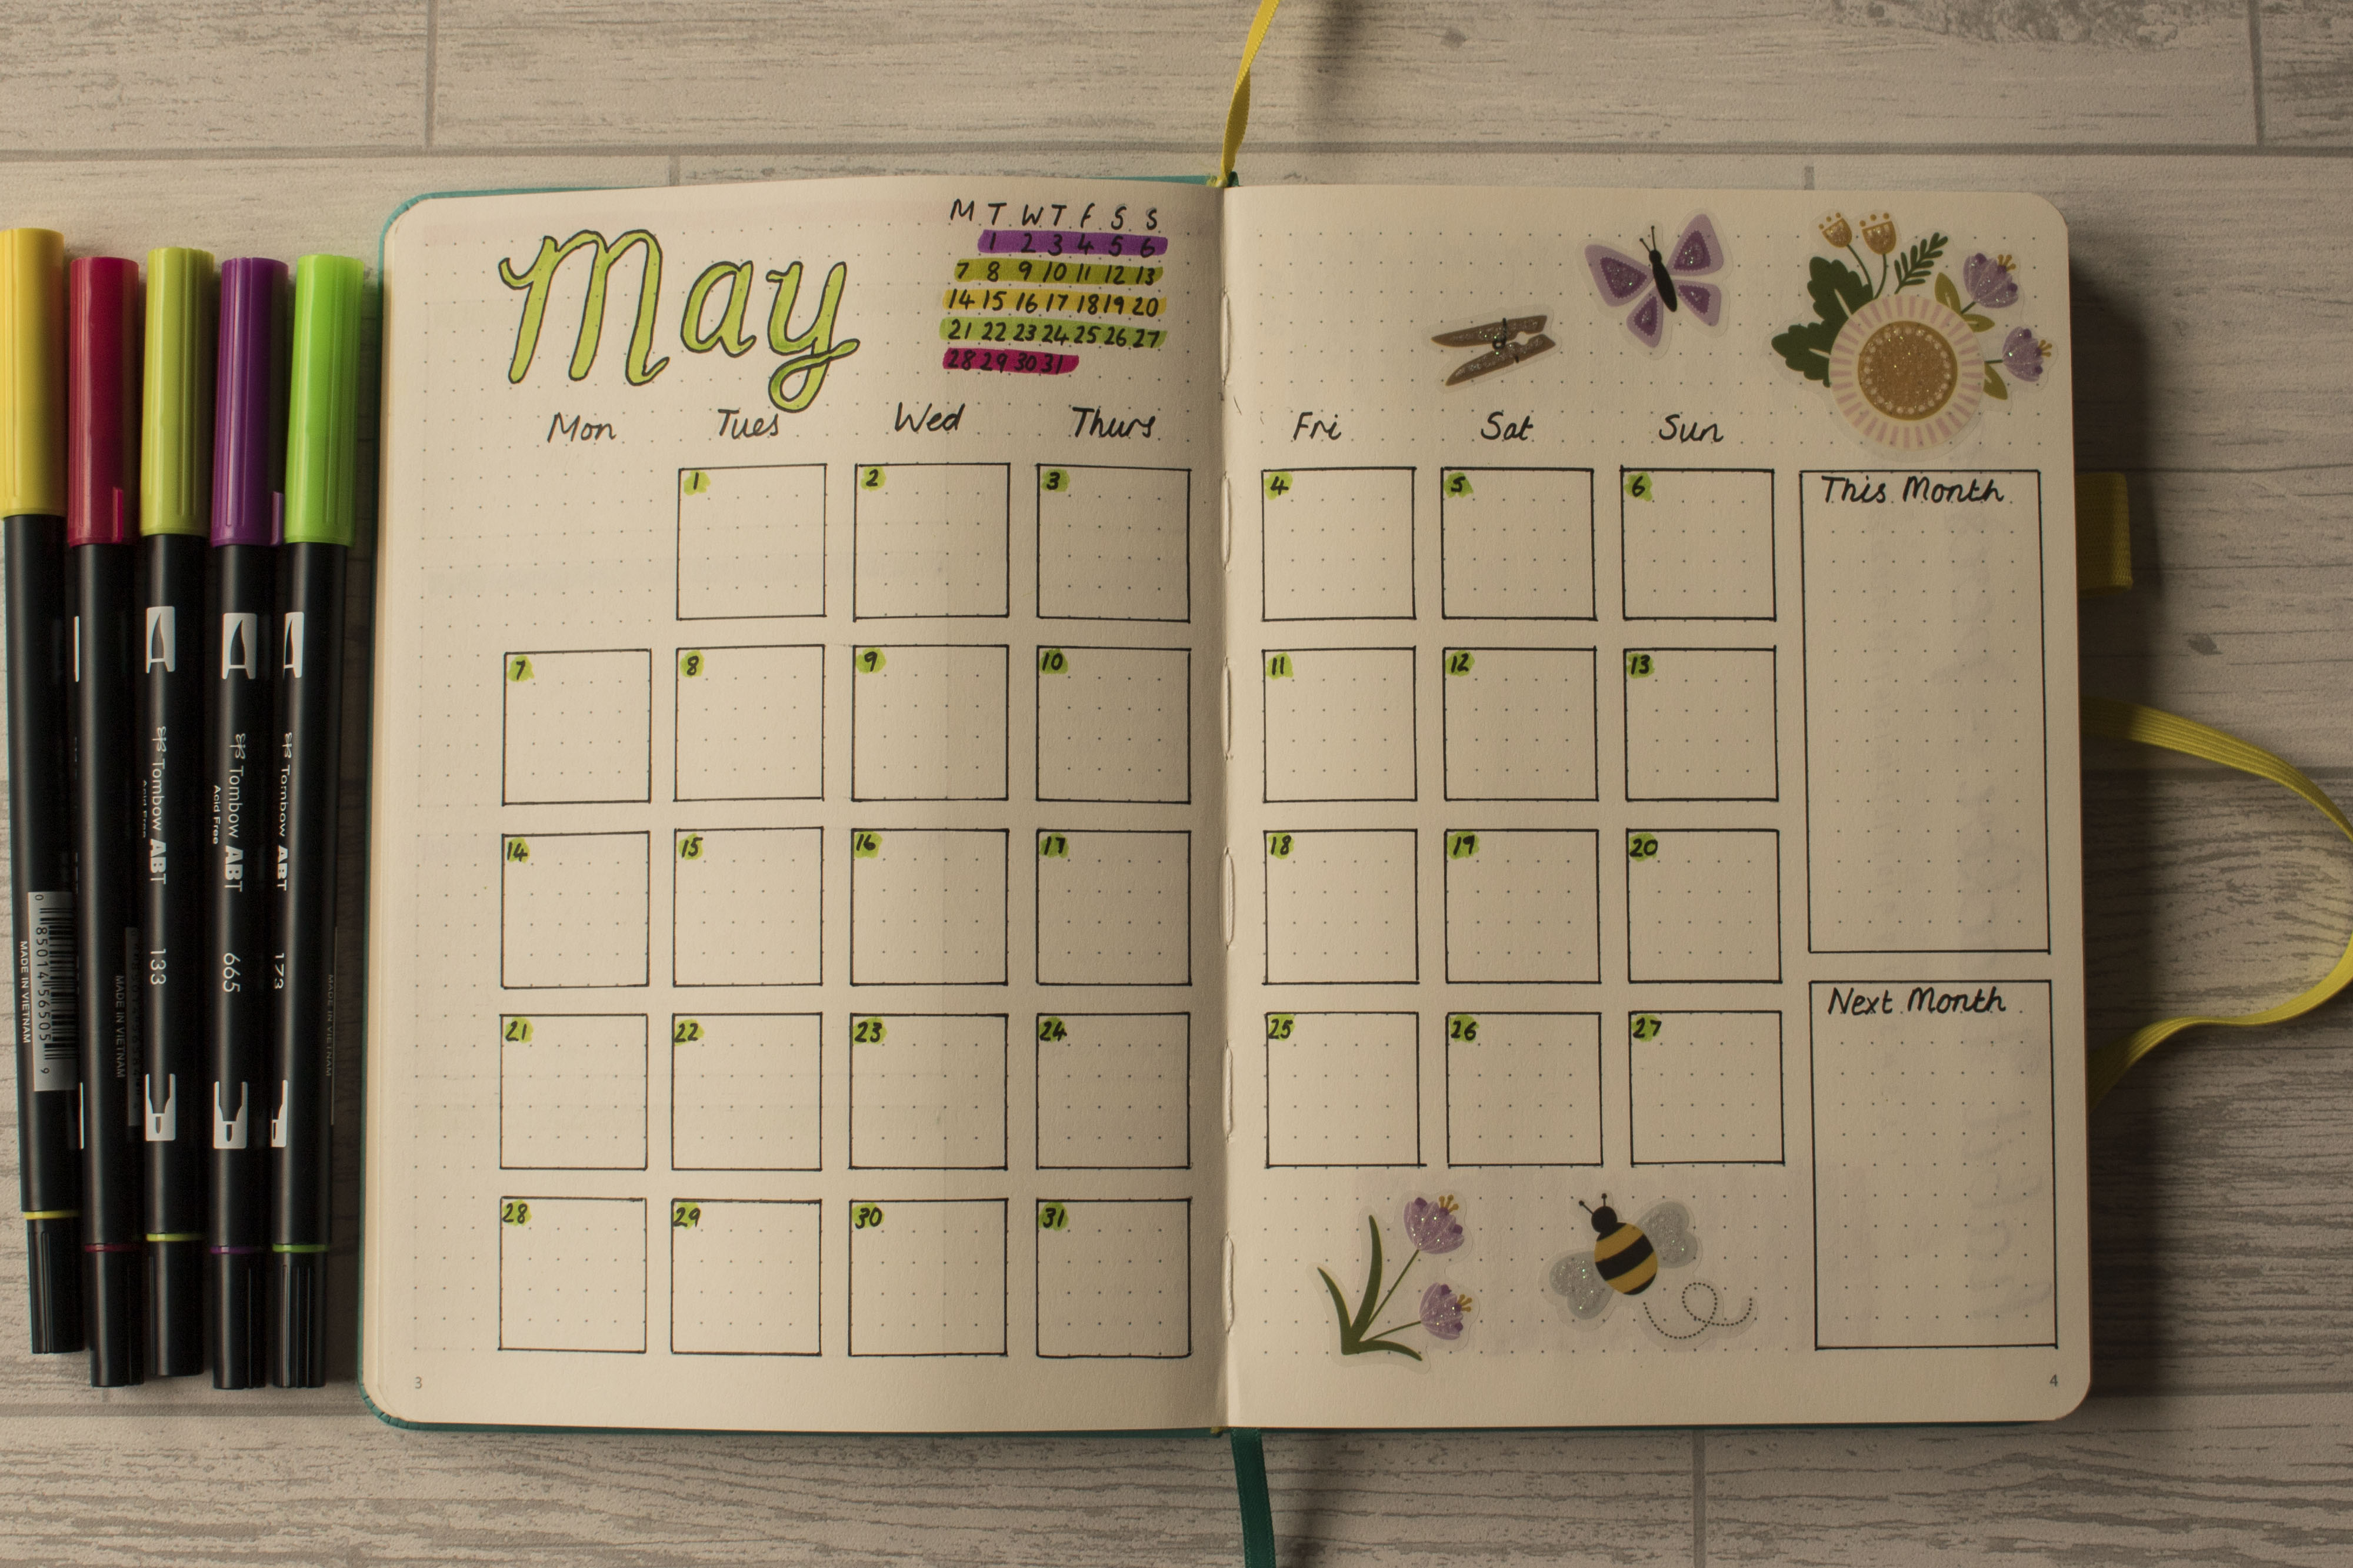
I deviated from the original Bullet Journal monthly set up, preferring to use a grid format:

BujoMayMonthly
A simple set up using my Tombow Dual Tips and a few accent stickers.
BujoMayHabits.jpg
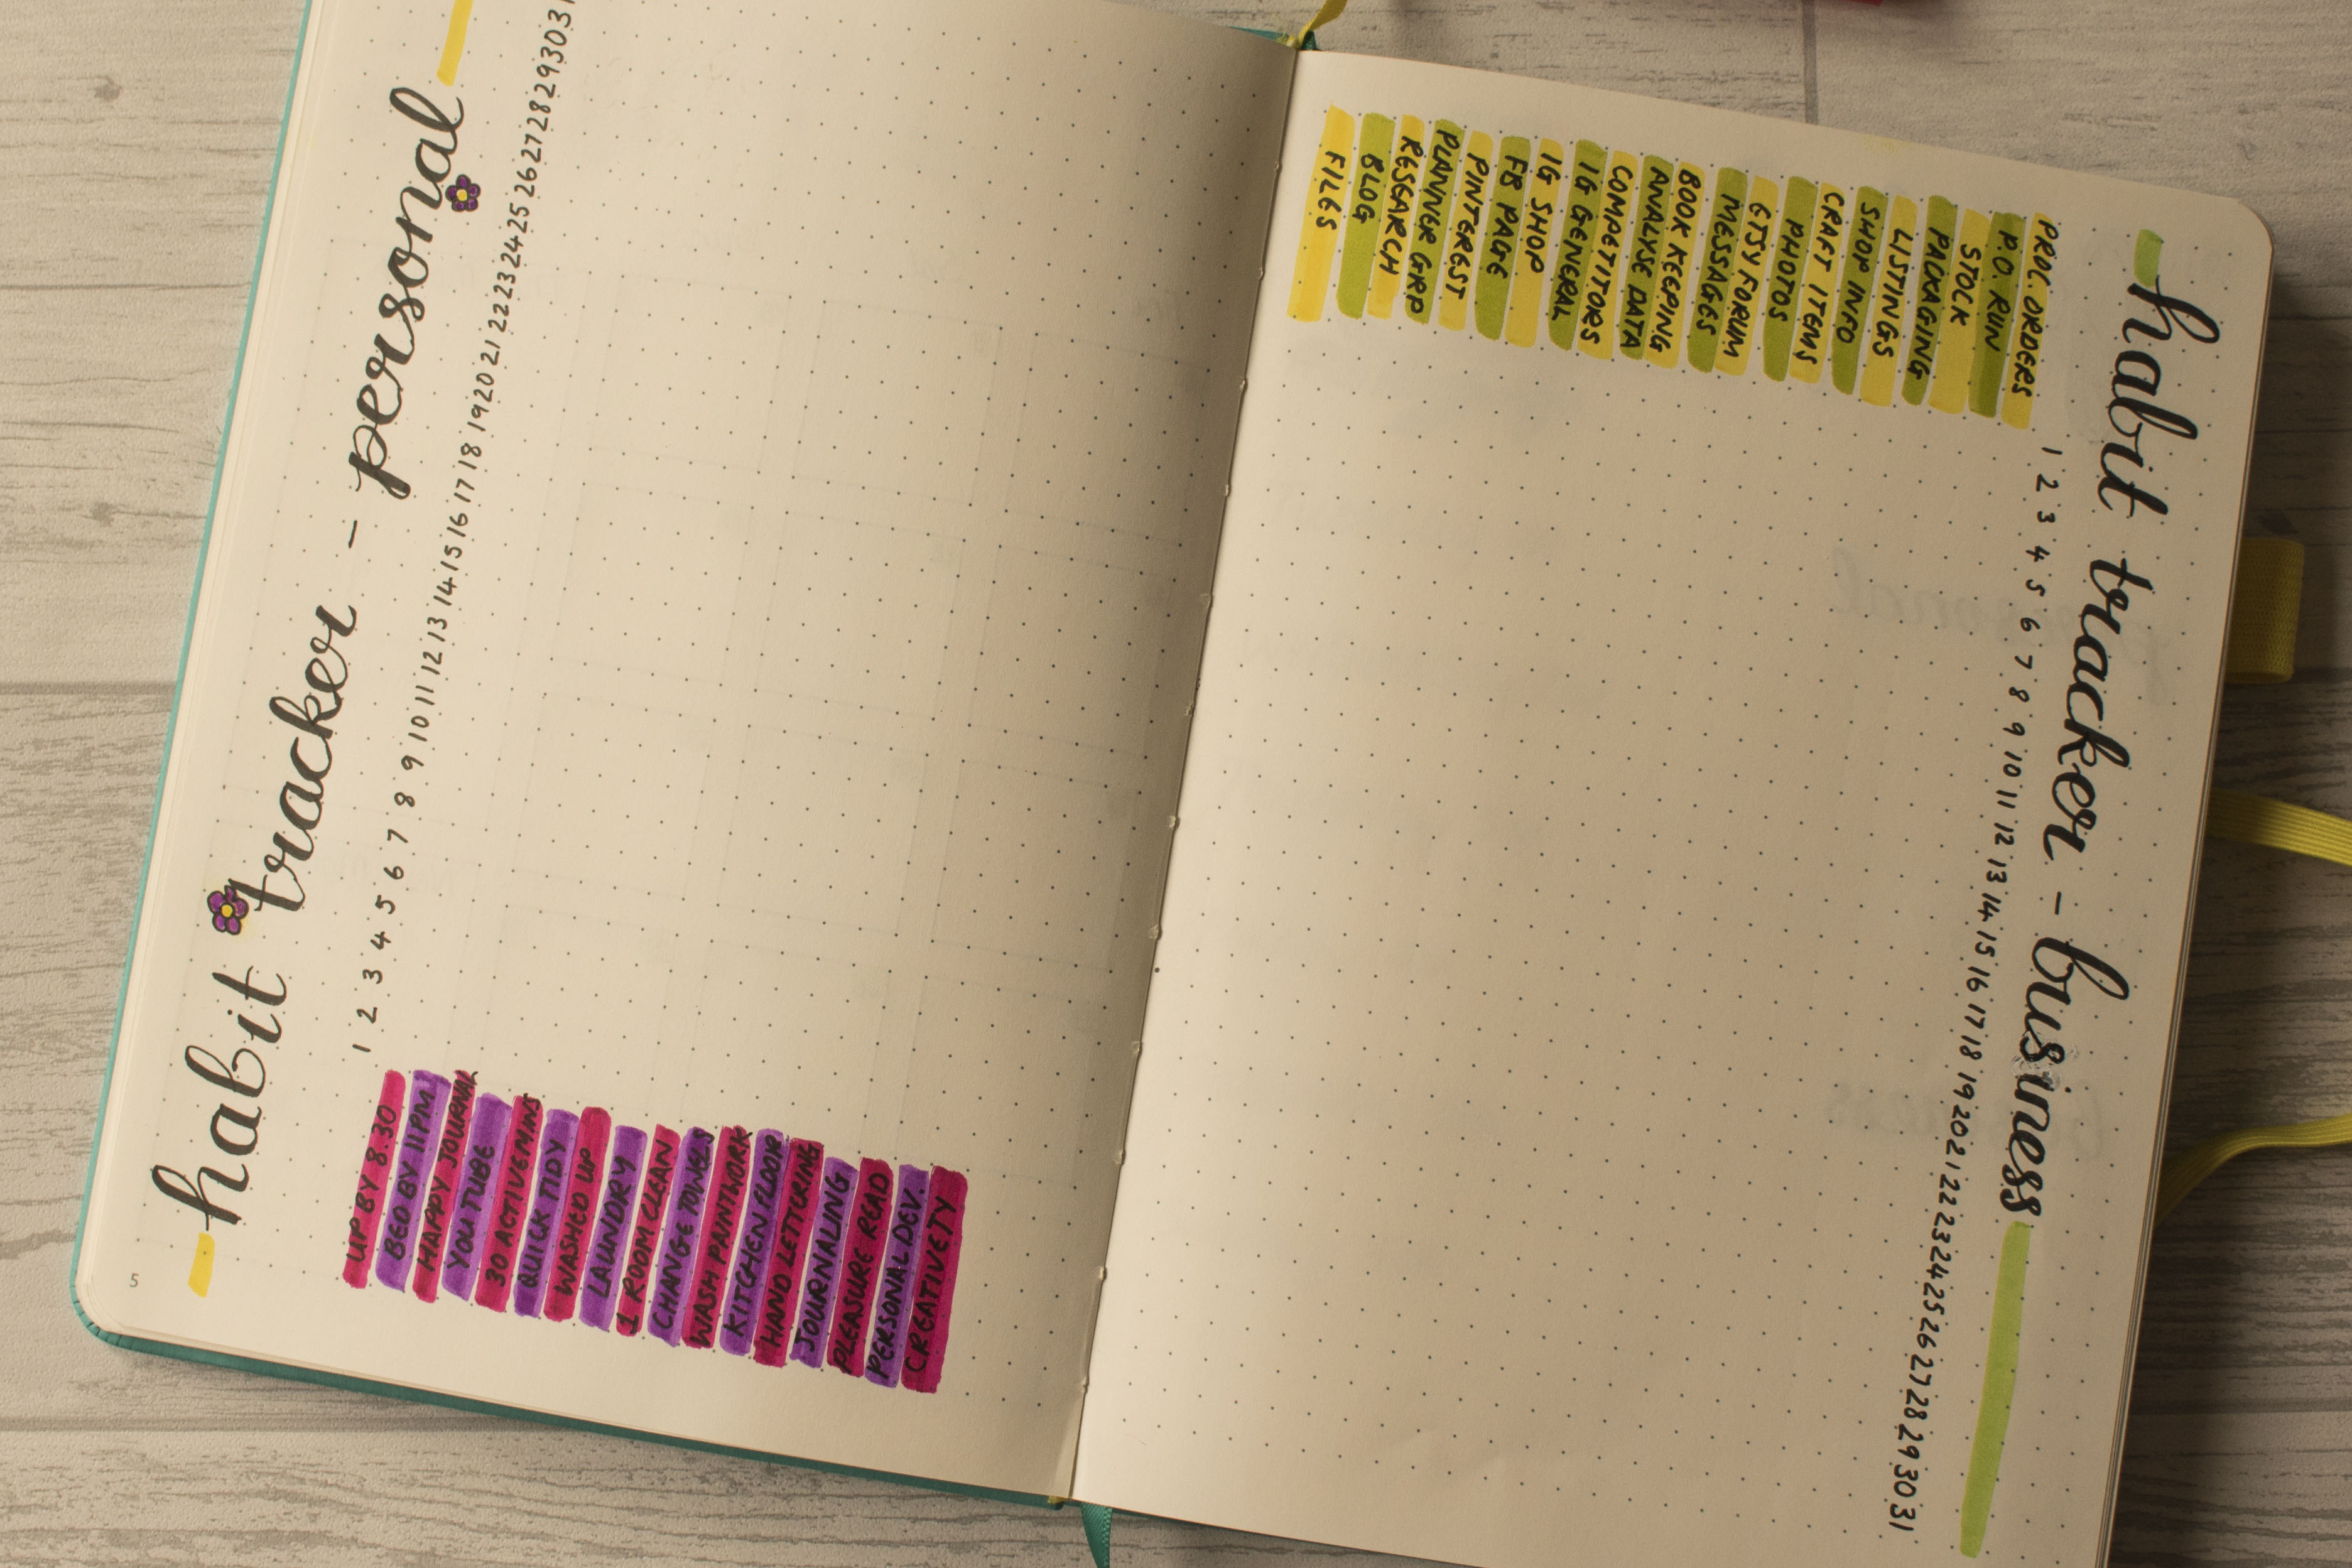
Personal and business habits for May
BujoMayGoals&Meals.jpg
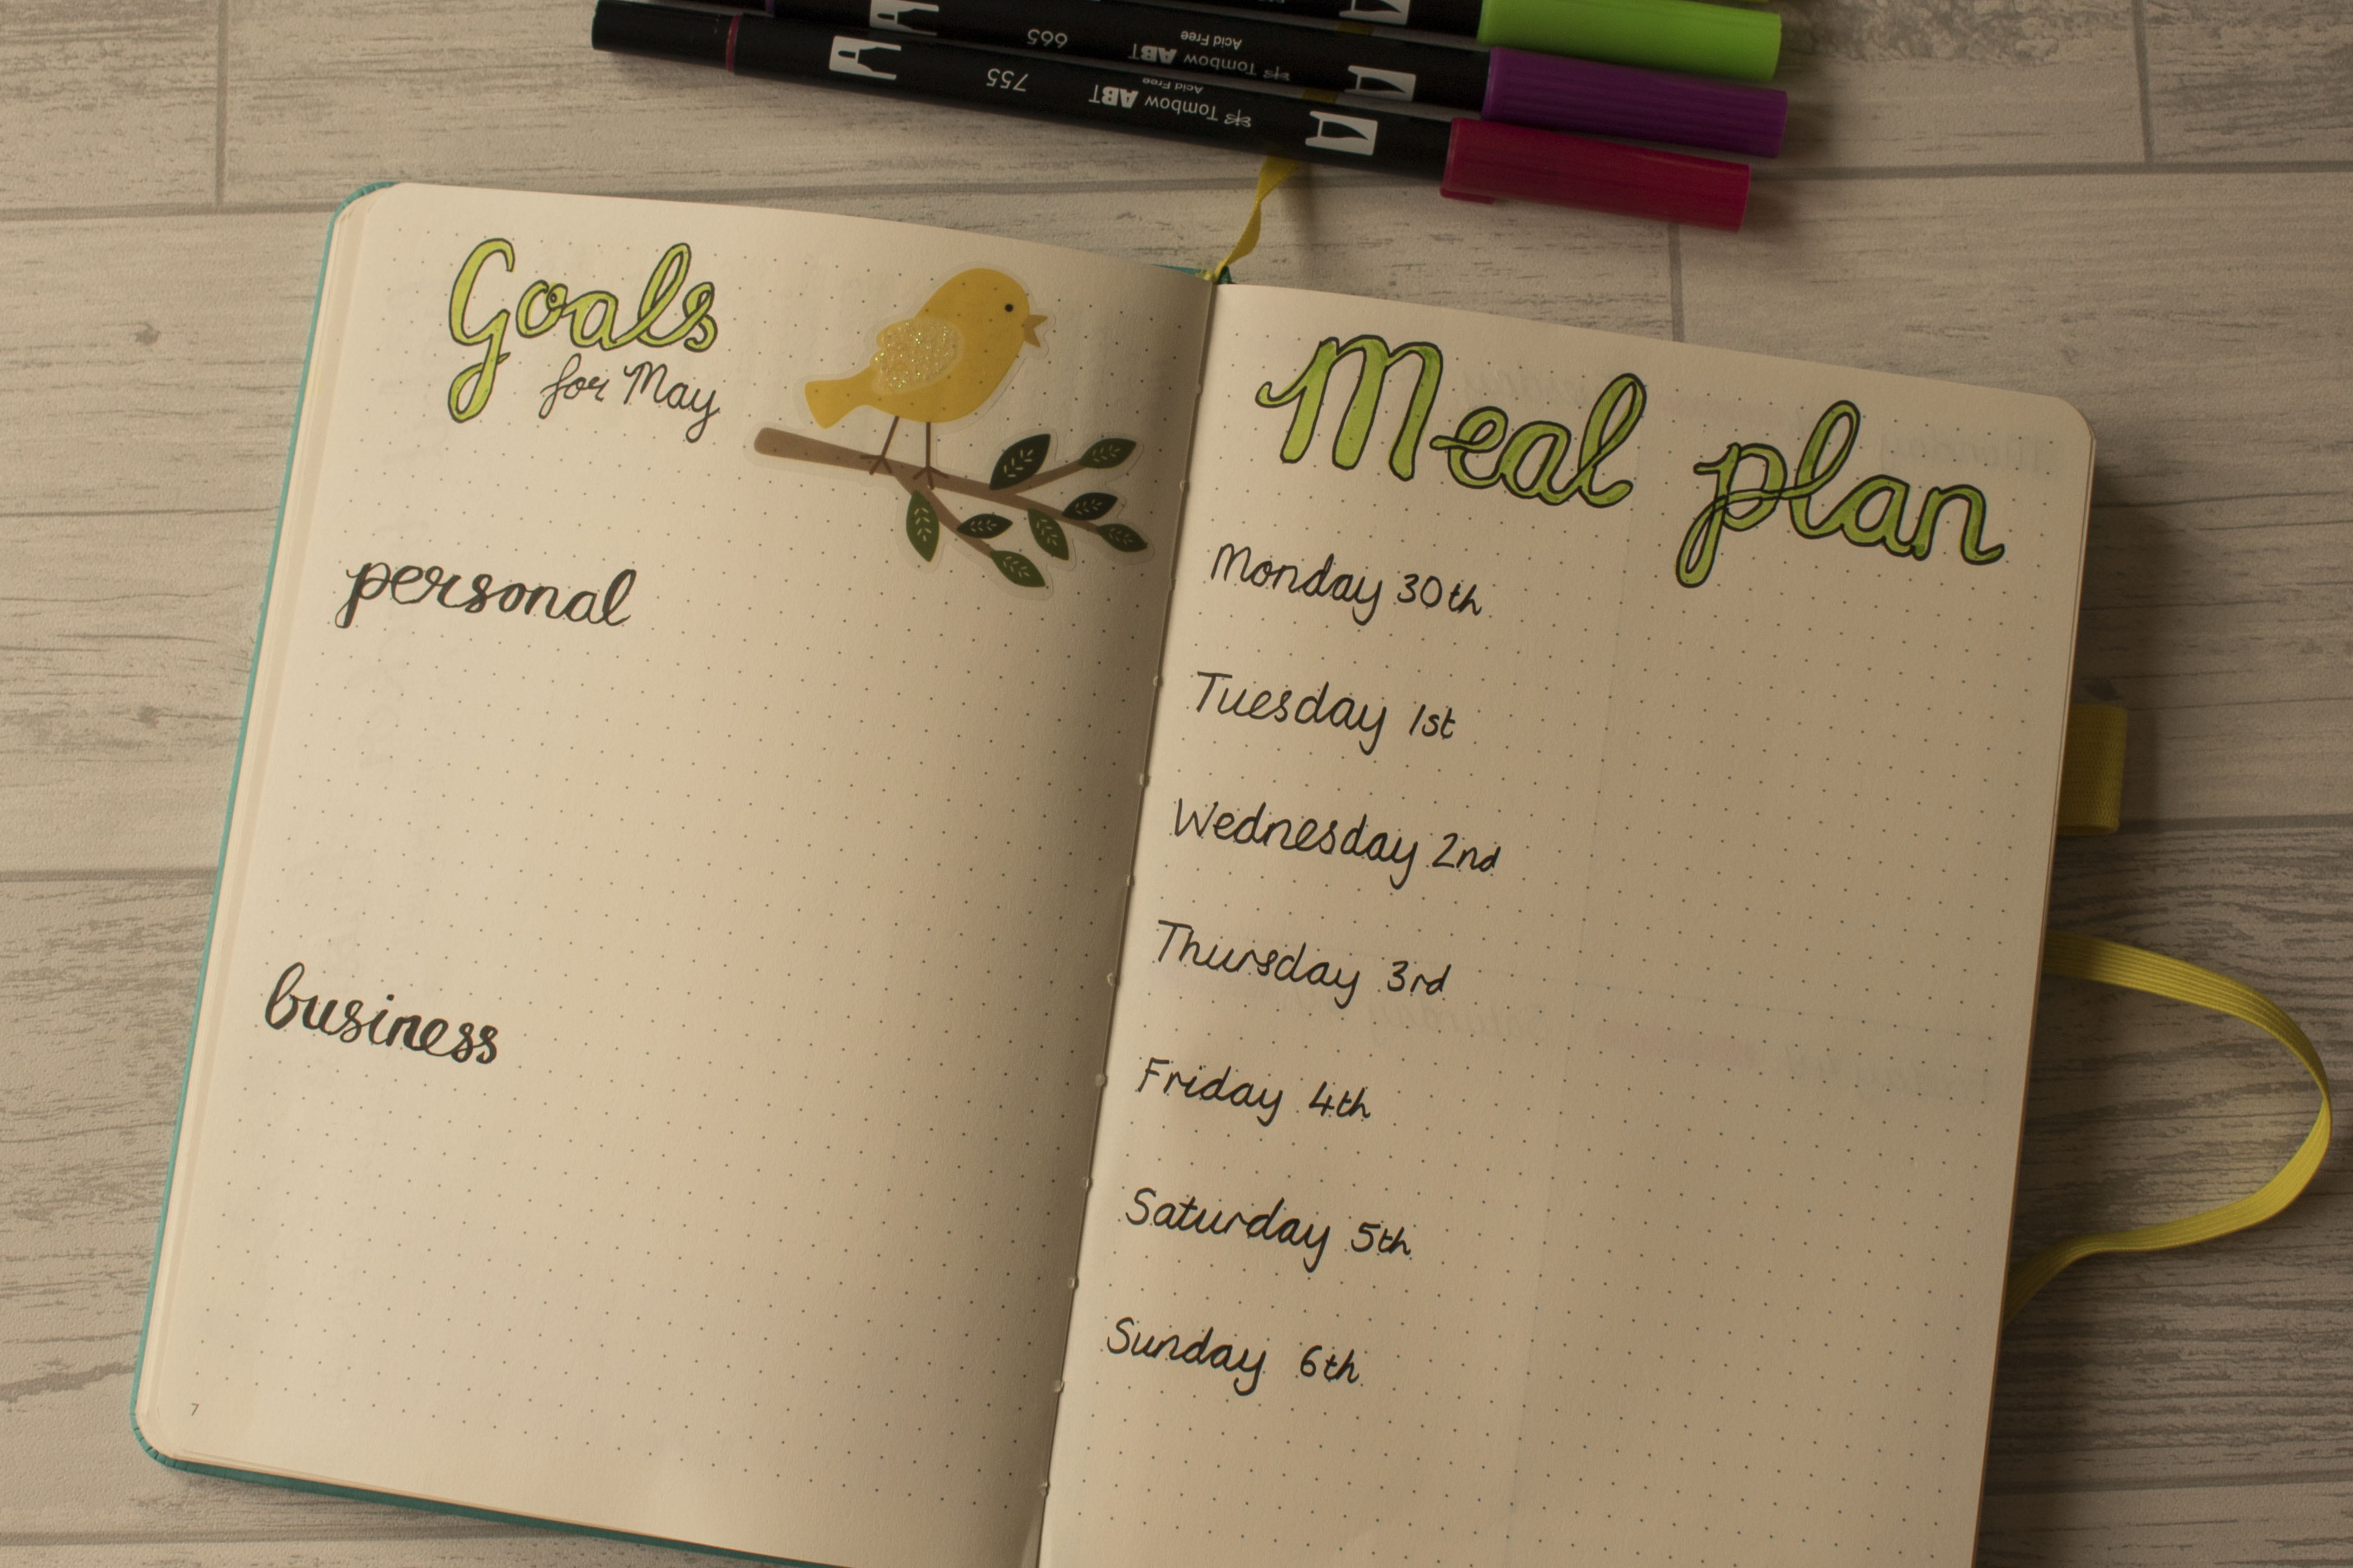
Goals for the month and a meal plan for the first week of May.

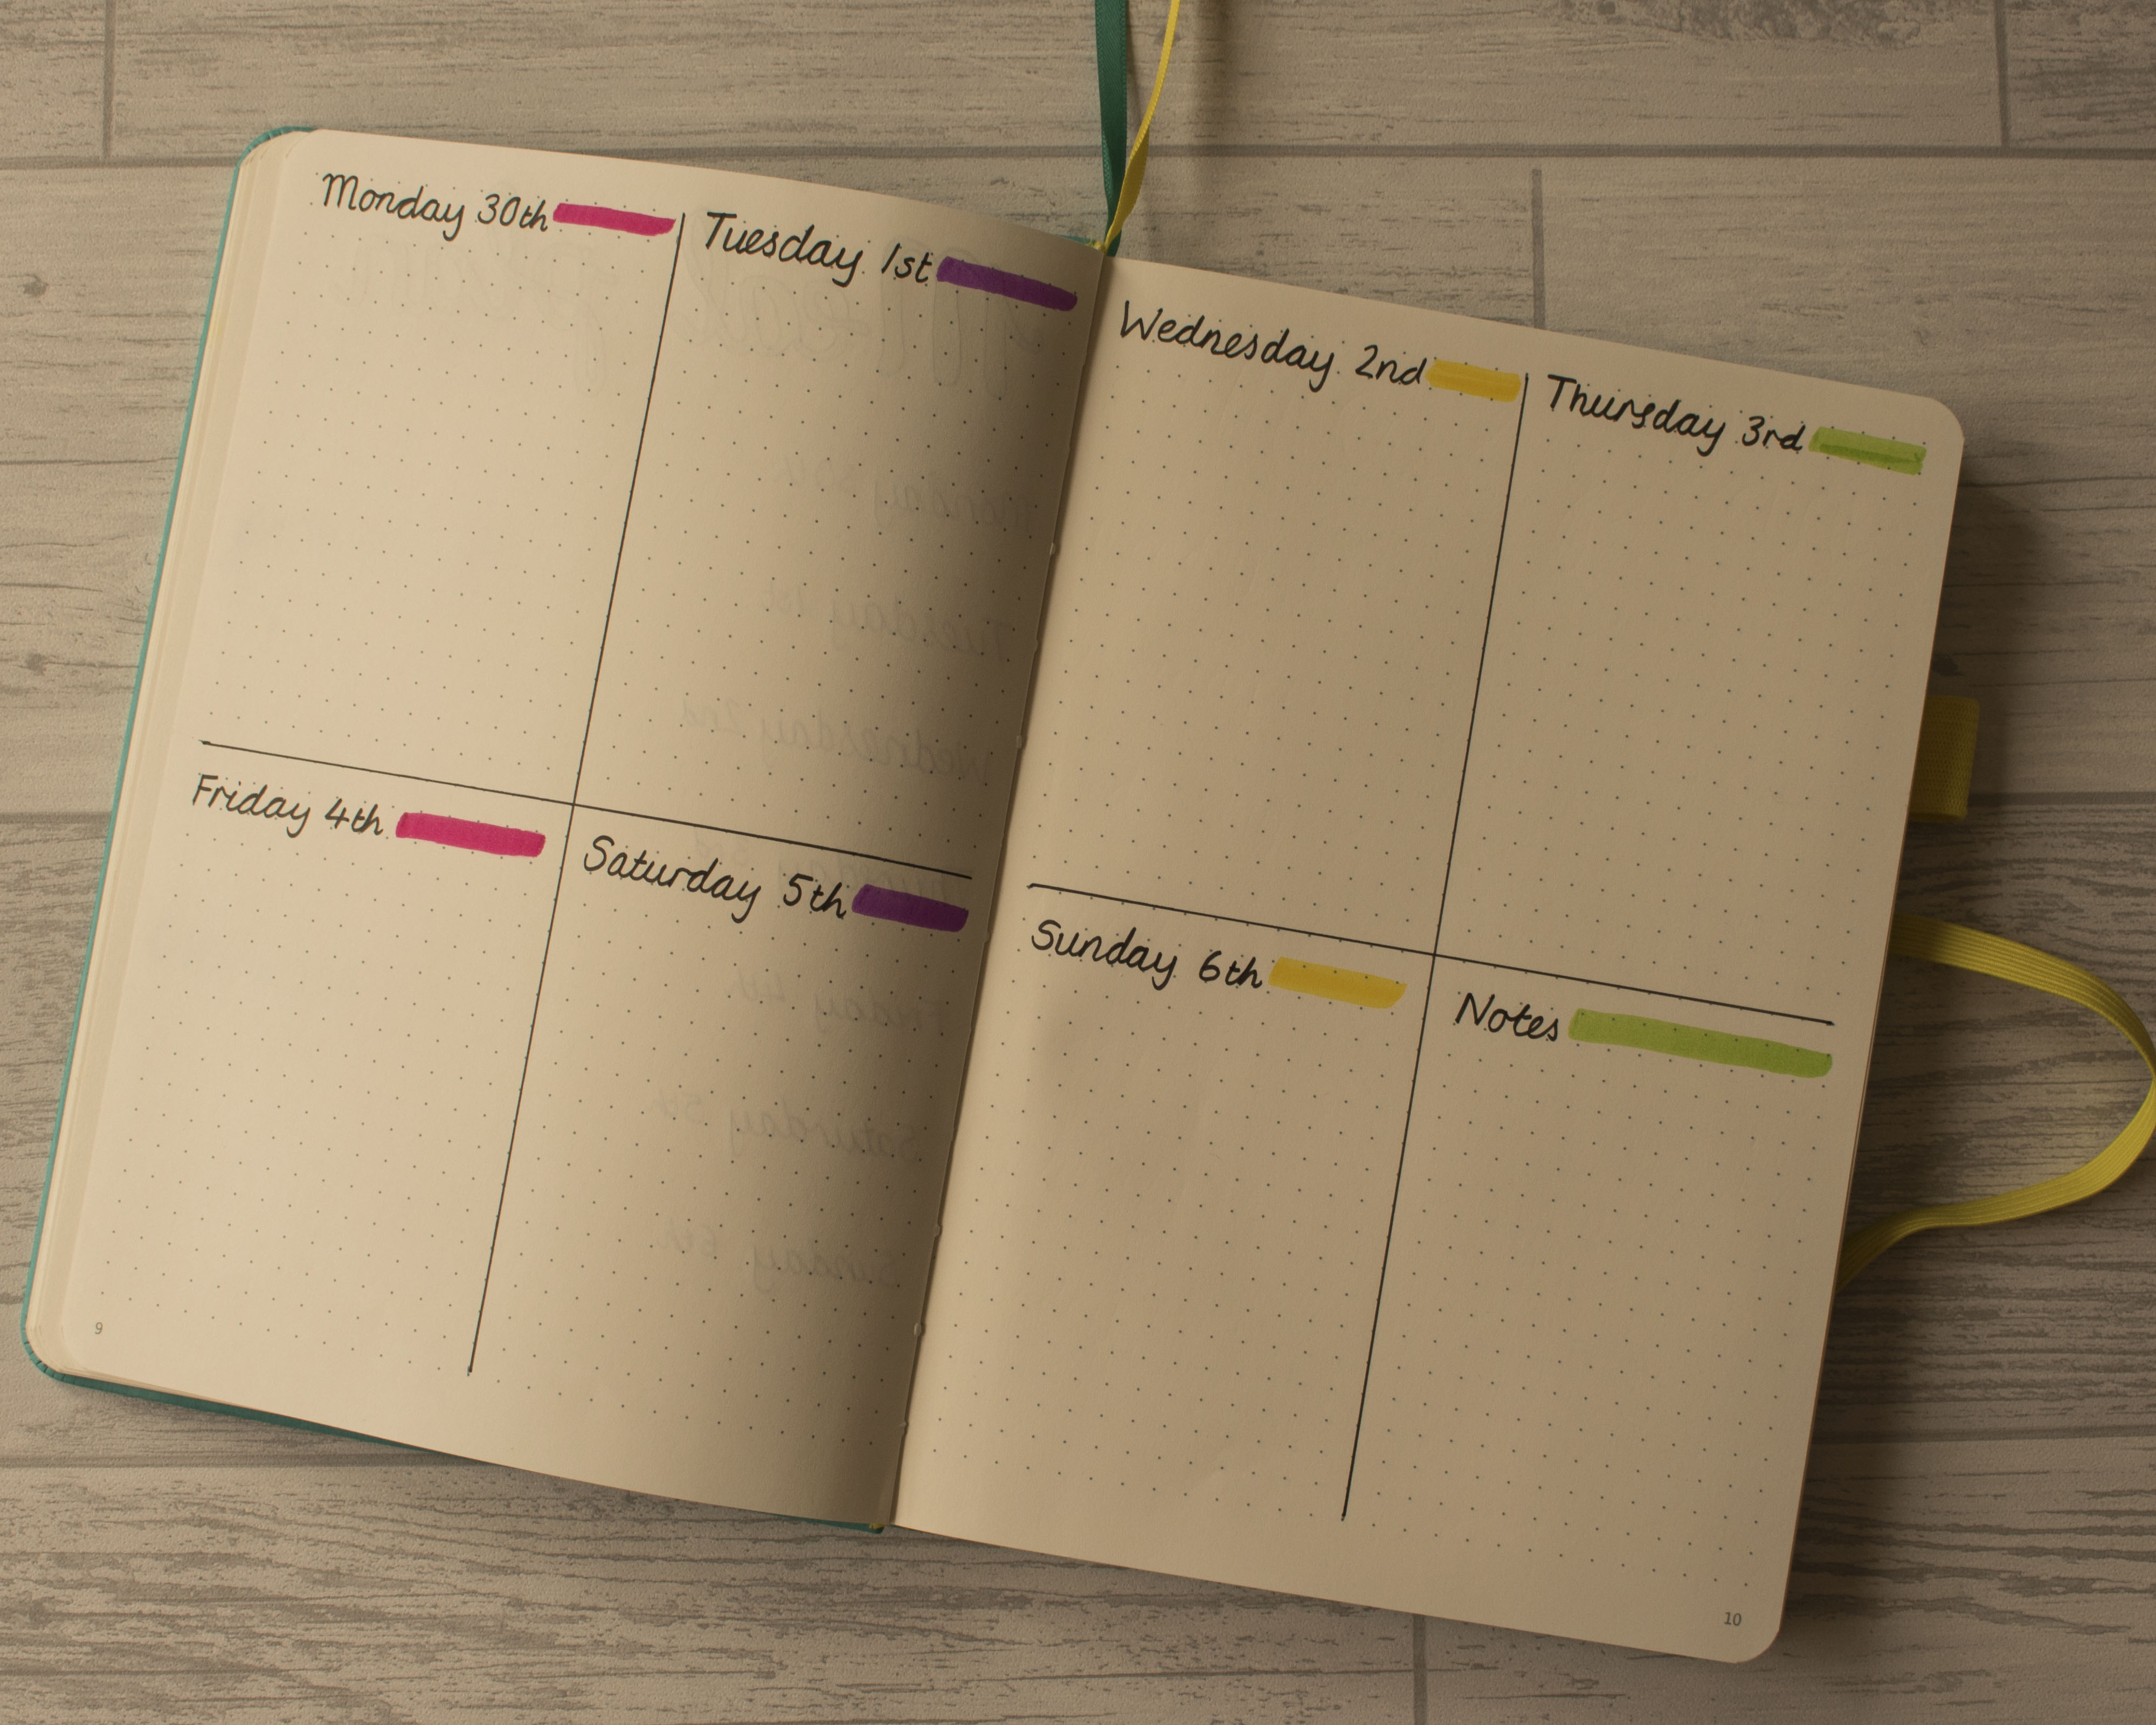
And finally, my first weekly plan, which is now on just two pages. I’m hoping the rapid logging system means that I need much less space for each day but I can always change my layout if it doesn’t work. I have, however, swapped over to a 0.7 pen so my writing might not be small enough. If anyone knows of a decent fine pen which you can use Tombows or Mildliners over the top of, let me know in the comments!

BujoMayWeekly1

If you’re new to bullet journaling and have any questions, feel free to leave a comment below. And, if you have a must see blog, YouTube channel or Insta account which you want to share, I would love to hear from you.

Thanks for reading,

Much love,

Laura xx

p.s. If you are worried that my gorgeous Webster’s Pages TN is going to sit unloved on a shelf collecting dust, don’t be – it’s now full of my creative journals!