There are a plethora of books and articles both online and in print about the benefits of decluttering your possessions in order to simplify your life and create more order. However, it’s not just our homes which can become cluttered and cause feelings of overwhelm and low mood. Our minds are equally susceptible and can easily become overloaded with worries, stresses and all of those emotions that come from spinning too many plates. Today’s blog post looks at practical ways of managing this mental clutter to improve our wellbeing.
1. Identify your current priorities in life
A good place to start decluttering your mind is to spend some time quietly reflecting on your life right now. Start to consider how you currently spend your time and use your energy and then begin to think about how satisfied you are with this situation. If you find yourself wanting to implement some changes, try focusing your attention on how you would like to live or what your ideal day would look like. This can help you establish what’s really important to you and enable you to prioritize. For example, you may decide that you are neglecting to look after yourself properly and need to give self care more of a focus or you might want to spend more quality time with your partner, your family or your friends.
2. Set some goals and instil some habits
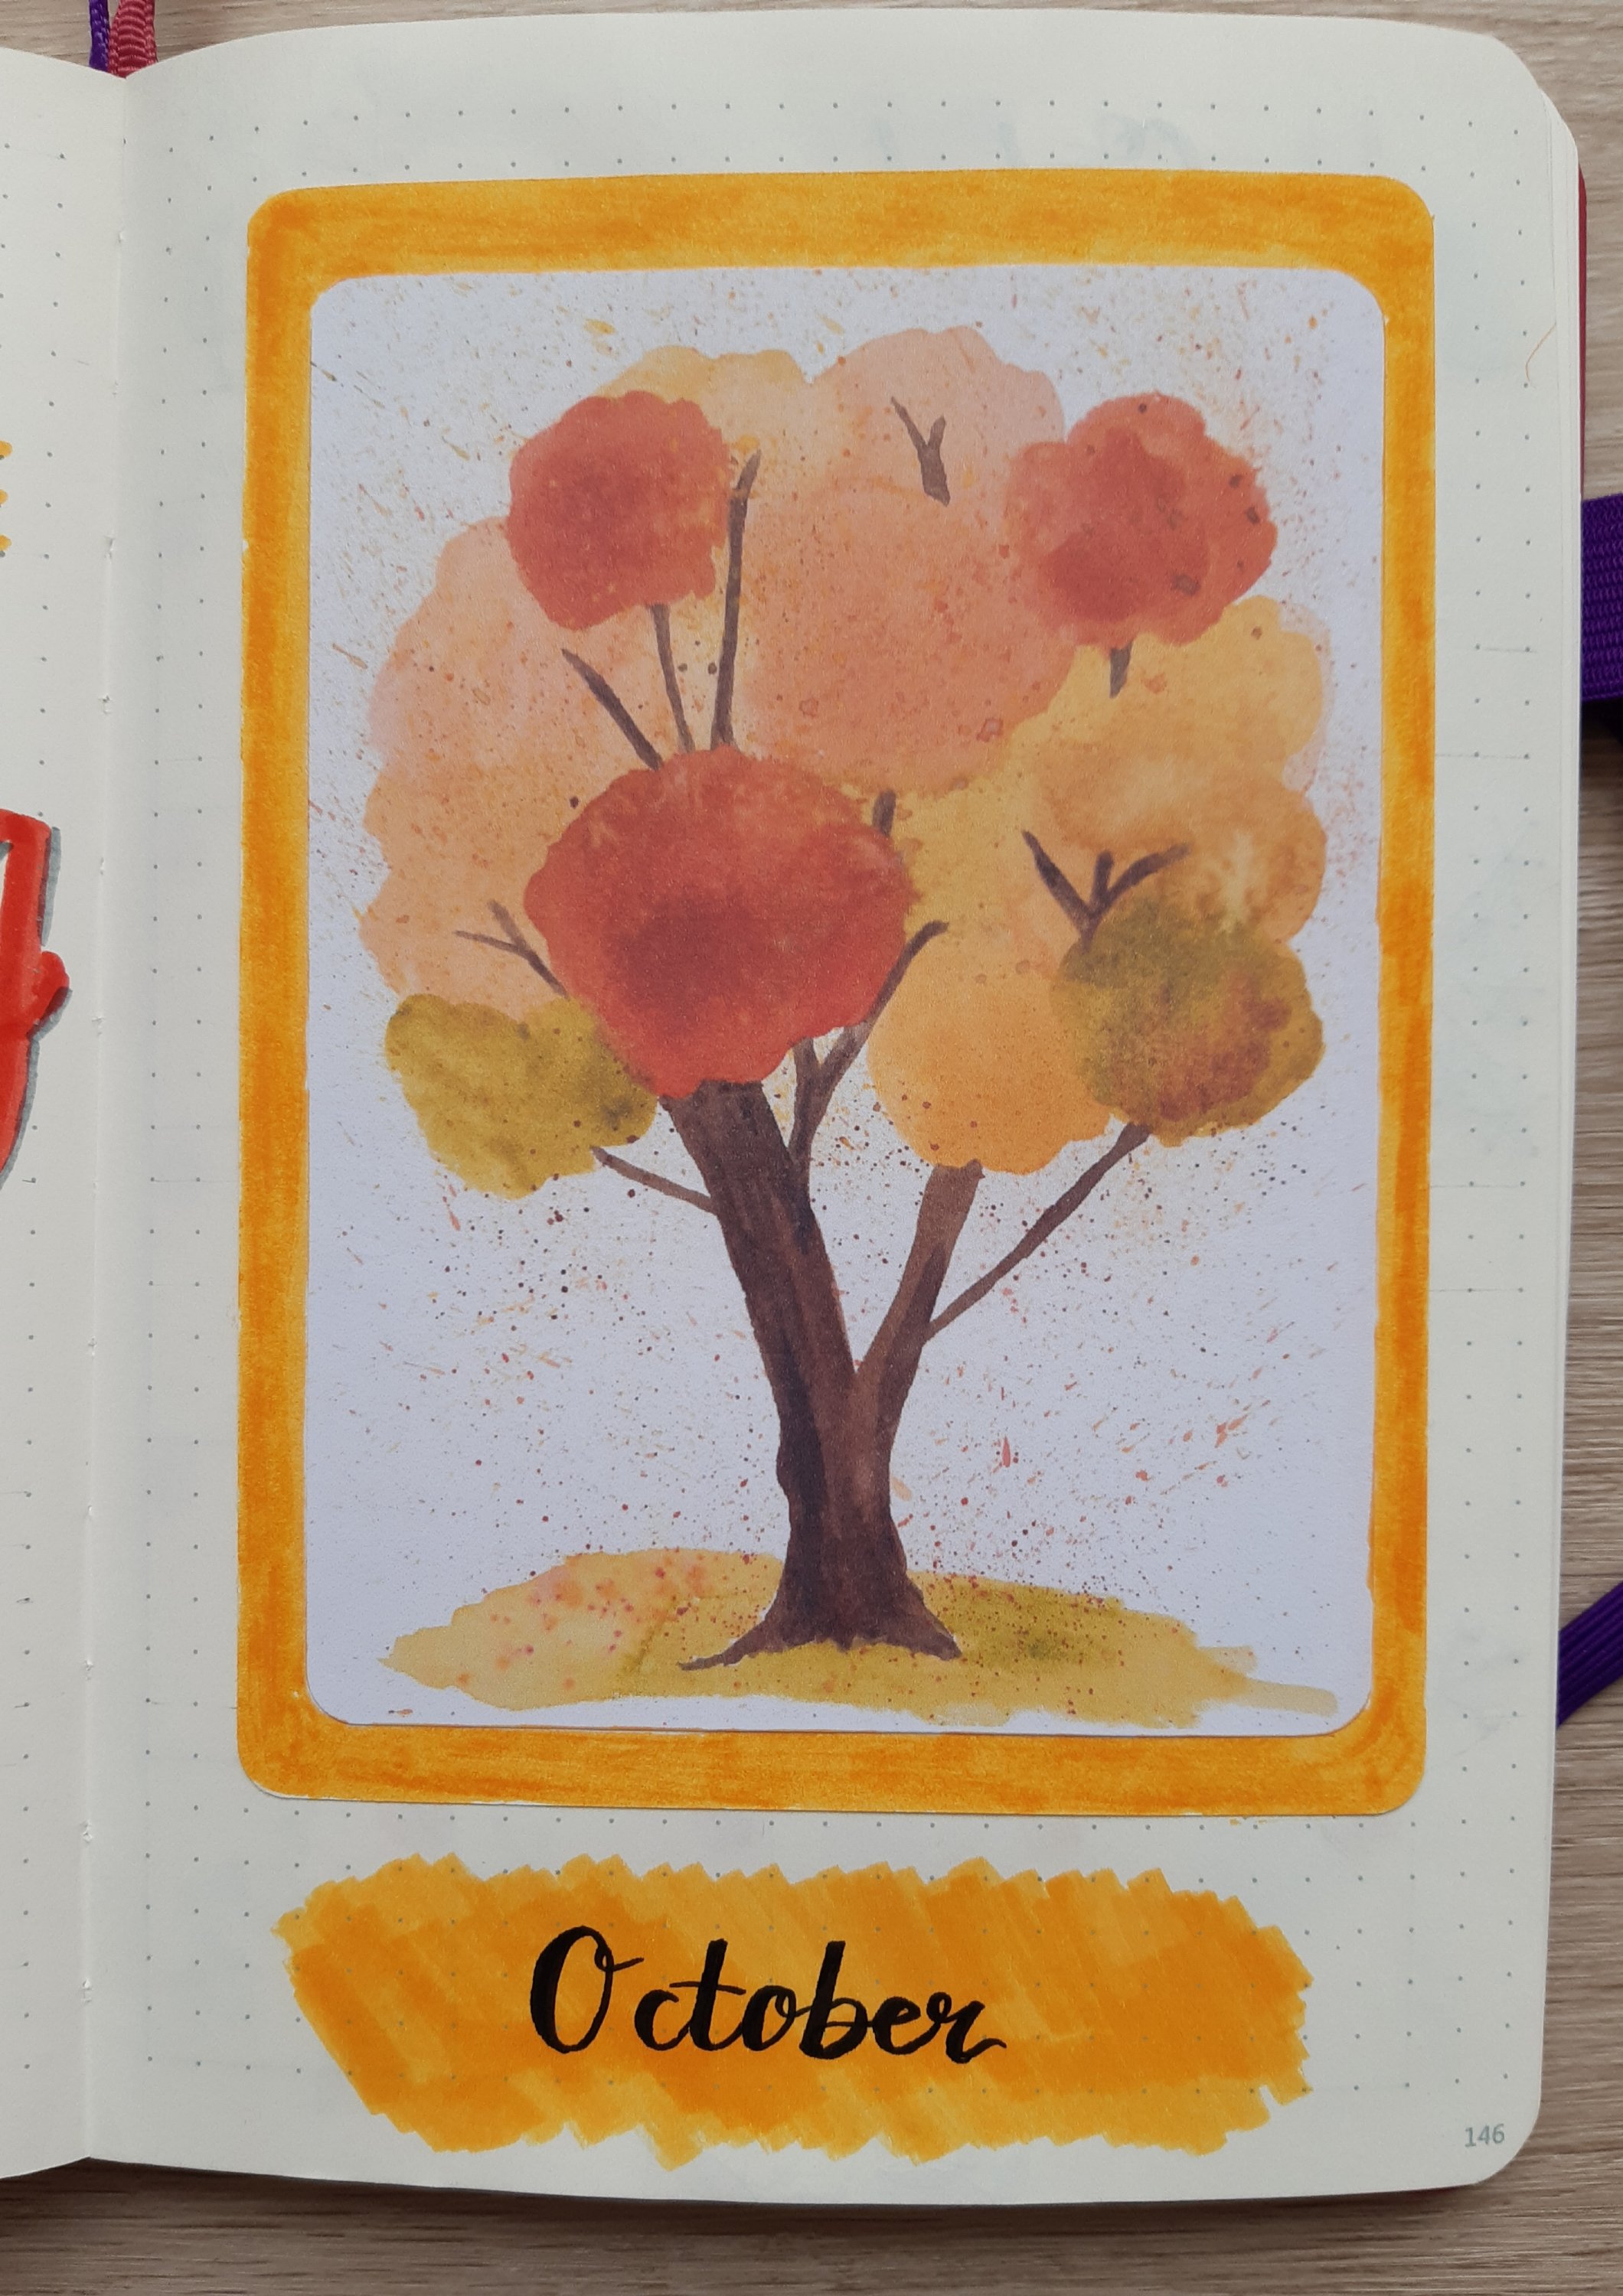
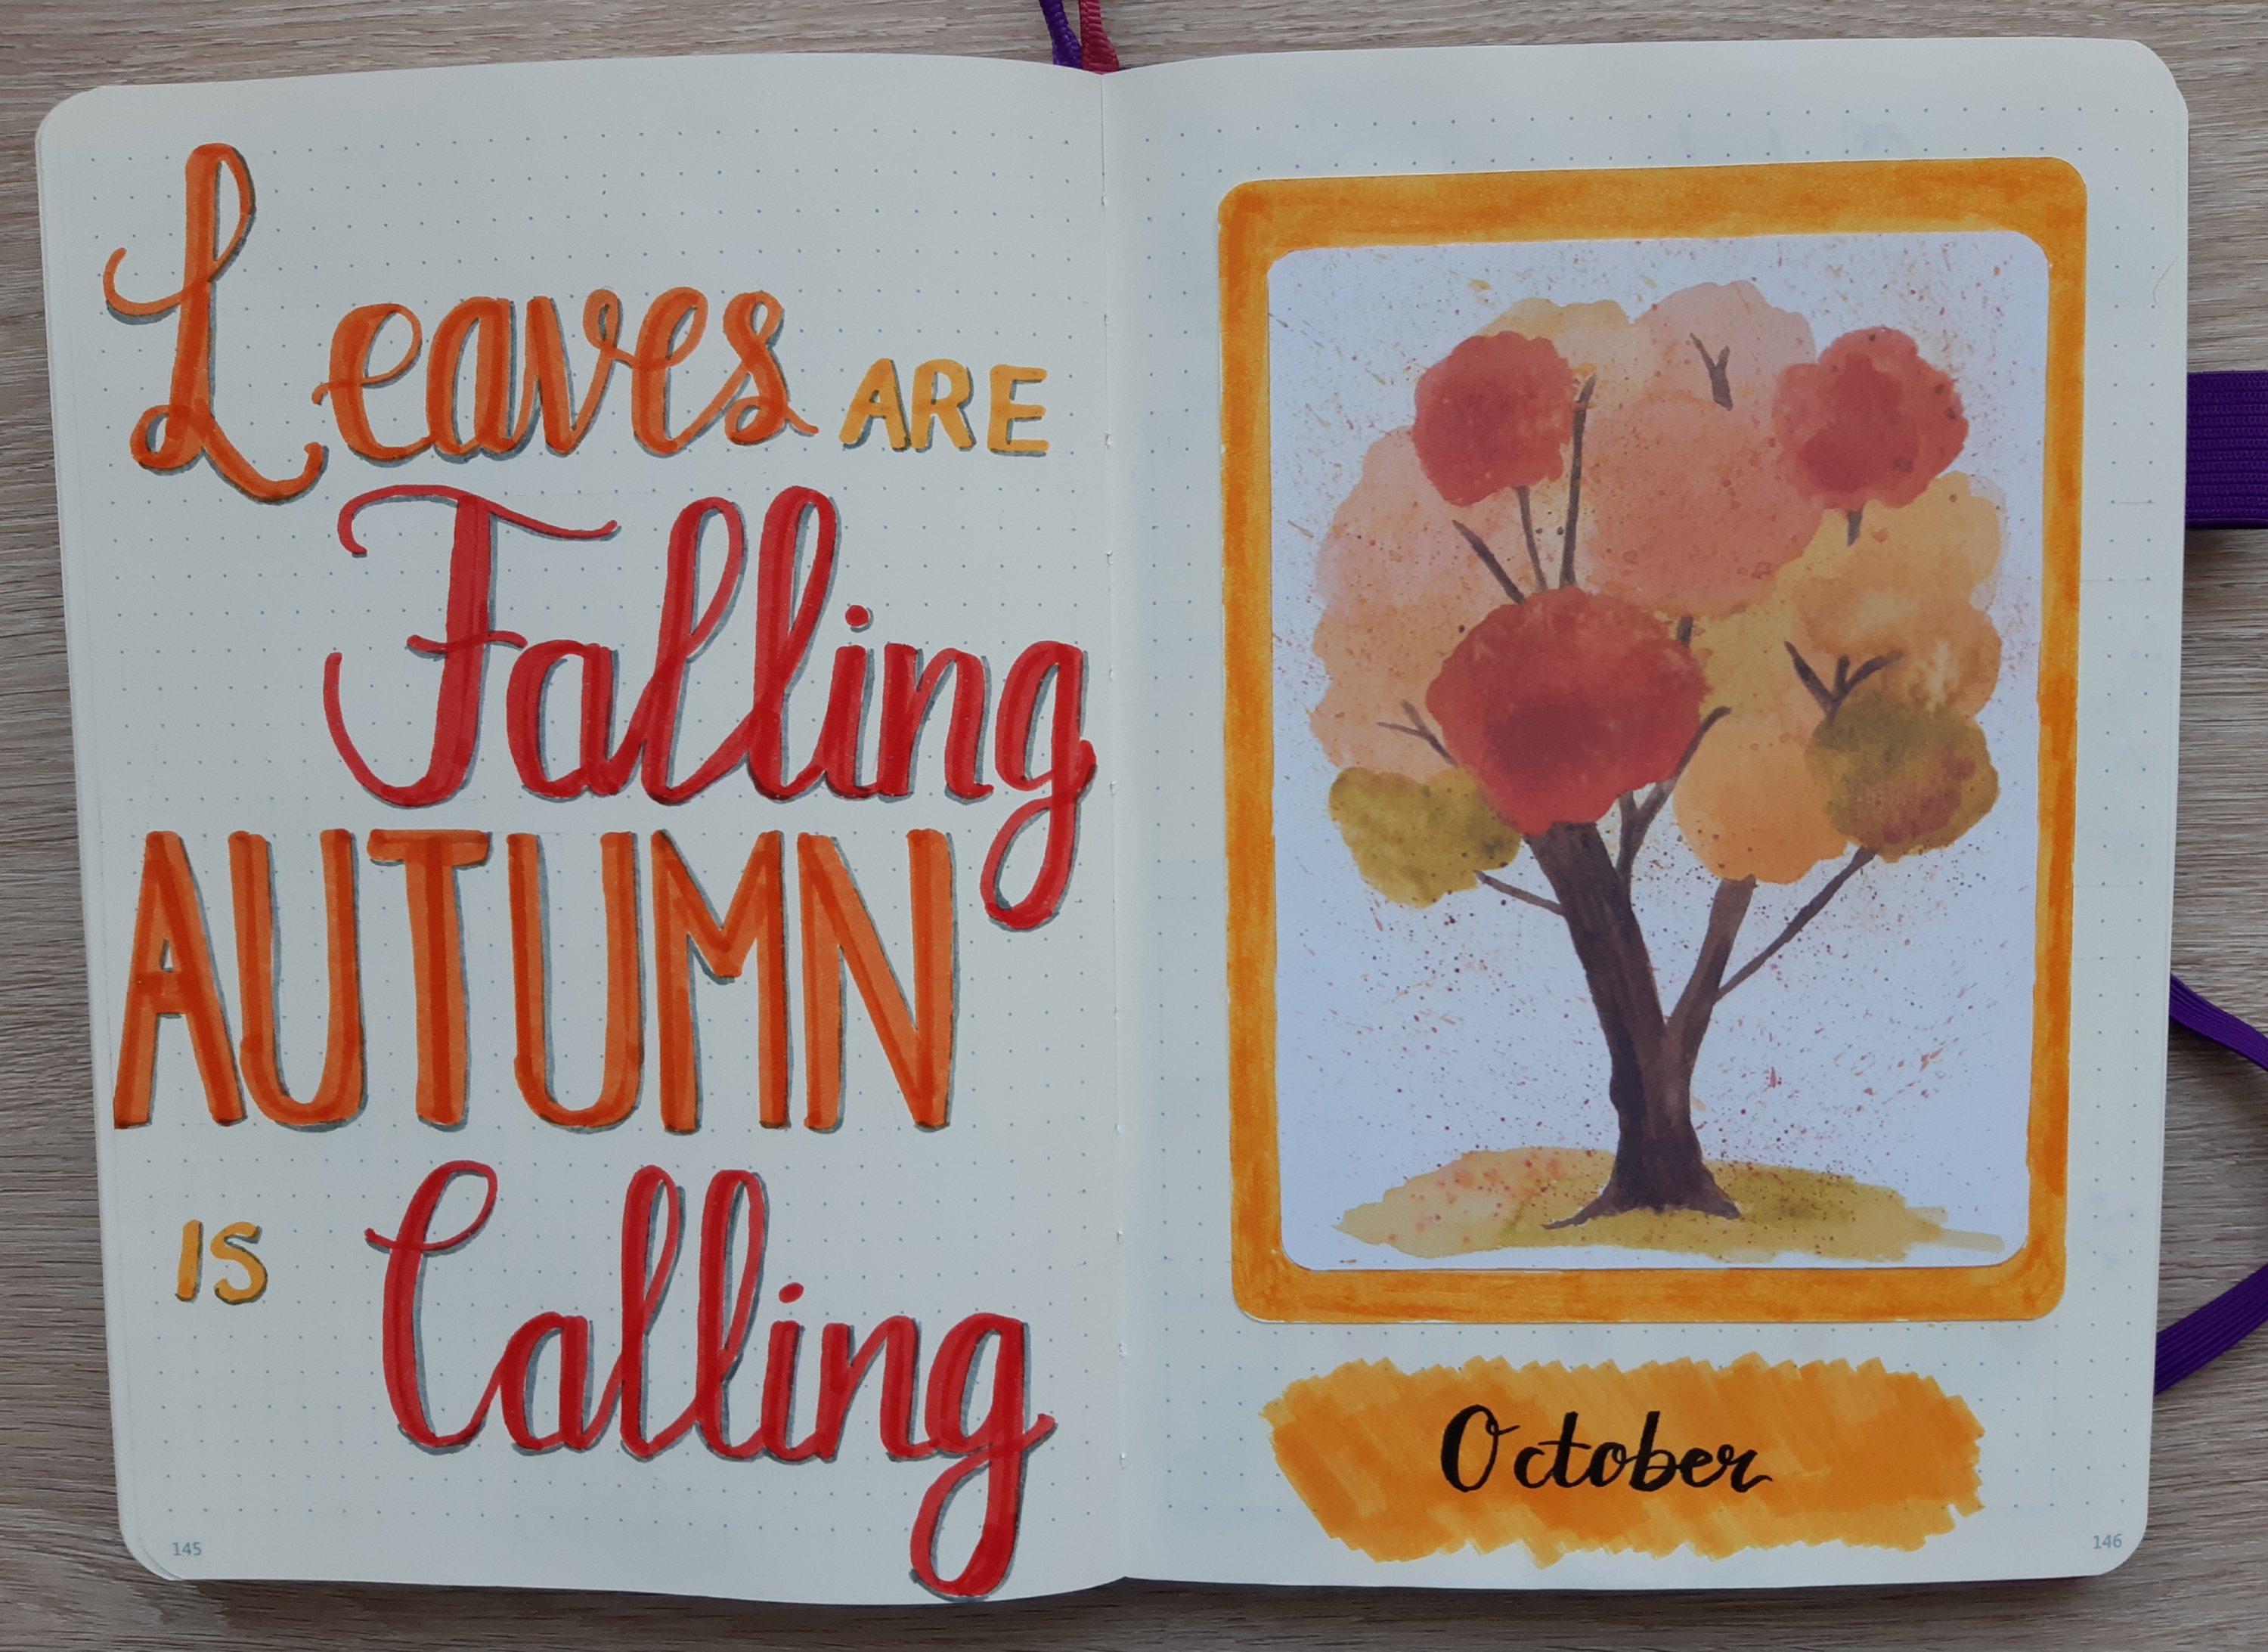
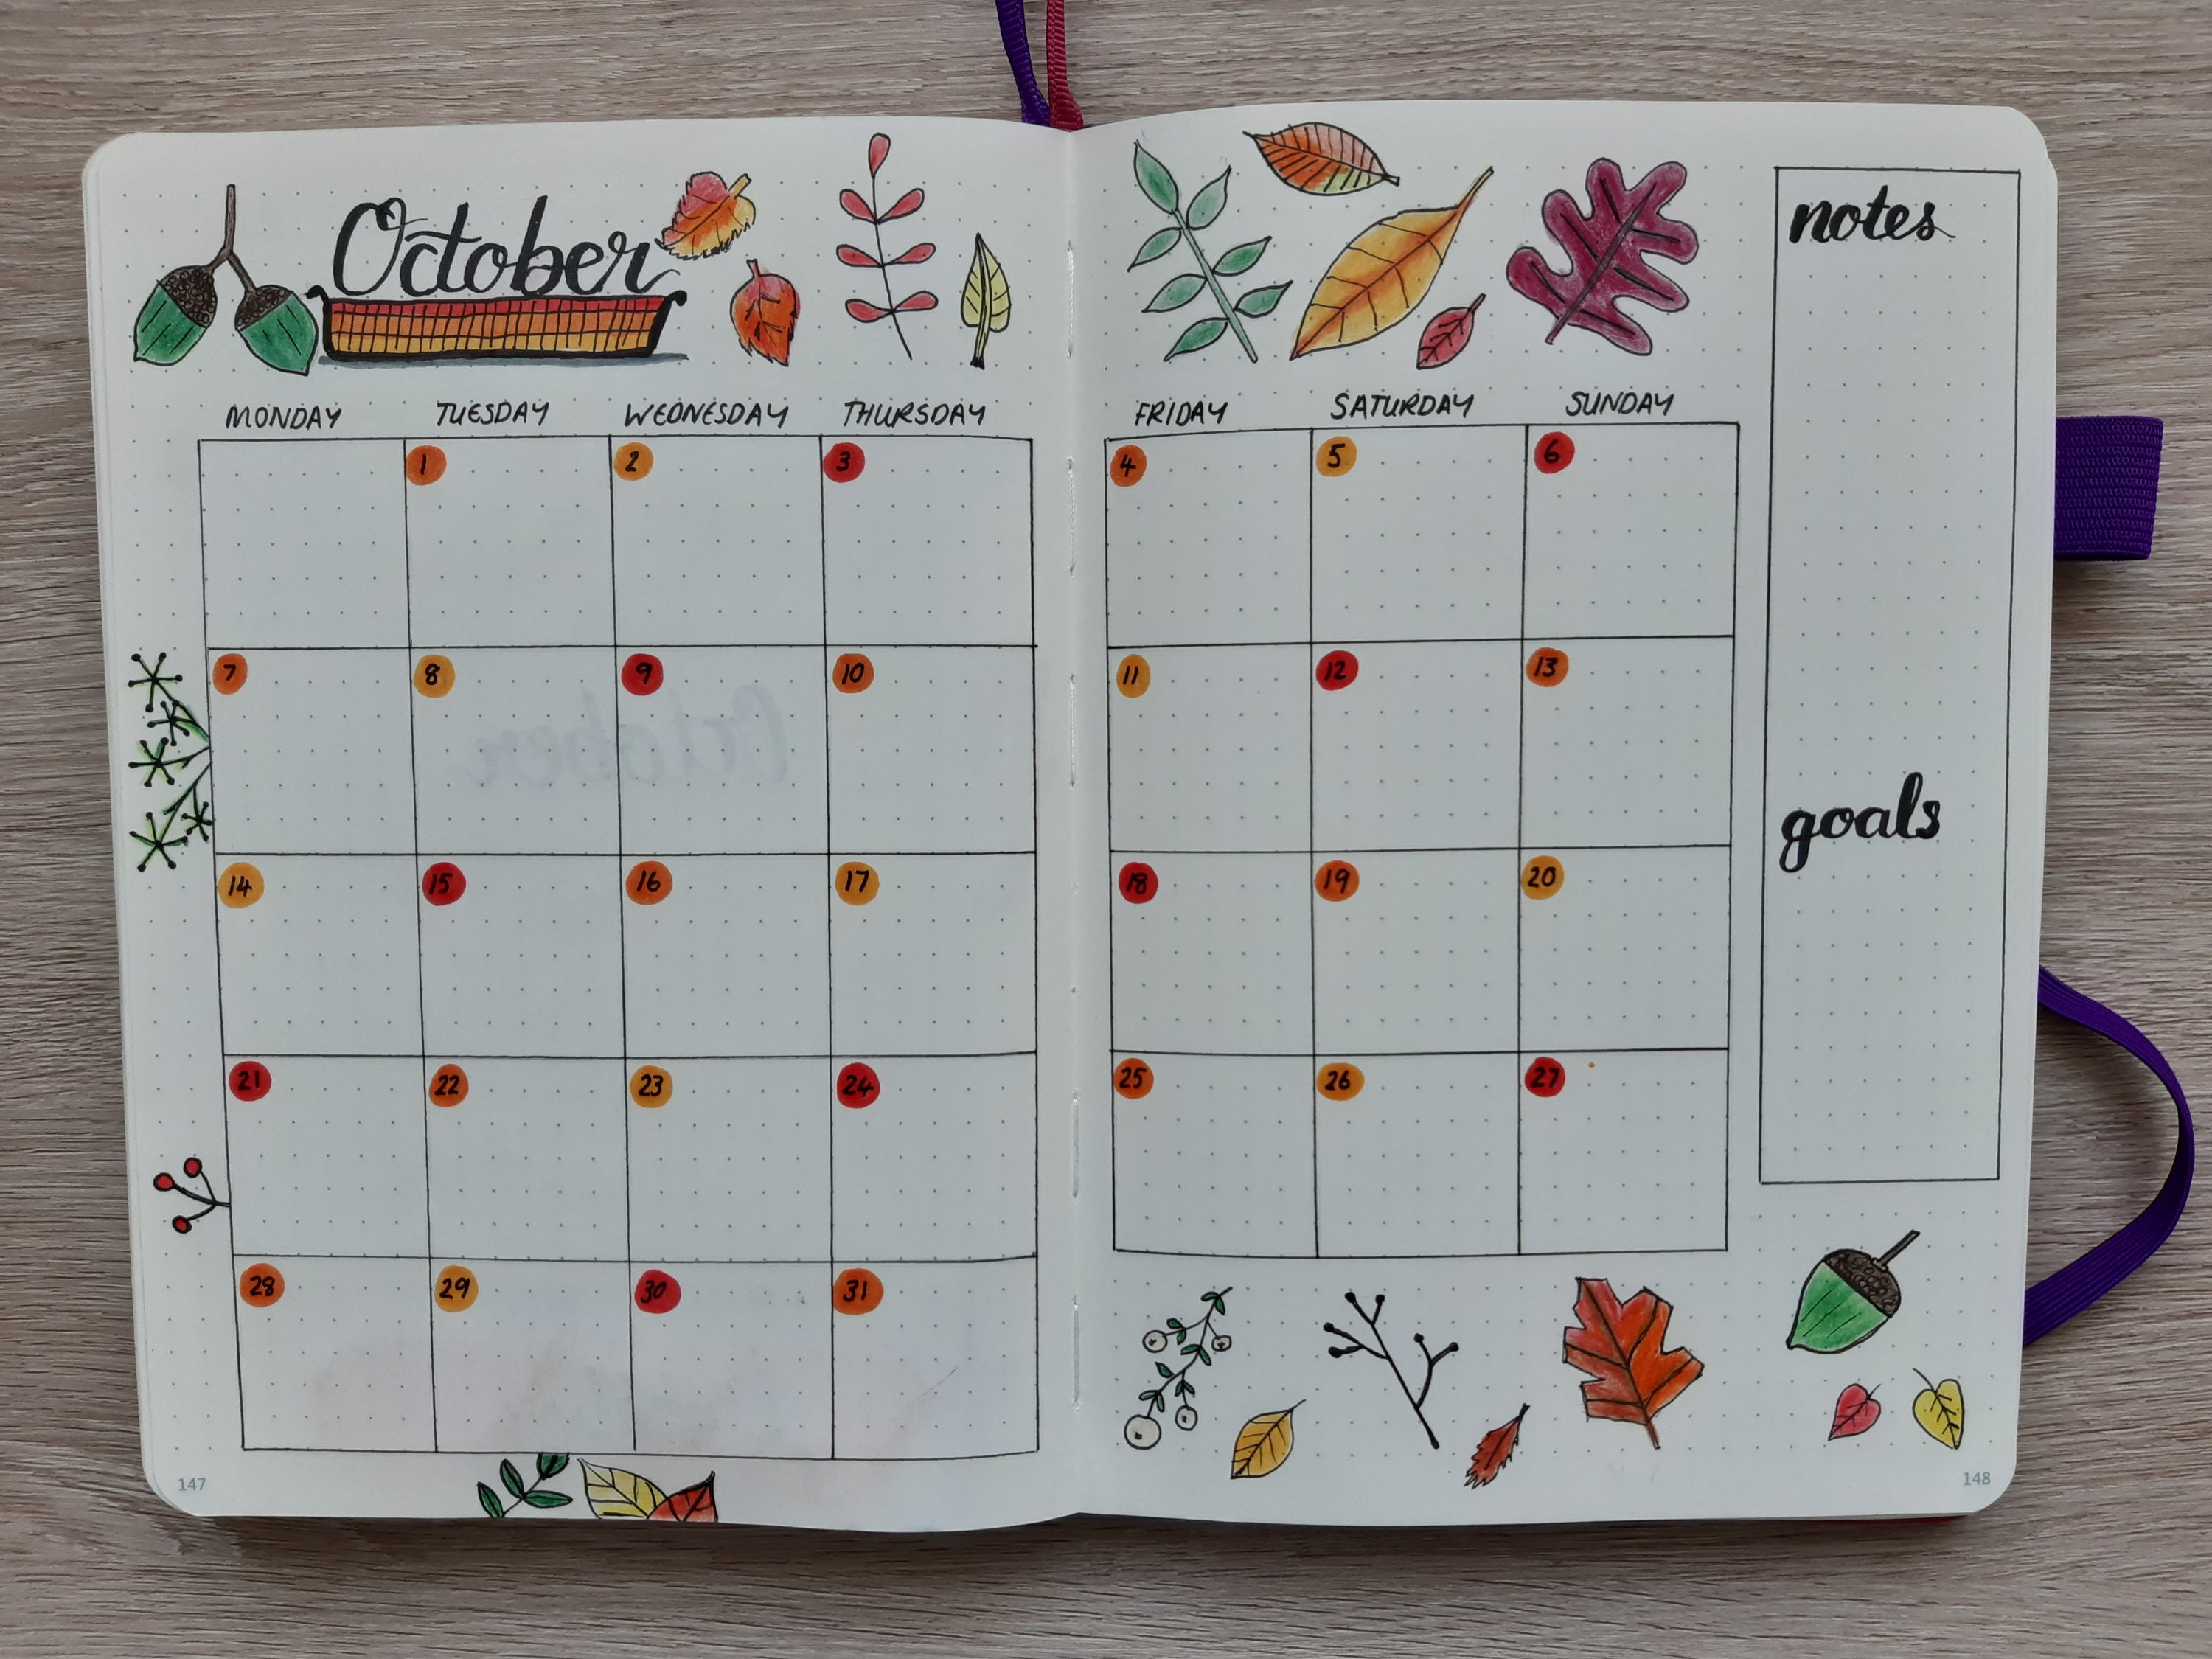
When you know what your priorities are, you can work on setting some goals and creating some habits which help you to achieve these. For example, if having more ‘me time’ is at the top of your list, you may decide that you want to spend one hour per week learning a new skill or taking a class. If having more time together with your family is an area you’d like to work on, you might schedule a regular movie night, games evening or brainstorm or list of ways you would like to have fun together in your bullet journal or notebook. If you do use a bullet journal and like to have a habit tracker as part of your weekly or monthly spreads, your goals can inform the habits you choose to include. For example, if having a tidy space to study or work is one of your desires, you might choose to have a habit such as ‘ten minute desk tidy’ at the end of each day.
3. Practise mindfulness
Mindfulness is the process of bringing one’s attention to the current moment and concentrating on the flow of our thoughts, emotions, what is going on around us and bodily sensations without judgement. It can help us to reduce the time we spend dwelling on past events (rumination) or becoming anxious about the future and help us to become more calm and compassionate towards ourselves. Becoming more mindful can help to declutter our minds of worries and anxieties by creating a more relaxed state of being.
4. Take time to breathe
A big part of mindfulness and self compassion is about taking time out. Our busy lives often create minds which are full of mental chatter which we find difficult to silence. We can all find time to settle our minds by taking the time to slow down and a great way to do this is by changing your focus to a more soothing activity such as rhythmic breathing or a mini meditation. If, like me, you have a bullet journal or planner, try scheduling time to have a break as part of your daily plans or add meditation to your habit tracker. By being more mindful and checking in with your body and how you are feeling, you can also more easily recognise when you might need to pause or slow down.
5. Getting it down on paper
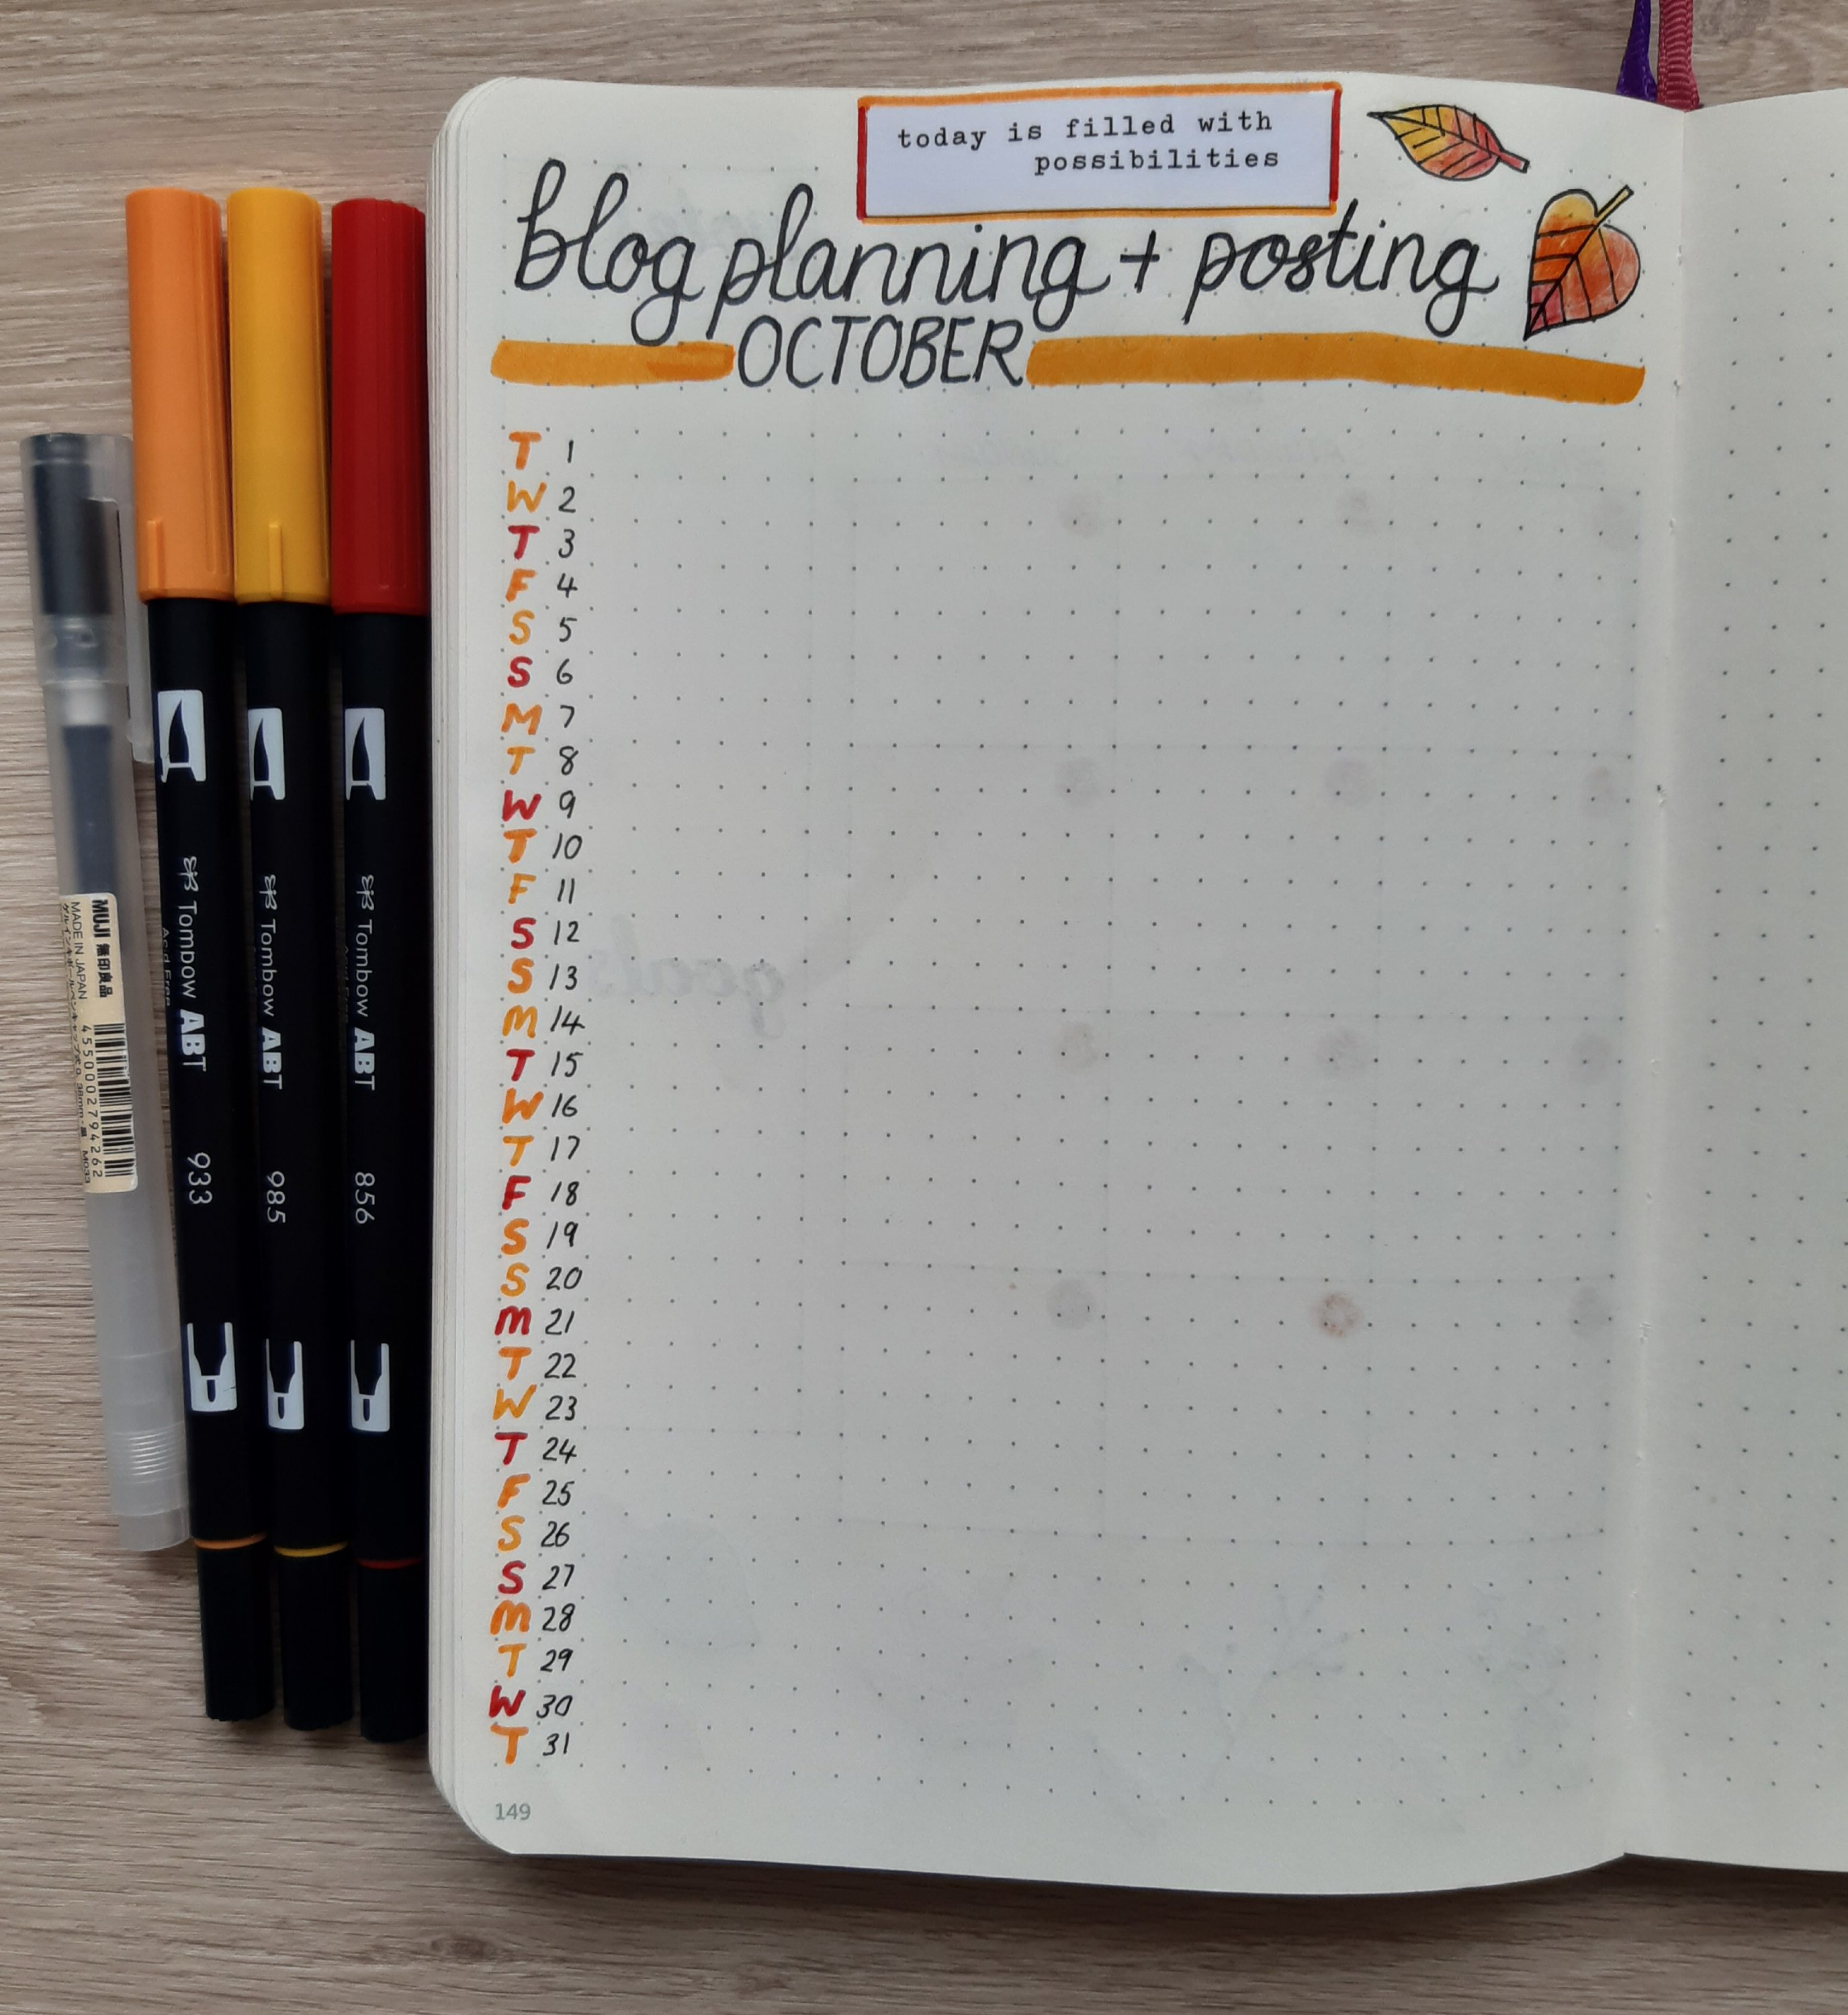
Another really helpful way of clearing mental clutter is to write it all down. There are many different ideas for how to go about doing this but popular methods include doing a ‘brain dump’ or regularly engaging in reflective journaling. A brain dump is basically where you put everything that’s on your mind down on paper or into a digital document. How you spill the contents of your brain is up to you. Some people like to just scribble down their thoughts and feelings onto a page of their journal or onto any random piece of paper they have available whenever they have lots on their mind. Others prefer the regular practise of creating ‘morning pages‘ where they dedicate time each day to writing it all down as soon as they wake up. Personally, I like to add thoughts and ideas to my daily plans in my bullet journal and spend some time each evening, reflecting on how my day has gone and writing a few things down underneath my bulleted lists. If you want to find out more about the bullet journal method for organisation, I recommend visiting Ryder Carroll’s website here or reading his book which explains the method in detail.
For specific projects, you may find that creating some sort of visual way of organising helps to get your thoughts on paper in a logical way. A spider diagram, is a popular method and one which you may have used at school. Basically, you start by placing your main thought, idea or topic in the centre of the page and then you add branches from this when you think of subtopics. These subtopics can then be broken down further by more branches, creating a kind of spiders legs effect on the page. A quick ‘Google’ search online shows lots of examples of this technique which can be a helpful way of structuring all of the information in your mind.
6. Avoid information overload
This point is particularly relevant to our lives today in the digital age. With so much information at our finger tips online, especially through our use of various social media platforms, it can be very easy to become overwhelmed and feel like we are ready to explode. There are many ways to avoid overloading ourselves with information, including limiting the amount of time we spend online. Also, if you have already spent time assessing your current priorities, then you can use this to inform what you focus on. For example, at the beginning of the year, I decided that I wanted to improve my gardening know how, so I thought about the steps I would need to take to do this and then spent time and energy improving my knowledge through reading about the plants in our garden, finding seasonal gardening tips online and watching gardening programmes on the television. I then recorded my learning in a garden journal. Also, avoiding negative and unreliable media sources can help your online presence positive and informative. For example, I tend to stay away from sensationalised news articles and always try to turn off my notifications for Facebook, Instagram and Twitter for a while when I’m super busy.
7. Out of your mind and into your body
In a previous blog post, I talked about ways to stimulate your vagus nerve and included plenty of suggestions about how to use the power of this cranial nerve to stimulate your body and relax your mind. By moving our attention to our bodies and reconnecting to the world around us, we create much needed space in our minds which helps us to gain better mental clarity. Going out into the garden to feel the fresh air, listen to the birds or get some sunlight on our skin, taking a quiet stroll in the local park, or even just putting on a favourite song and singing out loud whilst having a quick boogie can all help.
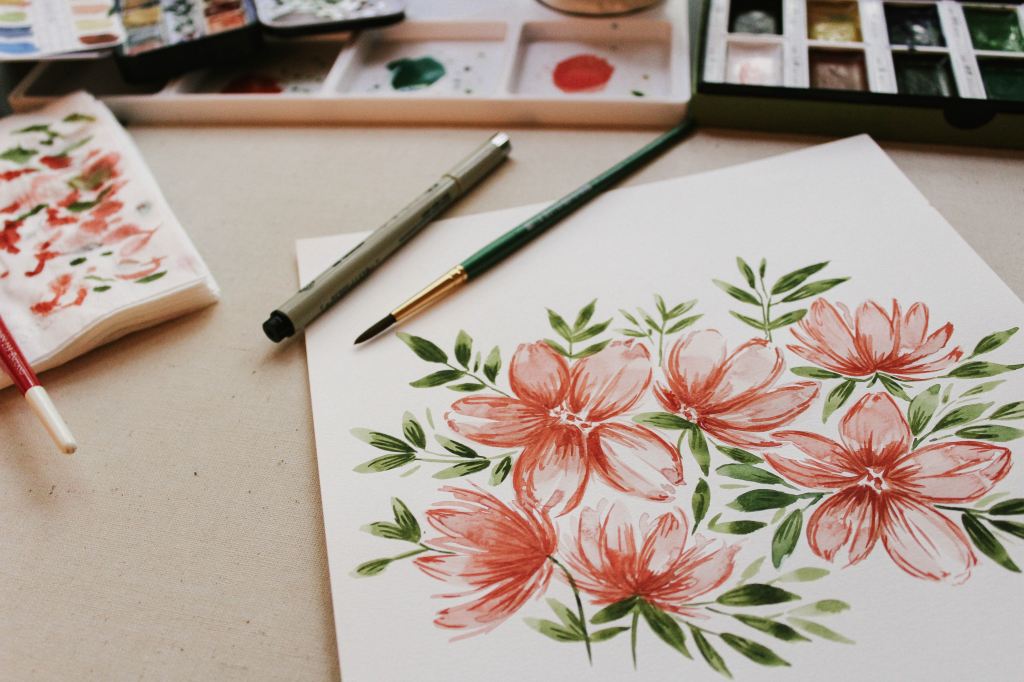
8. Take some time to unwind
Your brain needs regular breaks to rest and recharge itself and so creating white space in your calendar or planner is a must. Spend some time away from your phone or tablet and do something relaxing which makes you feel happy. For me, a walk in nature, reading a book or doing something creative, such as painting or drawing are some of my favourite ways to unwind. I like to create pages in my bullet journal for self care and ‘me time’ activities so that when I’m feeling frazzled, I can get some inspiration for self soothing behaviours.
I hope you have found today’s post useful and it has helped to provide inspiration on how you might take steps to declutter your busy and active mind. I would love to hear any others ideas that you find work really well for you at times when you’re feeling a little overwhelmed.