

Last week in our ceramics for beginners class, we used a ‘forma’ as a basis for creating a 3D clay piece. I chose to make an ornamental hedgehog which I could have on display in my garden. In this blog post, I’m going to share the process and lots of photos I took illustrating this.
Hand built clay items, i.e. those where the clay is worked by hand and some simple tools, are usually made from slabs, coils, pinch pots or a combination of these three techniques. However, another technique is to use a ‘forma’ to support the making of a 3D object or sculpture.
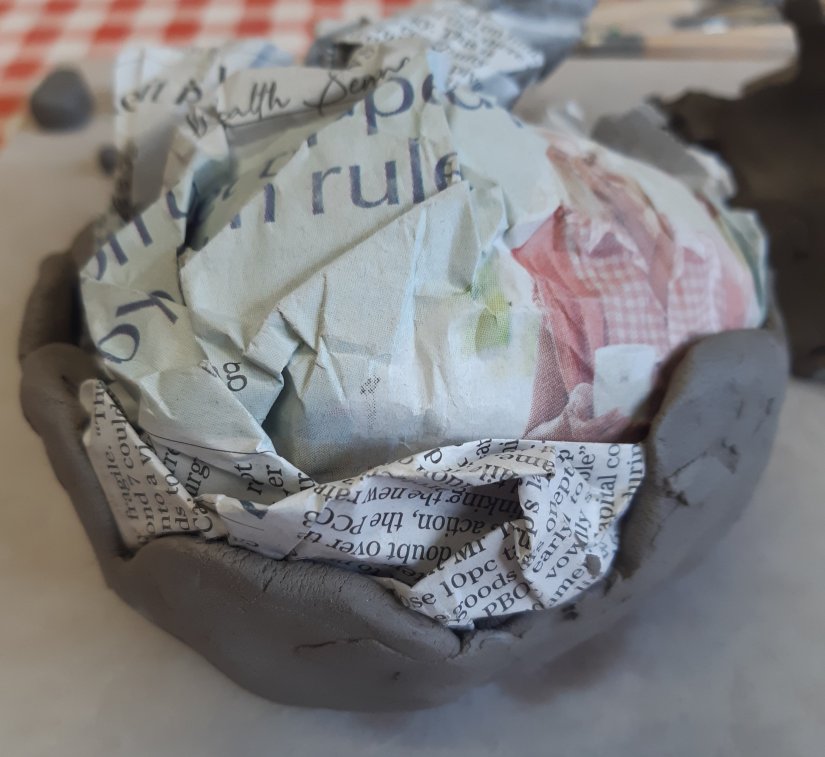
Our forma was a sphere which we made using one or two loosely scrunched up pieces of newspaper. We then created small flat pieces of clay with our fingers and added them around the newspaper, overlapping slightly and smoothing the pieces together. The idea is that if you made the item from solid clay it would take a very long time to dry out to ‘leather hard’ which is where it is suitable for putting in the kiln. By building around newspaper, the clay work is much thinner and as long as you add a hole into your item somewhere, it has a chamber inside for the air to get in. The heat of the kiln burns the newspaper away and you can tip out the ash and be left with a wonderful 3D design which is lightweight.
To begin, you take a piece of clay and form a small, flat round. Then, holding the newspaper sphere in your hand. You mold the shape onto the ball. You then continue to add small flat pieces around the newspaper and start to create the shape required for you object. As mine was to be a hedgehog, I began to manipulate into a kind of oval shape with a flattened base and then squeezed one end to create a snout shape.

The next step was to add a round hole on the base of the form which I did using a pointed metal tool and then dug out the clay using a looped piece. This is to let the air circulate around when the item is in the kiln and is essential to prevent the work from exploding! The hole won’t be seen as it is on the base of the work but I did try to make it nice and neat.

After adding a hole at the base and scratching in my initials, tutor’s initials and the session number so that my work is identifiable after firing, I made the features of the hedgehog i.e. a dog’s nose shape, some small balls for the eyes and four little feet. I create two circular indentations to place the eyes and then used the score and slip technique to attach them. If you want to see how ‘score and slip’ works click here for my previous post which contains a great link.


I was a little bit scared to add some texture to my design in case I messed it up, so I did a little practise on a small ball of clay first. Then, I added long, gentle cuts randomly all over the back of the hedgehog using a plastic knife from my modelling tools box.
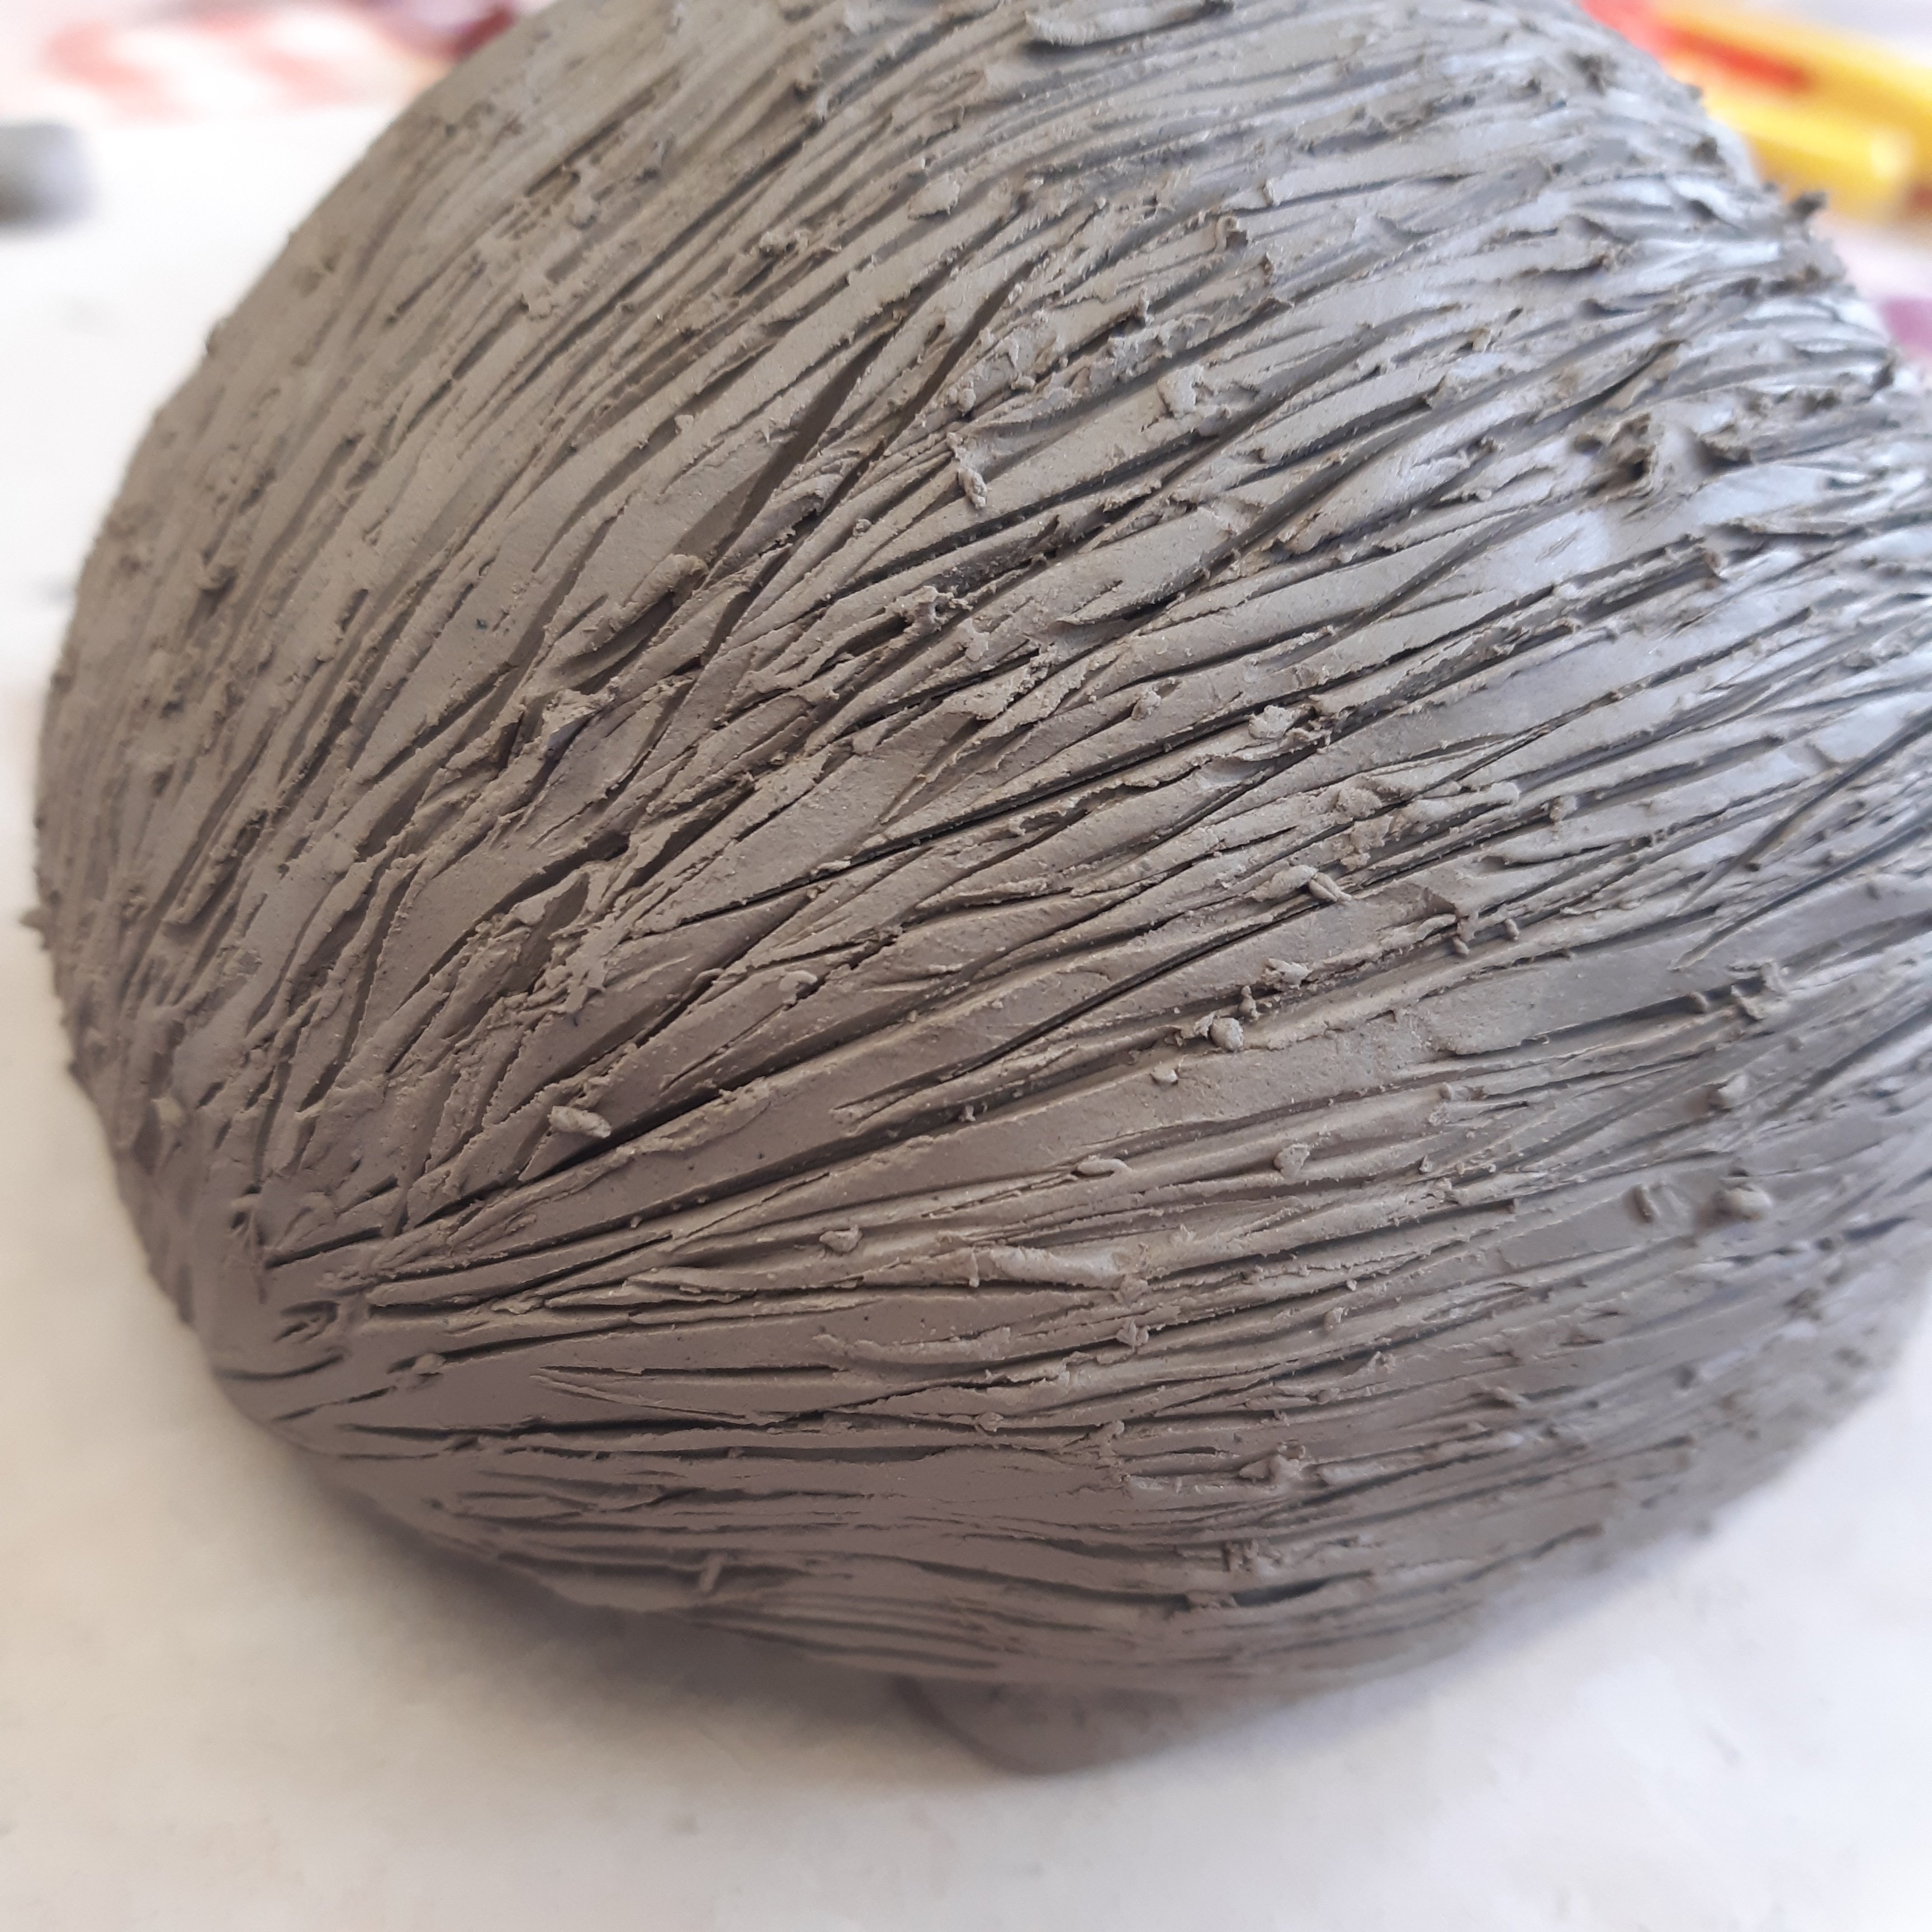
Finally, made small snips with a pair of scissors in different places to add further texture and a spiny appearance. Again, I was frightened to do this, but I was pleased with the result in the end!

Here’s a front view of the spikes which I think look quite effective. The tutor said that when I add the glaze after he has been fired, it will go into the places where I have snipped and make different intensities of colour which will add to the effect and should look quite striking. I can’t wait to get started with this but he might take a while to dry out before he can go in the kiln. I’m also looking forward to glazing my little plant pot holder from a few weeks ago too.

I hope you’ve enjoyed seeing my hedgehog taking shape and liked reading about the process. If you ever get the chance to do a beginners ceramics course, I can definitely recommend it as it’s great to try something new and both the course participants and the tutor are lovely and so helpful. I always look forward to my time at the arts centre each week and find it really therapeutic in so many different ways.


Looks like trying this will be a load of fun. I think hedgehogs are adorable.
LikeLiked by 1 person
Yes, it was great fun. Hedgehogs are one of my favourite animals and I thought it would be an easy one to do, unlike a hamster or a squirrel which are my other most loved creatures!
LikeLike
Thank you for the very helpful and creative tips and techniques! I now have a beautiful ceramic hedgehog, thanks to you!
LikeLiked by 1 person
That’s wonderful! I’m glad you found my post useful.
LikeLike
Hi Laura,
I realized I can’t attach a photo here. If you would like to see the hedgehog pottery I made, I can send a photo by email. Just let me know which email to send it to.
Kind Regards,
Sheila
LikeLiked by 1 person
Hi Sheila, I would love to see your ceramic hedgehog. My email is laura.j.jones77@gmail.com. Am I okay to write back to you?
LikeLike
Hi Laura,
I sent you some photos of the hedgehog pottery I made. Hope it meets your approval! 🙂
Sheila
LikeLiked by 1 person
Hi Sheila, sorry it took me a few days to reply. Your pieces are fantastic and I love how you’ve made functional items for your home too 🙂
LikeLike